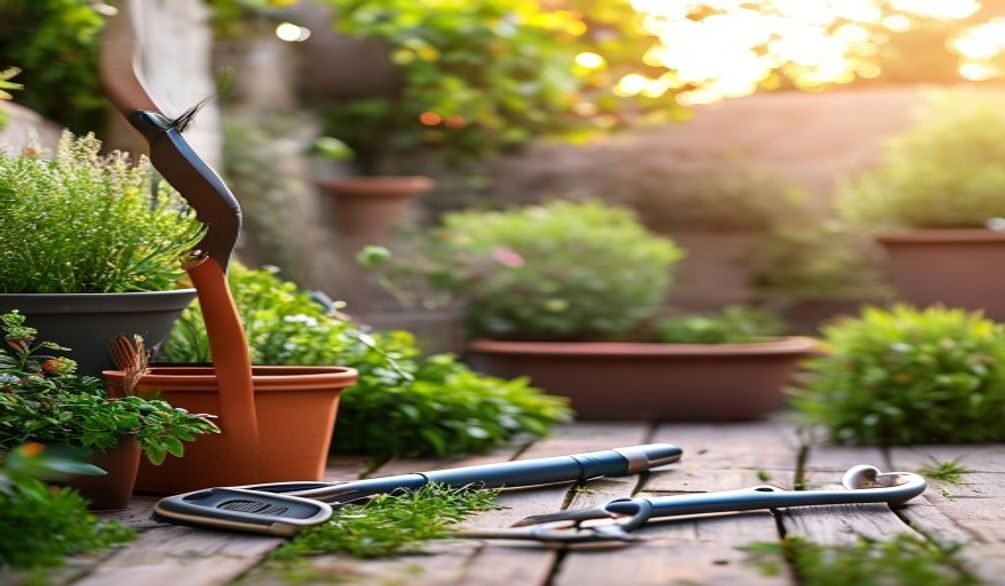
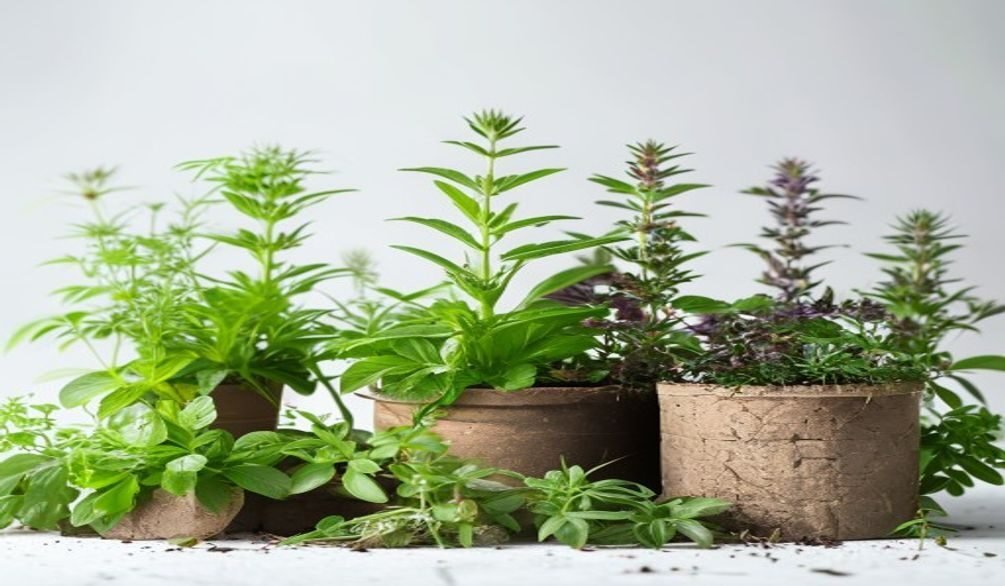
Dreaming of fresh basil, fragrant rosemary, or pungent thyme right outside your door? Building your own DIY raised herb garden beds is the perfect solution to cultivate a thriving culinary oasis, transforming your outdoor space into a productive and beautiful extension of your kitchen. This comprehensive guide will walk you through every step, from choosing the ideal materials to optimizing your herb garden’s layout, ensuring your homemade raised beds flourish with flavor.
Why Choose DIY Raised Herb Garden Beds?
Opting for raised bed gardening offers a multitude of benefits, especially when growing herbs. Unlike traditional in-ground gardens, raised beds provide superior control over soil quality and drainage, two critical factors for healthy herb growth. As the University of Minnesota Extension notes, these beds “can give you a head start on gardening in the spring by warming up the soil earlier in the season,” extending your planting window.
What most people miss is the sheer accessibility and ergonomic advantage. Tending to herbs in a raised bed means less bending and kneeling, making gardening more enjoyable for everyone, including those with physical limitations. This ease of access also simplifies maintenance tasks like weeding and harvesting.
Furthermore, raised beds create a distinct visual boundary, contributing to a neater and more organized herb garden design. They elevate your plants, bringing them closer to eye level and making them a focal point in your yard or patio. With over 43% of Americans growing food at home, according to the National Gardening Association’s 2023 survey, raised beds offer an efficient way to join this growing trend.
Choosing the Best Materials for Your Raised Herb Bed
The material you choose for your raised bed significantly impacts its longevity, aesthetics, and even the health of your herbs. The global outdoor raised garden bed market is projected to reach USD 538 million by 2032, highlighting the demand for durable and effective solutions. Your decision should balance cost, durability, and safety for edible plants.
Rot-Resistant Wood Options
Wood remains a popular choice, accounting for 48% of installations worldwide by mid-2024. For a lasting structure, prioritize rot-resistant wood. Cedar is widely recommended for its natural resistance to decay, moisture, and pests, often lasting 5-10 years or more. Redwood and cypress also offer excellent natural rot resistance.
Untreated pine is a more economical choice, suitable for those on a budget, though it typically has a shorter lifespan of 3-5 years. If using pine, ensure it’s untreated to prevent chemicals from leaching into your herb soil. What’s often overlooked is the aesthetic charm wood brings; it blends beautifully with natural garden settings.
Durable Metal Beds
Galvanized steel beds and Corten steel offer a sleek, modern look and exceptional durability, often lasting 20+ years. Brands like Vego and Birdie’s provide various heights, including 12″, 24″, and 32″, which can be ideal for an elevated herb garden planter DIY project. These materials warm up faster in the spring, which can benefit heat-loving herbs.
Repurposed galvanized tubs or cattle troughs (stock tanks) are also excellent, cost-effective options for a unique herb garden raised bed. They provide instant height and are perfect for small space gardening, adding a rustic charm while ensuring plants are well-drained and accessible.
Other Practical Materials
Composite boards, made from recycled plastic and wood fibers, offer the look of wood without the rot, warping, or splintering, and they are food-safe. Cinder blocks, bricks, or natural stone provide robust, long-lasting structures. They can be stacked without mortar for temporary or shorter beds, offering flexibility in design. For small spaces or temporary setups, consider fabric grow bags; they are portable and inexpensive, perfect for a beginner’s herb garden.
Shawn Jadrnicek of Virginia Cooperative Extension emphasizes choosing materials based on “needs, goals, budget, and maintenance.” This holistic approach ensures your chosen material aligns with your gardening aspirations.
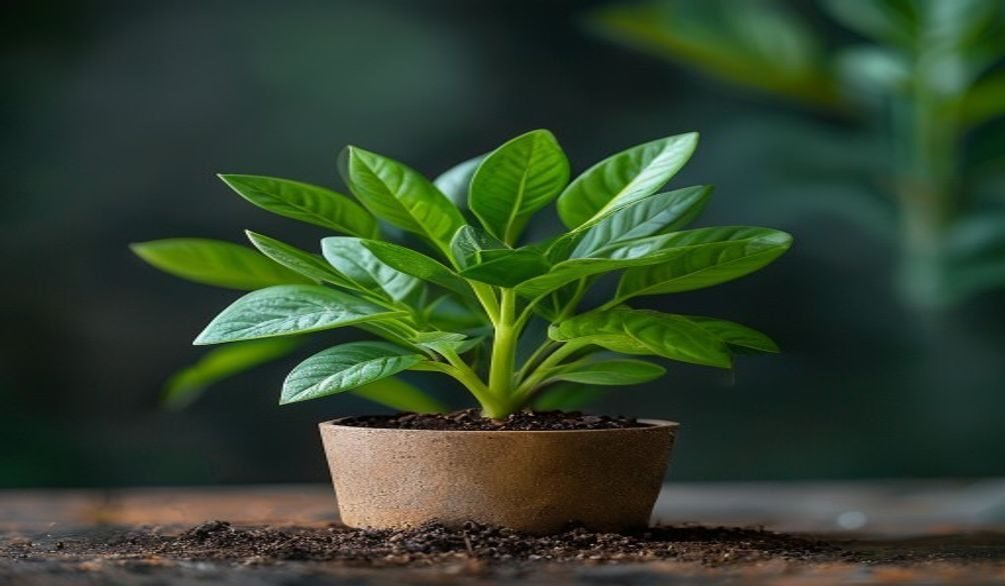
How Deep Should Your Raised Bed Be for Herbs?
The ideal depth for your DIY raised herb garden beds is a frequently asked question, and the short answer is that it depends on the herbs you plan to grow. Most herbs have relatively shallow root systems compared to deep-rooted vegetables, so you don’t necessarily need an extremely deep bed.
For most common culinary herbs like basil, thyme, oregano, chives, and cilantro, a depth of 6 to 12 inches is generally sufficient. This allows ample space for root development and ensures good drainage. However, for herbs with more extensive root systems or those that appreciate deeper soil, such as parsley, dill, or mint (especially if you’re trying to contain its spread), a depth of 12 to 18 inches is preferable.
The University of Florida’s UF/IFAS Gardening Solutions suggests that “for most vegetables, a raised bed should be at least 10-12 inches deep.” While herbs often require less, aiming for at least 10-12 inches provides versatility if you decide to interplant with other shallow-rooted edibles or want extra soil volume for moisture retention.
Step-by-Step: Building Your DIY Raised Herb Garden Bed
Building your own DIY raised herb garden beds is a rewarding project that even novice gardeners can tackle. This section outlines a general construction process, which you can adapt based on your chosen materials and design.
1. Plan Your Design and Location
Before cutting any materials, meticulously plan your herb garden design. Consider the available space, sunlight exposure (most herbs need 6-8 hours of direct sun), and accessibility. Sketch out your desired dimensions, thinking about how many herbs you want to grow and their mature sizes. For small space gardening, a narrow, long bed or a square bed can maximize planting area efficiently. Think about raised garden bed dimensions for herbs that fit your specific needs.
2. Gather Your Materials and Tools
Once your plan is solid, collect all necessary components. For a basic wooden bed, you’ll need:
- Your chosen lumber (e.g., untreated cedar or pine)
- Corner brackets or sturdy wood screws (exterior grade, rust-resistant)
- A drill
- A saw (miter saw or circular saw for straight cuts)
- Measuring tape and pencil
- Level
- Optional: landscape fabric or hardware cloth for the bottom
Having all your tools ready before you start saves time and frustration. For cheap DIY raised herb garden beds, consider using reclaimed wood or even sturdy pallets if sourced safely.
3. Cut Your Lumber
Measure and cut your lumber according to your design. For a simple rectangular bed, you’ll need four pieces: two long sides and two short sides. Ensure all cuts are straight and precise for a strong, stable frame.
4. Assemble the Frame
Lay out your cut pieces on a flat, level surface. Begin by joining the corners. If using screws, pre-drill pilot holes to prevent splitting the wood. For a sturdy connection, use two to three screws per joint. Ensure the corners are square using a carpenter’s square or by measuring diagonals.
Repeat this process for the remaining corners until your entire frame is assembled. What’s often overlooked is the importance of a level base; use a spirit level to check the top edges of your bed, shimming if necessary, especially if placing it on uneven ground.
5. Prepare the Site (Optional)
If you’re concerned about weeds growing up into your bed, you can line the bottom with landscape fabric or a layer of cardboard before filling. For critter control, especially if you have gophers, a layer of hardware cloth securely fastened to the bottom edges of the bed can be very effective.
Filling Your Raised Herb Garden Bed: Soil & Drainage
Proper soil mix for herbs and adequate drainage are paramount for a successful raised herb garden. This is where you truly set your plants up for success, as herbs thrive in well-draining, nutrient-rich, but not overly fertile, soil.
Layering for Optimal Drainage
Do raised herb gardens need drainage? Absolutely. Good drainage prevents waterlogging, which can lead to root rot, a common killer of herbs. The best approach is to start with a base layer that promotes drainage. You can use coarse woody debris, small branches, or even cardboard at the very bottom. This “Hugelkultur” inspired technique helps with drainage and slowly breaks down, adding nutrients over time.
Above this, add a layer of carbon-rich materials like straw or aged wood chips. This layering prevents your expensive potting mix from compacting and ensures water moves freely through the bed.
The Perfect Soil Mix for Herbs
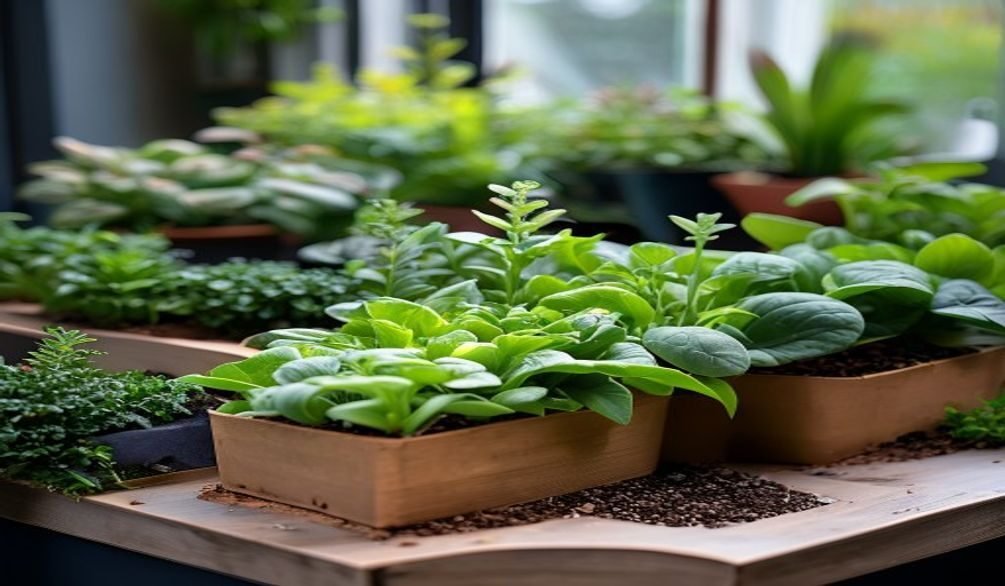
The primary benefit of raised bed gardening is soil control, allowing you to create an ideal environment. For the bulk of your raised bed, especially the top 6-12 inches where roots will primarily grow, use a high-quality soil mix for herbs. A good blend typically includes:
- High-Quality Potting Mix: Provides a light, airy base.
- Compost: Adds essential nutrients and beneficial microbes. Aim for a generous amount, about 30-40% of your total mix.
- Perlite or Vermiculite: Enhances drainage and aeration, crucial for herb roots.
- Sand (optional): A small amount of coarse sand can further improve drainage, particularly for Mediterranean herbs like rosemary and lavender that prefer very gritty soil.
Avoid using heavy garden soil directly from your yard, as it can compact easily in a raised bed, hindering drainage. The goal is a loose, friable mix that roots can easily penetrate and where excess water can escape.
Optimizing Your Herb Garden: Companion Planting & Layouts
Once your raised beds are built and filled, thoughtful herb garden design and companion planting herbs can significantly boost their health, flavor, and visual appeal. This goes beyond simply placing plants; it’s about creating a harmonious ecosystem.
Strategic Herb Garden Design
Consider the mature size of your herbs when planning their layout. Tall herbs like dill or fennel should be placed where they won’t shade out smaller, sun-loving plants. Spreading herbs like mint, lemon balm, or oregano can quickly take over a bed if not contained. A genuine insight here: plant aggressive spreaders in their own pots within the raised bed to prevent them from choking out their neighbors.
Group herbs with similar watering and sunlight needs. Mediterranean herbs (rosemary, thyme, lavender, sage) prefer drier conditions and full sun, while others like parsley, cilantro, and mint appreciate more moisture and can tolerate some partial shade. For herb garden raised bed ideas small space, consider a vertical element or a tiered design to maximize planting area.
The Power of Companion Planting Herbs
Companion planting is the practice of growing different plants together for mutual benefit, and it’s particularly effective in an herb garden. Here are some beneficial pairings:
- Rosemary & Sage: Both prefer similar conditions and can deter cabbage moths and carrot rust flies.
- Basil & Tomatoes: Though not directly an herb pairing, basil is famously known to enhance tomato flavor and deter flies. If you have space, a small tomato plant in your herb bed can be a flavorful addition.
- Chives & Carrots/Apple Trees: Chives can improve the growth and flavor of carrots and help deter apple scab.
- Mint & Cabbage/Broccoli: Mint can deter flea beetles and cabbage moths, but remember to contain its roots.
- Thyme & Strawberries: Thyme can help deter common pests that bother strawberries.
By understanding which herbs grow well together, you can create a more resilient and productive garden, naturally reducing pest issues and potentially enhancing flavors. For more ideas on suitable herbs for different settings, check out our guide on Best Herbs for Terrace Garden.
Advanced Features & Customization for Unique Herb Gardens
Beyond the basic rectangular frame, there are numerous ways to customize your DIY raised herb garden beds, adding functionality, aesthetics, and even extending your growing season. These advanced features can transform a simple bed into a truly unique and efficient herb-growing system.
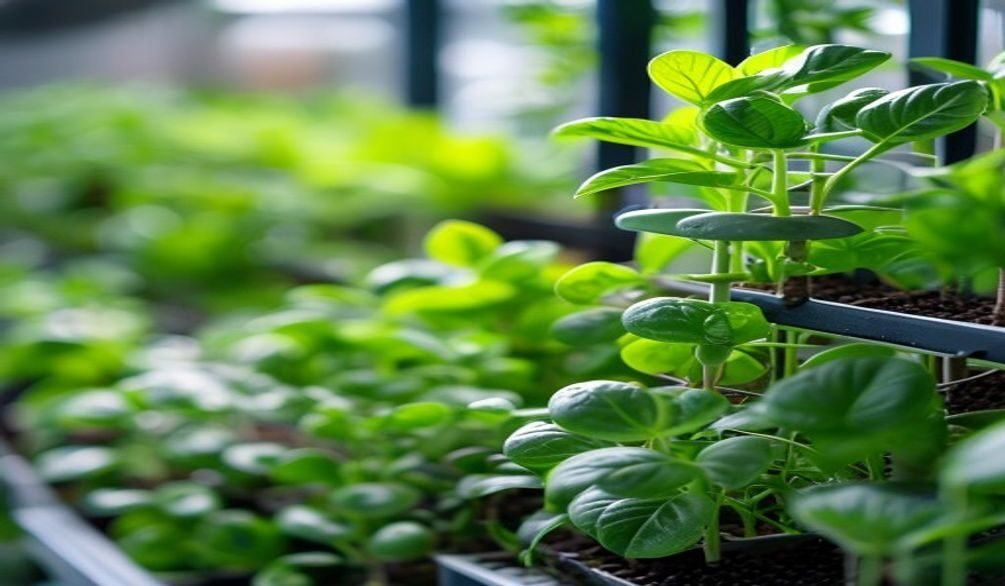
Integrated Trellises and Supports
For vining herbs like nasturtiums (whose flowers and leaves are edible) or even small cucumbers if you’re integrating culinary plants, consider adding an integrated trellis. This can be as simple as attaching a small garden trellis to one side of your raised bed or creating a custom frame with wire mesh. This vertical element maximizes space, especially beneficial for herb garden raised bed ideas small space, and keeps plants off the ground, improving air circulation.
Self-Watering Wicking Systems
To reduce daily watering chores and ensure consistent moisture for your herbs, integrate a self-watering wicking system. This involves creating a water reservoir at the bottom of your raised bed, with wicks (often made from fabric strips or specialized wicking material) drawing water up into the soil as needed. This is particularly useful for herbs that prefer consistent moisture, like cilantro or parsley, and is a great option for container gardening where soil dries out quickly. For those exploring efficient watering, consider researching simple DIY watering systems for herbs.
Tiered and Multi-Level Designs
Tiered raised beds are fantastic for maximizing planting area in a compact footprint and creating visual interest. You can build two or three levels, each slightly smaller than the one below it, creating a cascading effect. This also allows you to separate herbs with different sun or water requirements. For example, sun-loving, drought-tolerant herbs can be on the top tier, while those needing more moisture or partial shade can be on lower levels. This design also makes for an impressive elevated herb garden planter DIY project.
Season Extension with Cold Frames
Extend your herb harvesting season by adding a simple cold frame top to your raised bed. This can be a hinged lid made from clear polycarbonate or old windows, allowing sunlight in while trapping heat. A cold frame protects delicate herbs from early frosts and allows you to start seeds earlier in spring or continue harvesting into late fall and even winter in some climates. This is a practical addition for any gardener serious about year-round fresh herbs.
Frequently Asked Questions
How deep should a raised bed be for herbs?
For most common culinary herbs, a depth of 6 to 12 inches is generally sufficient, providing adequate space for root development and good drainage. However, for herbs with more extensive root systems or those that spread, such as parsley or mint, a depth of 12 to 18 inches is preferable to ensure optimal growth and containment.
What is the best material for a raised herb garden?
The best material depends on your budget, aesthetic preference, and desired longevity. Rot-resistant woods like cedar, redwood, or cypress are popular for their natural look and durability. Galvanized steel beds offer a modern, long-lasting, and highly durable option, while repurposed materials like cinder blocks or stock tanks can be cost-effective and unique. Always ensure materials are untreated and safe for growing edible plants.
What herbs grow well together in a raised bed?
Herbs that grow well together typically share similar needs for sun, water, and soil. Mediterranean herbs like rosemary, thyme, sage, and lavender thrive together in drier, sunny conditions. Basil pairs well with tomatoes, while chives can benefit carrots. The key is to group plants with compatible requirements and contain aggressive spreaders like mint in separate pots within the bed.
How do you fill a raised bed for herbs?
To fill a raised bed for herbs, start with a base layer of coarse woody debris or cardboard for drainage and to prevent compaction. Above this, add a high-quality soil mix for herbs, which should be a blend of good potting mix, ample compost (30-40%), and perlite or vermiculite for aeration. Avoid using heavy garden soil directly from your yard, as it can hinder drainage.
Creating your own DIY raised herb garden beds is an incredibly rewarding endeavor, putting fresh, organic flavors within arm’s reach. By carefully selecting materials, building a sturdy structure, and optimizing your planting strategy, you’ll cultivate a vibrant herb garden that enhances your cooking and beautifies your space. Don’t wait; start planning your custom herb sanctuary today and enjoy the bounty of your own hands!