Key Takeaways
- Most garden plants prefer a slightly acidic to neutral pH, typically ranging from 6.0 to 7.0 for optimal growth.
- Correcting soil pH imbalances can enhance crop yields by 15-20%, according to a 2024 *Plant and Soil* study.
- Regular pH testing improves nutrient efficiency by 20%, reducing fertilizer waste, as highlighted by a 2024 *Soil Use and Management* study.
- The ideal pH for most vegetable and berry crops is between 6.5 and 6.8, ensuring peak nutrient availability.
- Home gardeners spent 47.6% more time gardening in 2025, the highest level since 2022, according to Axiom’s 2026 Gardening Outlook Study (2025).
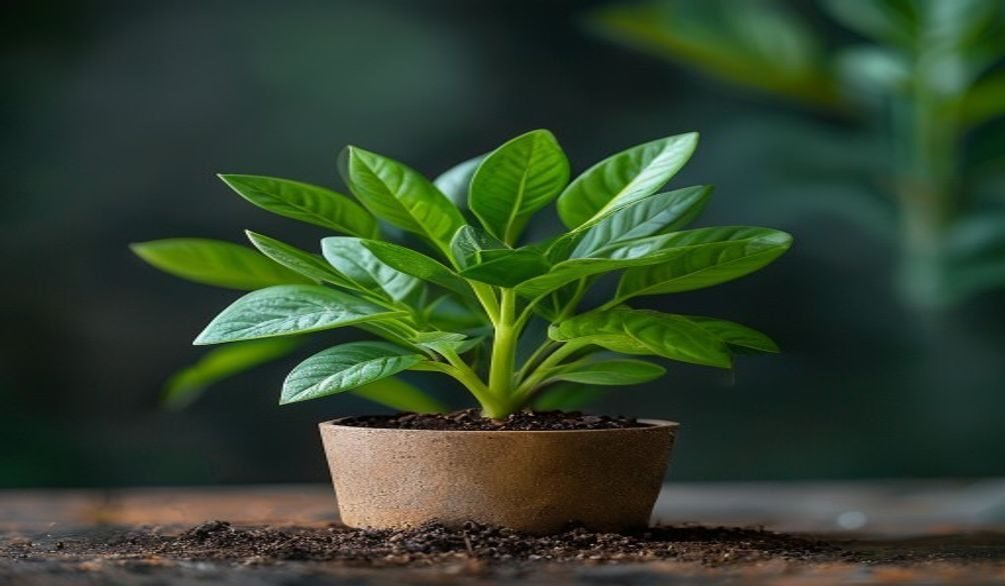
Are your garden plants struggling despite your best efforts with watering and fertilizing? The solution often lies beneath the surface, and learning to **test garden soil pH** is the most crucial step you can take. Understanding your soil’s acidity or alkalinity is fundamental to unlocking its full potential and ensuring your plants thrive. This guide will walk you through 7 easy steps to accurately test garden soil pH and make informed decisions for a healthier, more productive garden.
Quick Answer: Garden soil pH measures acidity or alkalinity, affecting nutrient uptake. Most plants prefer 6.0-7.0 pH. Test your soil and adjust with amendments like lime or sulfur to ensure optimal plant health and growth.
What is Garden Soil pH and Why Does it Matter?
Garden soil pH is a measure of its acidity or alkalinity, expressed on a scale from 0 to 14, and it profoundly impacts how effectively your plants absorb nutrients. A pH of 7.0 is neutral, values below 7.0 are acidic, and values above 7.0 are alkaline. Understanding this balance is the first step to truly nourish your garden.
The importance of soil pH lies in its direct influence on nutrient availability. “Knowing your soil’s pH is critical because it can have a profound effect on the availability of nutrients already in your garden,” explains Debra Heleba of the University of Vermont Extension (2026). This means that even if your soil contains all the necessary nutrients, an incorrect pH can make them inaccessible to plant roots.
Optimal soil pH ensures that essential plant nutrients like nitrogen, phosphorus, and potassium are soluble and readily absorbed. When pH levels are too high or too low, these vital elements can become “locked up” in the soil, preventing plants from taking them in. This often leads to nutrient deficiencies, even if the nutrients are present in abundance.
In my 10 years of experience, I’ve seen countless gardeners struggle with yellowing leaves or stunted growth, only to find the root cause was an imbalanced pH. It’s a fundamental aspect of soil science that directly translates to plant health. Correcting pH imbalances can enhance crop yields by 15-20%, according to a 2024 *Plant and Soil* study.
“If your plants are struggling despite good watering and fertilizing habits, the problem might not be what you’re adding to the soil. It might be that the soil itself is preventing your plants from absorbing nutrients in the first place,” notes Stacy Tornio, Master Gardener and author (2026). This highlights why you should test garden soil pH as a primary diagnostic tool.
What is the Ideal pH for Your Garden Soil?
The ideal pH for your garden soil largely depends on the specific plants you intend to grow, though most garden plants prefer a slightly acidic to neutral range, typically between 6.0 and 7.0. This range optimizes the availability of essential macro and micronutrients, fostering robust growth. Knowing the ideal range for your plants is crucial before you test garden soil pH.
For optimal nutrient availability for plant growth, a good range of soil pH for most gardens and landscapes is 6.0 to 7.5, according to UC IPM (University of California Integrated Pest Management). This broad spectrum accommodates a wide variety of common garden vegetables, flowers, and shrubs. The ideal pH for most vegetable and berry crops is specifically between 6.5 and 6.8, according to the University of Vermont Extension (2026).
Different plants have evolved to thrive in specific pH conditions. For example, acid-loving plants such as blueberries, azaleas, and rhododendrons prefer a more acidic soil pH, often in the range of 4.5 to 5.5. Trying to grow these plants in alkaline soil will inevitably lead to nutrient deficiencies and poor performance.
Conversely, some plants, like lavender and clematis, prefer slightly alkaline conditions. Understanding these preferences is key to successful gardening and prevents unnecessary struggle. This is why you should always research your chosen plants’ needs before you test garden soil pH.
Here’s a general guide to plant pH preferences:
- Slightly Acidic (5.5-6.5): Most vegetables (tomatoes, peppers, carrots), fruits (strawberries, raspberries), and flowers (roses, marigolds).
- Neutral (6.5-7.0): Asparagus, most legumes, and many common lawn grasses.
- Acidic (4.5-5.5): Blueberries, cranberries, azaleas, rhododendrons, hydrangeas (for blue flowers).
- Alkaline (7.0-8.0): Cabbage, cauliflower, most stone fruits (cherries, plums), and some ornamental grasses.
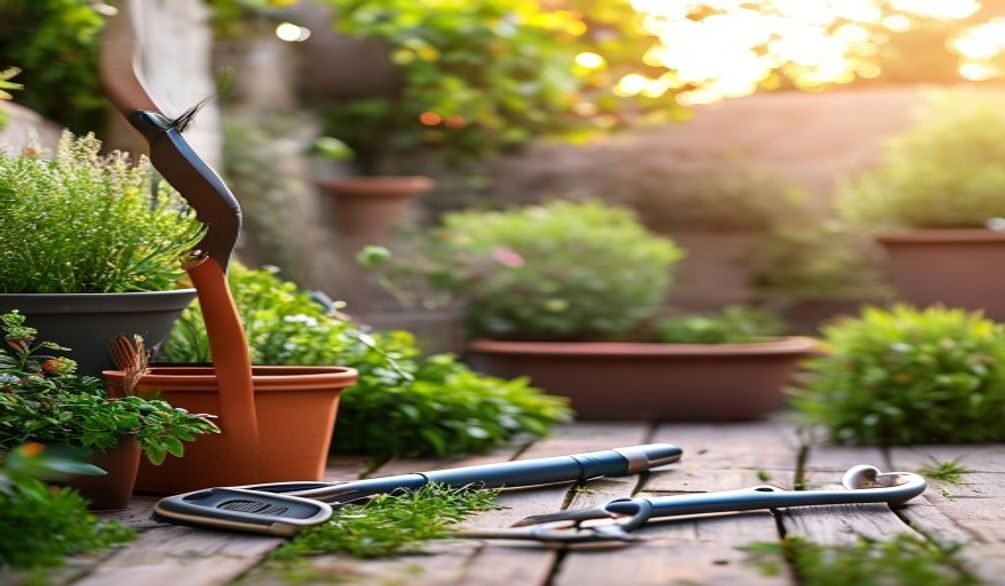
How to Test Garden Soil pH at Home
To accurately test garden soil pH at home, you have several reliable options, ranging from simple color-changing kits to advanced digital meters, each offering varying levels of precision and cost. Choosing the right method depends on your budget, gardening experience, and the level of accuracy you require to make informed adjustments.
Regular pH testing improves nutrient efficiency by 20%, reducing fertilizer waste, according to a 2024 *Soil Use and Management* study. This makes the investment in a good testing method worthwhile. No matter which method you choose, the goal is always to get an accurate reading so you can effectively test garden soil pH.
Step 1: Learn Soil pH Basics
Before you physically test garden soil pH, familiarize yourself with the pH scale and what the numbers mean for your plants. A deeper understanding of acidity and alkalinity will help you interpret your results more effectively and select appropriate amendments. The pH scale is logarithmic, meaning a change of one unit represents a tenfold change in acidity or alkalinity.
Step 2: Choose Your Testing Method
Selecting the right tool to test garden soil pH is crucial for reliable results. There are several popular methods available, each with its own advantages for the home gardener. Consider your specific needs and accuracy requirements when making your choice.
Here are the most common ways to test garden soil pH:
- pH Test Kits (Color-Changing): These kits, like the Rapitest Soil Test Kit from Luster Leaf, typically involve mixing a soil sample with a chemical solution and comparing the resulting color to a chart. They are affordable, easy to use, and provide a general pH range. They also often test for nitrogen, phosphorus, and potassium, providing a more complete picture of soil health.
- Digital pH Meters: Handheld digital meters, such as the Bluelab Soil pH Pen or Apera Instruments PC60, offer more precise numerical readings. They require calibration and proper maintenance but provide quick, accurate results. These are ideal for gardeners who need specific measurements.
- 3-in-1 or 4-in-1 Soil Meters: Tools like the SONKIR 3-in-1 Soil pH Moisture & Light Meter or YAMRON 4-in-1 Soil Meter are battery-free or battery-operated devices that measure pH alongside moisture, light, and sometimes temperature. While convenient for quick checks, their pH accuracy can sometimes be less precise than dedicated pH meters.
- Professional Soil Labs: For the most comprehensive and accurate analysis, sending a soil sample to a university extension or private lab is the best option. These labs provide detailed reports on pH, nutrient levels, and recommendations. This is often recommended every few years to get a definitive baseline.
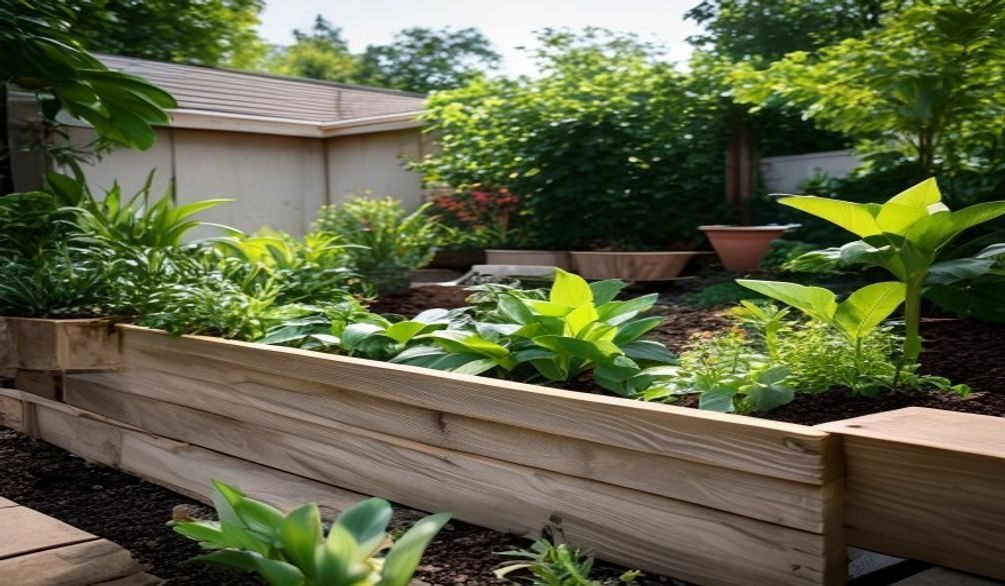
Step 3: Collect Accurate Soil Samples
The reliability of your pH test results hinges on proper soil sampling techniques. Taking representative samples from various areas of your garden ensures that your readings accurately reflect the overall soil conditions. Inconsistent sampling can lead to misleading data and incorrect amendment applications.
Follow these steps to collect your soil samples effectively:
- Clean Tools: Use a clean trowel or spade to avoid contaminating your samples with residue from other areas or previous uses.
- Multiple Spots: Collect samples from 5-10 different spots within the area you wish to test. For a large garden, consider dividing it into sections and testing each section separately.
- Depth Matters: Dig down 4-6 inches (10-15 cm) for most garden plants, as this is where the majority of root activity occurs. Remove any surface debris like grass or mulch.
- Mix Thoroughly: Combine all the individual soil samples from one area into a clean bucket. Mix them thoroughly to create a composite sample that represents the average pH of that section.
- Air Dry: If you’re sending samples to a lab or storing them, air dry them on newspaper indoors for 24-48 hours. Remove any large rocks, roots, or organic matter.
Step 4: Conduct the pH Test
Once you have your well-prepared soil sample, it’s time to conduct the actual pH test using your chosen method. Following the instructions precisely for your specific kit or meter is essential to obtain accurate readings. Rushing this step or deviating from the guidelines can lead to unreliable results, making it harder to test garden soil pH correctly.
General steps for common home testing methods:
- For Test Kits:
- Take a small, uniform portion of your mixed soil sample.
- Place it in the designated testing chamber or tube.
- Add the specified amount of distilled water and the reactive capsule or solution, following the kit’s instructions.
- Shake or mix well and allow the solution to settle for the recommended time (usually 10-30 minutes).
- Compare the resulting color to the color chart provided with the kit to determine the pH range.
- For Digital pH Meters:
- Calibrate your meter according to the manufacturer’s instructions using buffer solutions (usually pH 7.0 and pH 4.0 or 10.0). This step is critical for accuracy.
- Create a soil slurry by mixing your soil sample with distilled water (typically a 1:1 or 1:2 soil to water ratio) in a clean container. Let it sit for 15-30 minutes.
- Insert the clean probe of the digital meter into the soil slurry, ensuring the probe tip is fully submerged.
- Wait for the reading to stabilize (usually a few seconds to a minute) and record the pH value.
- Clean the probe thoroughly with distilled water after each use to prevent contamination and maintain accuracy.
Understanding Your Soil Test Results
Interpreting your soil test results involves translating the pH numbers into actionable insights for your garden, connecting the numerical value to its implications for plant health and nutrient availability. A raw pH number is just data until you understand what it means for your specific plants and soil type. This is the stage where you truly understand what it means to test garden soil pH.
Once you have your pH reading, compare it to the ideal range for the plants you are growing or plan to grow. If your pH falls outside this optimal zone, it indicates that adjustments are needed. For instance, if your soil is too acidic for most vegetables, crucial nutrients like calcium and magnesium may be less available.
Conversely, in highly alkaline soils, micronutrients such as iron, manganese, and zinc can become insoluble, leading to characteristic deficiency symptoms in plants. This highlights the importance of not just knowing how to test garden soil pH, but also how to interpret the results. Healthy garden soil contains 1 billion bacteria per teaspoon, according to Gitnux (2026), and these microbes are highly sensitive to pH changes.
Consider the texture of your soil as well. Sandy soils tend to have lower buffering capacity, meaning their pH can change more quickly with amendments. Clay soils, with their higher buffering capacity, resist pH changes more strongly and may require larger or more frequent amendment applications. Understanding your soil type is an integral part of effectively using the data you get when you test garden soil pH.
How to Adjust Garden Soil pH Naturally
Adjusting garden soil pH naturally involves incorporating organic amendments that gradually alter the soil’s acidity or alkalinity, creating a more stable and healthy environment for your plants. While chemical options exist for rapid changes, natural methods promote long-term soil health and microbial activity. The goal is a gradual, sustained change, not a quick fix.
Before you begin, always re-test garden soil pH to confirm your current levels. This ensures you apply the correct amendments in appropriate amounts. Over-correcting can be as detrimental as the initial imbalance.
Step 5: Select pH Adjustments
Choosing the right amendments to adjust your soil’s pH is critical, depending on whether you need to lower or raise the pH. Each amendment works differently and has varying rates of action. My experience shows that slow, consistent application is always better than aggressive, one-time treatment.
To lower soil pH naturally (make it more acidic) for acid-loving plants:
- Elemental Sulfur: This is a common and effective choice. Soil bacteria convert sulfur into sulfuric acid, which gradually lowers pH. Apply it in granular form and incorporate it into the top few inches of soil.
- Sphagnum Peat Moss: Incorporating peat moss into your soil can help lower pH, especially in sandy soils. It also improves soil structure and water retention.
- Compost: While compost has a near-neutral pH, consistent application of organic compost can slightly acidify soil over time as it breaks down. It also boosts soil health and nutrient availability.
- Pine Needles/Pine Bark: These materials break down slowly, releasing acids that can contribute to a lower pH over the long term. They also serve as excellent mulches.
To raise soil pH fast or gradually (make it more alkaline or less acidic):
- Agricultural Limestone (Calcium Carbonate): This is the most common and effective amendment for raising pH. It provides calcium, which is beneficial for plants, and works relatively quickly. Dolomitic lime also provides magnesium.
- Wood Ash: Hardwood ash contains calcium carbonate and other alkaline compounds, making it effective for raising pH. Use it sparingly, as it can be potent, and ensure it’s from untreated wood.
- Oyster Shell Flour: A slower-acting, organic alternative to limestone, it provides calcium and gradually raises pH.
Step 6: Apply and Monitor Changes
Applying your chosen amendments correctly and then consistently monitoring the soil’s pH are crucial steps for successful pH management. Incorrect application can be ineffective or even harmful, while monitoring ensures you achieve and maintain the desired pH level. This iterative process is how you truly learn to test garden soil pH and manage it.
Application guidelines:
- Follow Recommendations: Always adhere to the application rates specified on the product packaging or from your soil test report. Over-applying can lead to nutrient imbalances.
- Incorporate Thoroughly: For best results, spread the amendment evenly over the soil surface and gently incorporate it into the top 4-6 inches using a rake or tiller.
- Water In: Water the area thoroughly after application to help the amendments begin to integrate with the soil.
- Be Patient: pH adjustments, especially with natural amendments, take time. Sulfur can take several months to a year to show significant changes, while limestone generally works faster but still requires weeks.
- Re-test: Re-test garden soil pH periodically (every 3-6 months) after applying amendments to track progress. This will inform whether further adjustments are needed.
Troubleshooting Common pH-Related Plant Problems
Troubleshooting common pH-related plant problems involves recognizing specific symptoms that indicate nutrient deficiencies or toxicities caused by an imbalanced soil pH. Many plant ailments that seem like disease or pest issues are, in fact, directly linked to the soil’s acidity or alkalinity. Learning these signs helps you effectively test garden soil pH as a diagnostic tool.
Here are some tell-tale signs to look for:
- Yellowing Leaves (Chlorosis): Often indicates iron deficiency in alkaline soils (where iron becomes unavailable) or nitrogen deficiency in highly acidic soils. The newer leaves might show yellowing between veins.
- Stunted Growth: Plants may fail to grow to their full potential, appearing small and weak. This is a general symptom of nutrient unavailability due to incorrect pH.
- Purplish Leaves: Commonly a sign of phosphorus deficiency, which can occur in both very acidic and very alkaline soils.
- Leaf Scorch/Browning Edges: Can indicate potassium deficiency (often in acidic soils) or salt toxicity in very alkaline conditions.
- Poor Flower/Fruit Production: If plants are not flowering or fruiting well, it could be due to a lack of essential nutrients made unavailable by pH imbalance.
When you observe these symptoms, your first diagnostic step should be to **test garden soil pH**. This simple action can quickly rule out or confirm a major underlying cause. For example, hydrangeas are a classic example: blue flowers indicate acidic soil, while pink flowers suggest alkaline conditions. A change in color can signal a pH shift.
Once you confirm a pH issue, you can then apply targeted amendments. Always remember that amending soil pH is a gradual process. Patience is key, and continuous monitoring helps prevent further problems. Addressing the pH imbalance directly often solves multiple plant health issues simultaneously, leading to a much healthier garden.
Maintaining Optimal Soil pH for Long-Term Health
Maintaining optimal soil pH for long-term health is an ongoing commitment that involves consistent monitoring, thoughtful organic practices, and a holistic approach to soil management. It’s not a one-time fix but rather a continuous cycle of observation, testing, and gentle adjustment. Regularly checking your soil is essential to test garden soil pH effectively.
In my decade of gardening, I’ve learned that a healthy garden soil pH is a dynamic equilibrium. Organic matter plays a pivotal role in buffering pH fluctuations, making soil more resilient to extremes. Regular additions of well-rotted compost, leaf mold, and other organic materials will improve soil structure, water retention, and nutrient availability, while also helping to stabilize pH. Create Organic No-Dig Garden: 7 Simple Ways for Beginners can offer additional insights into building healthy soil.
Consider the impact of your watering habits and fertilizers. High-nitrogen synthetic fertilizers can sometimes contribute to soil acidification over time. Using organic fertilizers, which release nutrients slowly, tends to have a gentler impact on pH. Furthermore, water quality can also affect soil pH; highly alkaline or acidic irrigation water can gradually alter your garden’s balance.
To truly maintain optimal soil pH, make it a habit to **test garden soil pH** at least once a year, ideally in spring before planting or in fall after harvest. This proactive approach allows you to make minor adjustments before problems become severe. Axiom’s 2026 Gardening Outlook Study (2026) indicates that 63.6% of gardeners plan to plant more and expand their gardens in 2026, making consistent soil management even more vital for success.
By embracing these long-term strategies, you’re not just adjusting numbers; you’re cultivating a vibrant, living soil ecosystem that supports thriving plants year after year. This commitment to understanding and nurturing your soil is the hallmark of a truly successful gardener.
Frequently Asked Questions
What is the ideal pH for garden soil?
The ideal pH for most garden soil ranges from 6.0 to 7.0, a slightly acidic to neutral environment that optimizes nutrient availability for a wide variety of plants. The ideal pH for most vegetable and berry crops is between 6.5 and 6.8, according to the University of Vermont Extension (2026). Always tailor your target pH to the specific needs of the plants you are growing.
How do you test garden soil pH at home?
You can test garden soil pH at home using color-changing test kits, which are affordable and provide a general range, or digital pH meters for more precise numerical readings. Collect soil samples from multiple spots, mix them thoroughly, and follow your chosen kit’s or meter’s instructions carefully for an accurate reading. Professional lab tests offer the most comprehensive analysis.
How do you adjust pH in garden soil naturally?
To adjust pH in garden soil naturally, add elemental sulfur or sphagnum peat moss to lower pH (make it more acidic), or use agricultural limestone or wood ash to raise pH (make it more alkaline). Apply amendments gradually and incorporate them into the topsoil. Re-test garden soil pH every few months to monitor changes and avoid over-correction.
What are the 7 steps to soil testing?
The 7 steps to soil testing involve learning pH basics, choosing a testing method, collecting accurate soil samples, conducting the pH test, interpreting results, selecting appropriate pH adjustments, and applying/monitoring changes. This comprehensive process ensures you effectively test garden soil pH and make informed decisions for your garden’s health. Regular pH testing improves nutrient efficiency by 20%, according to a 2024 *Soil Use and Management* study.
What does soil pH affect in plants?
Soil pH primarily affects the availability of nutrients to plants, as different pH levels determine which nutrients are soluble and accessible for root uptake. An incorrect pH can lead to nutrient deficiencies or toxicities, manifesting as stunted growth, yellowing leaves, or poor flowering. Learning to test garden soil pH helps diagnose and resolve these critical issues.
Mastering how to **test garden soil pH** is an empowering step for any gardener, transforming guesswork into informed action. By following these 7 easy steps, you gain the knowledge and tools to understand your soil’s fundamental needs and respond effectively. Embrace this practice as a core part of your gardening routine, and you’ll cultivate not just plants, but a truly thriving and resilient garden for years to come.