Key Takeaways
- Healthy roots are typically white or cream-colored and firm, while rotten roots are black, mushy, and may smell foul, according to Veranda (2026).
- Red crown rot caused an estimated 7.7 million bushels of soybean yield losses in the U.S. in 2025, according to Integrated Pest Management (2025).
- *Phytophthora inundata* and *Phytophthora lacustris* were the most common *Phytophthora* species identified from 2025 soil samples in Minnesota nurseries, according to the Status of Invasive Forest and Landscape Pests in Minnesota (2026).
- The beneficial bacteria *Bacillus amyloliquefaciens* is used in organic fungicides, like Arber’s Bio Fungicide, to restore root health and protect against disease.
- Prevention is often the most effective strategy against root rot, emphasizing proper drainage, appropriate watering, and healthy soil aeration, according to Taylor Campbell.
Are you worried about your beloved plant showing signs of distress? Learning to effectively **diagnose treat root rot** is a fundamental skill for any gardener, preventing further damage and often saving your plants from an untimely demise. In my 10 years of experience, I’ve seen countless plants brought back from the brink, and I’m here to share the essential steps to identify and resolve this common plant problem, ensuring your green companions thrive.
Quick Answer: To diagnose root rot, inspect roots for mushy, discolored (brown/black) tissue and a foul smell. Treat by removing affected roots, repotting in fresh, well-draining soil, and adjusting watering habits. Prevention through proper drainage and mindful watering is key to plant health.
What Does Root Rot Look Like on Roots?
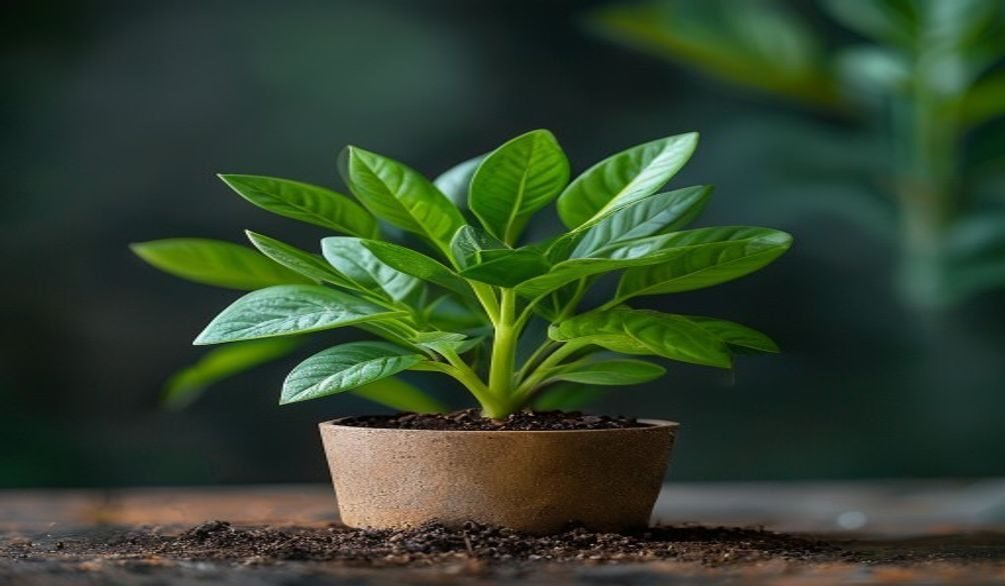
Root rot primarily manifests as dark, soft, and mushy roots that often emit a foul, decaying odor. Healthy roots, conversely, are typically white or cream-colored, firm to the touch, and have a fresh, earthy smell, according to Veranda (2026) and Pennington Seed (2026). This visual and olfactory distinction is your first clue when you need to diagnose treat root rot.
When inspecting roots, you might notice various stages of decay. Early signs could be just a few discolored tips, while advanced cases will show widespread black, slimy roots that easily break apart. These tell-tale signs are crucial for any gardener trying to diagnose treat root rot effectively. Christian Douglas, founder of Christian Douglas Design, emphasizes that poor drainage and low soil oxygen are often the underlying culprits, rather than just “too much water.”

Identifying Healthy vs. Unhealthy Roots
Understanding the difference between healthy and unhealthy roots is paramount for successful intervention. Healthy roots absorb water and nutrients, anchoring the plant securely. Unhealthy roots, compromised by rot, fail to perform these vital functions.
* Healthy Roots:
* Firm and pliable
* White or light cream in color
* Often have fine root hairs
* Smell fresh and earthy
* Rotten Roots:
* Mushy or slimy texture
* Dark brown or black coloration
* Break apart easily when handled
* Emit a distinct, unpleasant sulfurous or rotten smell
How Do You Diagnose Root Rot in Plants?
To diagnose root rot in plants, you must first observe above-ground symptoms like wilting, yellowing leaves, and stunted growth, then confirm by carefully inspecting the plant’s root system for discolored, mushy, and foul-smelling roots. Purdue Extension advises that diagnosing root rot requires observing symptoms and collecting infected tissue at the right time. This two-pronged approach is essential to accurately diagnose treat root rot before it becomes irreversible.
The initial signs of root rot can often mimic other plant issues, such as underwatering, making a thorough inspection critical. Many plant enthusiasts mistakenly water more when they see wilting, exacerbating the root rot problem. Therefore, knowing how to save a plant with root rot begins with correct identification.

Steps for Diagnosing Root Rot
Here’s a systematic approach to accurately diagnose treat root rot:
1. Observe Above-Ground Symptoms: Look for leaves that are yellowing, browning, or wilting, even if the soil feels moist. Stunted growth, dropping leaves, or a general lack of vigor are also common root rot symptoms.
2. Check Soil Moisture: Feel the soil several inches down. If it’s consistently soggy or doesn’t drain well, root rot is more likely. Poor drainage is a major contributor to root rot.
3. Gently Remove the Plant: Carefully slide the plant out of its pot. For garden plants, gently dig around the base to expose the root ball.
4. Inspect the Roots: Shake off excess soil and examine the roots. Look for any dark, soft, or slimy sections. Healthy roots will be firm and light-colored.
5. Perform the Smell Test: Healthy roots smell fresh and earthy. If you detect a rotten, sulfurous, or moldy odor, it’s a strong indicator of root rot.
6. Assess the Severity: Determine how much of the root system is affected. This will guide your treatment plan. Early detection to diagnose treat root rot significantly improves the chances of recovery.
What is the Fastest Way to Cure Root Rot?
The fastest way to cure root rot involves immediate surgical removal of all affected root tissue, followed by repotting the plant in fresh, well-draining soil, and adjusting watering practices. This aggressive intervention stops the progression of the disease and provides the plant with a clean slate for recovery. While there’s no instant “cure-all” that kills root rot instantly, prompt action is the most effective strategy.
Many gardeners ask, “What kills root rot instantly?” The reality is that immediate physical removal of the diseased parts is the closest you’ll get to a rapid solution. Christian Douglas advises using “a light, fluffy potting mix that drains quickly but holds just enough moisture” when repotting to prevent recurrence. This proactive step helps to diagnose treat root rot efficiently.

Key Elements of Rapid Root Rot Treatment
Successfully addressing root rot quickly depends on a combination of actions:
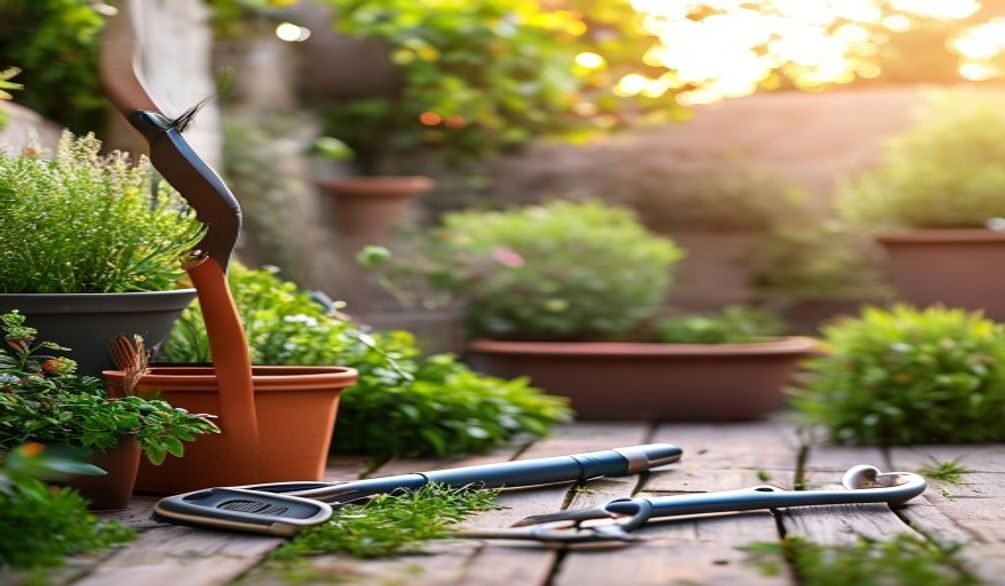
* Pruning Affected Roots: Use sterilized scissors to cut away all soft, black, or mushy roots, leaving only firm, healthy tissue. This is the most critical step to halt the spread of the disease.
* Repotting with Fresh Soil: Discard all old, potentially contaminated soil. Repot into a clean pot with new, well-draining potting mix. This removes the fungal pathogens and improves aeration.
* Optimizing Watering: Immediately adjust your watering schedule. Allow the top inch or two of soil to dry out completely between waterings to prevent future root rot.
* Improving Drainage: Ensure the pot has adequate drainage holes. Consider adding perlite or coarse sand to the potting mix to enhance drainage further. This is fundamental when you diagnose treat root rot.
Can a Plant Recover From Root Rot?
Yes, a plant can absolutely recover from root rot if the damage is not too extensive and appropriate treatment is applied promptly. Purdue Extension notes that some root rots, such as those caused by *Phytophthora*, are treatable if caught and diagnosed early enough. The plant’s ability to recover hinges on the percentage of healthy root mass remaining and the swiftness of intervention to diagnose treat root rot.
In my experience, even plants that look severely impacted can bounce back with careful attention. The key is to act decisively once root rot symptoms are identified. Taylor Campbell, horticulture extension agent, emphasizes that “Prevention is key,” but early treatment is equally vital for recovery.

Factors Influencing Plant Recovery
Several factors determine the likelihood of a plant recovering after you diagnose treat root rot:
* Severity of Damage: Plants with a significant portion of healthy roots remaining have a much better chance of recovery.
* Type of Plant: Some plants are more resilient to stress and root damage than others. Succulents, for example, are highly susceptible, while some tropicals can be more forgiving.
* Timeliness of Treatment: The sooner you intervene after identifying root rot, the higher the chances of saving the plant.
* Environmental Conditions: Providing optimal light, humidity, and temperature during recovery can aid the plant’s healing process.
* Post-Treatment Care: Consistent, appropriate watering and avoiding over-fertilization are crucial for fostering new root growth.
How to Treat Root Rot: A Step-by-Step Guide
To effectively treat root rot, follow a series of precise steps focusing on root pruning, repotting with fresh soil, and adjusting watering habits to promote healing and prevent recurrence. This step-by-step approach is the most reliable way to save an affected plant. Learning how to diagnose treat root rot is a practical skill that empowers you to restore plant health.
This guide provides actionable advice, drawing on the best practices for root rot treatment for houseplants and garden specimens alike. Each step is designed to address the immediate problem and set the plant up for long-term success.

Step 1: Identify Root Rot Symptoms
The first action you must take is to confirm the presence of root rot by observing both above-ground indicators and the condition of the roots. This initial assessment is critical because root rot symptoms can often be mistaken for other issues like underwatering, making accurate identification essential to successfully diagnose treat root rot. Look for wilting, yellowing leaves, stunted growth, or a general decline in vigor.
Step 2: Gently Remove Plant from Pot
Carefully slide the plant out of its container or gently dig around the root ball if it’s in the ground. This step allows you to access the root system for a thorough inspection without causing additional stress to the plant. For potted plants, tilting the pot and gently tapping the sides can help loosen the root ball.
Step 3: Inspect and Prune Affected Roots
Shake off as much old soil as possible from the root ball and meticulously examine the roots for signs of rot. Any roots that are black, brown, soft, mushy, or emit a foul odor must be pruned away using sterile scissors or pruning shears. Make clean cuts into healthy, firm, white root tissue to stop the spread of disease and encourage new growth. This pruning is a vital part of the process to diagnose treat root rot.
Step 4: Sterilize Pot or Use New One
Thoroughly clean and sterilize the old pot with a 10% bleach solution (1 part bleach to 9 parts water) to kill any lingering fungal spores or bacteria. Alternatively, use a brand new pot to ensure a completely sterile environment for your recovering plant. Using a clean container prevents re-infection and gives your plant the best chance to recover after you diagnose treat root rot.
Step 5: Repot with Fresh, Well-Draining Soil
Repot your plant into its clean container using a fresh, high-quality, well-draining potting mix. A good mix for root rot prone plants often contains perlite, bark, or coarse sand to improve aeration and drainage. Christian Douglas recommends a “light, fluffy potting mix that drains quickly but holds just enough moisture.” This fresh start provides essential nutrients and prevents waterlogging.
Step 6: Adjust Watering Habits
After repotting, water the plant thoroughly, but then allow the top 1-2 inches of soil to dry out completely before watering again. Overwatering is the primary cause of root rot, so adopting a mindful watering schedule is crucial for long-term plant health. Always check soil moisture levels before watering, rather than sticking to a rigid schedule, to properly diagnose treat root rot and prevent recurrence.
Step 7: Apply Organic Fungicide (If Needed)
Consider applying an organic fungicide, such as Neem Oil or a product containing *Bacillus amyloliquefaciens* strain F727 (like Arber’s Bio Fungicide), to the soil. These beneficial microbes can help suppress remaining pathogens and promote a healthy soil microbiome. This step can provide an extra layer of protection, especially for plants that were severely affected.
Step 8: Monitor Plant Recovery
Place your plant in a suitable environment with adequate light and stable temperatures, then closely monitor its progress over the next few weeks. Look for signs of new growth, such as fresh leaves or shoots, which indicate successful recovery. Be patient, as recovery can take time, but consistent care will help your plant thrive.
Preventing Root Rot: Building Resilient Plant Systems
Preventing root rot is primarily achieved by establishing excellent drainage, implementing proper watering techniques, and fostering a healthy soil microbiome. These proactive measures create an environment where root rot pathogens struggle to thrive, making plants more resilient. As Taylor Campbell wisely states, “Prevention is key” to avoid the need to diagnose treat root rot.
Building resilient plant systems means understanding the conditions that lead to root rot and actively working to mitigate them. It’s about more than just avoiding overwatering; it’s about creating optimal growing conditions from the start. This includes careful consideration of soil composition and pot selection.

Key Strategies for Root Rot Prevention
Proactive steps are always better than reactive treatments when it comes to plant health.
* Choose Pots with Drainage Holes: Always use containers with ample drainage holes to allow excess water to escape. Avoid decorative pots without holes unless you use a cachepot system.
* Use Well-Draining Potting Mix: Select or create a potting mix that drains quickly and provides good aeration. Incorporate amendments like perlite, coarse sand, or bark to improve soil structure.
* Water Mindfully: Only water when the top inch or two of soil is dry. Use your finger to check moisture levels. Reduce watering frequency in cooler months or for dormant plants.
* Ensure Proper Air Circulation: Good airflow around plants helps dry out the soil surface and reduces humidity, discouraging fungal growth.
* Maintain Soil Microbiome Health: Incorporate beneficial microbes, like those found in compost or specific bio-fungicides, to create a competitive environment against harmful pathogens. This is crucial for long-term prevention.
* Avoid Deep Planting: Ensure the plant’s crown is at the same level as, or slightly above, the soil surface to prevent stem rot.
* Consider Self-Watering Pots Wisely: While convenient, these can sometimes keep the soil too consistently moist. Monitor carefully.
When to Use Fungicides for Root Rot (Organic vs. Chemical)
Fungicides for root rot should be considered as a supplemental treatment, primarily when cultural practices alone are insufficient or when dealing with a recurring, severe infection. The choice between organic and chemical options depends on your gardening philosophy, the specific pathogen, and the severity of the problem. Preliminary data from the 2025–2026 Florida Citrus Production Guide indicates reduced effectiveness of chemical management for *Phytophthora* spp. control, highlighting a shift towards integrated approaches.
While organic options like Neem Oil or products containing *Bacillus amyloliquefaciens* are excellent for prevention and early-stage root rot treatment, chemical fungicides offer a more potent solution for stubborn or widespread infections. It’s important to understand when and how to deploy these tools to effectively diagnose treat root rot.

Comparing Fungicide Options
Knowing the differences between organic and chemical fungicides helps in making an informed decision for your plant.
| Fungicide Type | Examples / Active Ingredients | Pros | Cons | Best Use Case |
|---|---|---|---|---|
| Organic | Neem Oil, *Bacillus amyloliquefaciens* (e.g., Arber Bio Fungicide), Cinnamon Powder | Environmentally friendly, safe for beneficial insects, improves soil microbiome. | Slower acting, may require repeat applications, less potent for severe cases. | Prevention, early-stage root rot, promoting soil health. |
| Chemical | Monterey Garden Phos, Patch Pro (Fosetyl-al, Propamocarb) | Fast-acting, highly effective for severe infections, broad-spectrum. | Can harm beneficial soil organisms, environmental concerns, potential for resistance. | Advanced or persistent root rot, specific virulent pathogens like *Phytophthora*. |
For instance, Arber’s Root Rot Relief Kit, powered by *Bacillus amyloliquefaciens* strain F727, is marketed as a complete organic system to restore root health. When considering chemical options, always read labels carefully and follow application instructions precisely.
Advanced Diagnosis: Differentiating Root Rot Pathogens
Differentiating specific root rot pathogens often requires advanced diagnostic techniques beyond visual inspection, such as sending samples to an agricultural extension service like Purdue Extension for laboratory analysis. While general root rot symptoms are similar, knowing the specific pathogen (e.g., *Phytophthora*, *Pythium*, *Rhizoctonia*, *Fusarium*) can inform targeted treatment strategies. For example, *Phytophthora inundata* and *Phytophthora lacustris* were the most common *Phytophthora* species identified from 2025 soil samples in Minnesota nurseries, according to the Status of Invasive Forest and Landscape Pests in Minnesota (2026).
Understanding the specific pathogen allows for a more precise approach to diagnose treat root rot, especially for valuable or widespread infections. This level of detail moves beyond basic identification to a more scientific understanding of the disease. Muhammad Usman Ali, a plant pathologist, specializes in fungal root rot diseases like *Phytophthora*, highlighting the complexity of these issues.

When to Seek Professional Diagnosis
While most home gardeners can diagnose treat root rot with general methods, there are times when professional help is invaluable:
* High-Value Plants: For expensive or sentimental plants, a precise diagnosis can save them.
* Widespread Issues: If root rot is affecting many plants in your garden or greenhouse, identifying the specific pathogen can guide a broader management strategy.
* Unresponsive Treatment: If your efforts to diagnose treat root rot aren’t yielding results, a professional might uncover a less common pathogen or underlying issue.
* Specific Crop Concerns: For commercial growers, knowing the pathogen is crucial for crop protection. Red crown rot, for instance, caused an estimated 7.7 million bushels of soybean yield losses in the U.S. in 2025, according to Integrated Pest Management (2025).
Common Root Rot Pathogens and Their Nuances
Different pathogens can cause root rot, each with slight differences in ideal conditions and susceptibility.
* ***Phytophthora:*** Often called “water mold,” this pathogen thrives in waterlogged conditions and can be particularly aggressive. It’s notorious for causing rapid decline.
* ***Pythium:*** Another common water mold, *Pythium* is widespread and can affect seedlings rapidly, causing damping-off.
* ***Rhizoctonia:*** This fungus causes dry rot and can also lead to damping-off in young plants, often forming a web-like mycelium.
* ***Fusarium:*** Known for causing vascular wilts in addition to root rot, *Fusarium* can block the plant’s water-transporting tissues.
Frequently Asked Questions
Can hydrogen peroxide cure root rot?
Hydrogen peroxide can help treat early stages of root rot by providing oxygen to roots and killing some anaerobic pathogens, but it’s not a standalone cure. It should be used diluted (1 part 3% hydrogen peroxide to 2 parts water) to flush the soil, according to Gardening Know How (2026). Always prune affected roots and repot into fresh soil for best results.
What are the first signs of root rot on a plant?
The first signs of root rot on a plant often include wilting or drooping leaves despite moist soil, yellowing foliage, and stunted growth. Upon closer inspection, the roots themselves will appear dark, mushy, and may have a foul, sulfurous odor when removed from the soil, according to Pennington Seed (2026). These initial indicators necessitate a quick response to diagnose treat root rot effectively.
Can root rot spread to other plants?
Yes, root rot can spread to other plants, especially if the pathogens are present in the soil or water. Fungi and water molds like *Phytophthora* can persist in contaminated soil and pots, infecting new plants or spreading through shared watering trays. Always sterilize tools and pots to prevent cross-contamination when you diagnose treat root rot.
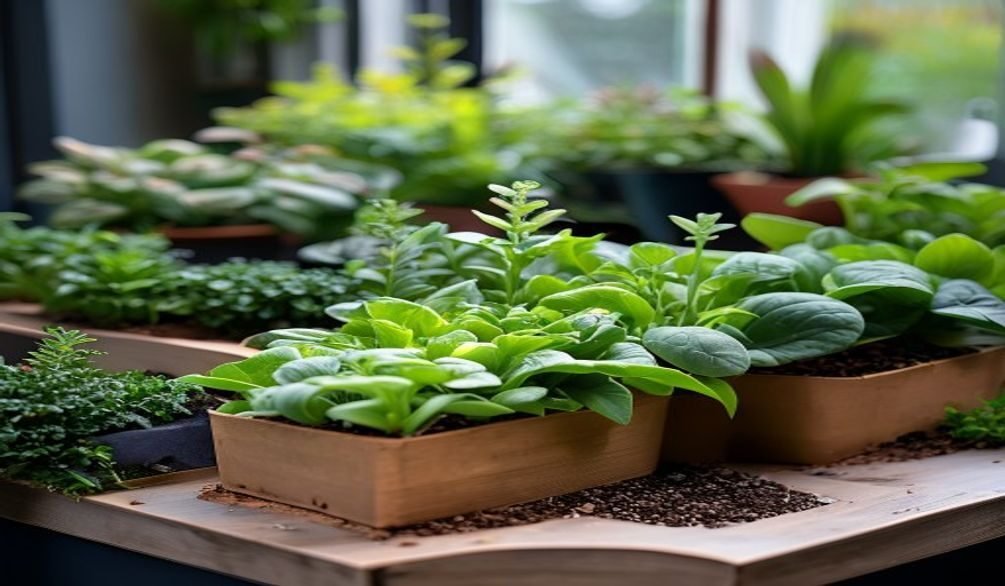
What is the best soil for root rot prone plants?
The best soil for root rot prone plants is a well-draining, airy mix that prevents waterlogging. It typically includes components like perlite, coarse sand, bark, or coco coir to enhance drainage and aeration, rather than heavy garden soil. This type of substrate allows roots to breathe and reduces the risk of fungal growth, making it easier to diagnose treat root rot.
How can I naturally treat root rot without chemicals?
You can naturally treat root rot without chemicals by pruning affected roots, repotting in fresh, well-draining soil, and applying organic fungicides. Options include Neem Oil, beneficial bacteria like *Bacillus amyloliquefaciens* (found in Arber products), or even dusting healthy roots with cinnamon powder. These methods support soil microbiome health and help your plant recover naturally.
Learning to **diagnose treat root rot** is an empowering skill that safeguards your plants’ health and vitality. By diligently inspecting roots, implementing timely pruning and repotting, and committing to proper watering and soil management, you can reverse the damage and foster a thriving garden. Remember, prevention through good drainage and a healthy soil microbiome is always your best defense. Take these steps to ensure your plants flourish for years to come.