Key Takeaways
- Seed priming can improve germination by 10–20% on average across studies, according to WifiTalents (2026).
- The global garden seeds market is projected to reach approximately USD 5,400.0 million by 2035, according to Fact.MR (2025).
- Gibberellin priming resulted in a 34.2% improvement in germination recovery for wheat under drought stress, according to a study in Preprints.org (2025).
- In a study on pollinator species, seeds treated with GA3 showed a 59% germination rate on the 14th day at 20/30°C, versus 49% for the control, according to Preprints.org (2025).
- Choosing the right seed starting mix is key to healthy germination and strong early growth, according to Jade Hydro (2025).
Are you struggling to get your garden seeds to sprout, leaving you wondering what the secret is to thriving seedlings? Mastering the **successful seed germination steps** is a foundational skill for any gardener, turning tiny dormant embryos into robust plants. As Gaurav, with over 10 years of experience in horticulture, I understand the frustration of failed germination and the joy of a healthy sprout. Here, I’ll share my proven methods to guide you through each crucial stage, ensuring you get the best start for your plants.
Quick Answer: Successful seed germination requires viable seeds, proper moisture, optimal temperature, adequate oxygen, and sometimes specific light. These conditions reactivate the dormant embryo, leading to the emergence of roots and shoots for a healthy seedling.
What are the 7 essential steps for successful seed germination?
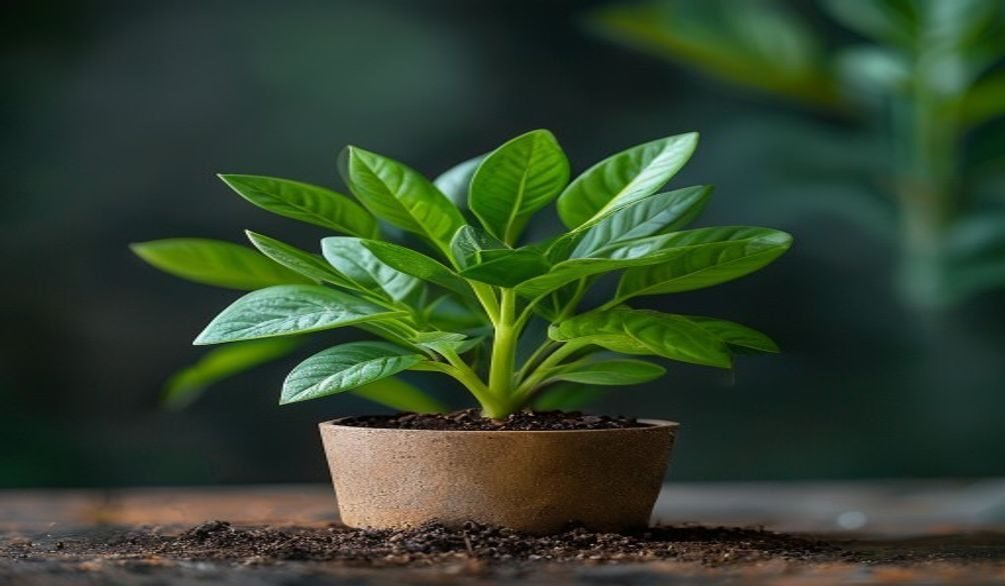
The 7 essential **successful seed germination steps** involve selecting quality seeds, preparing an ideal starting mix, pretreating seeds if necessary, planting at the correct depth, maintaining optimal moisture and warmth, ensuring adequate light and air, and finally, hardening off seedlings. Each step is a building block, ensuring a strong foundation for your plants. A seed is a dormant embryo and needs certain conditions to grow, primarily the proper moisture and warmth, as noted by Cindy Heath in Medium (2020).
Step 1: choose quality seeds & supplies
The very first step to successful seed germination is selecting high-quality, viable seeds and the right starting supplies. Why does this matter? Fresh, reputable seeds have a higher germination rate, meaning more of them will sprout, saving you time and effort. Look for seeds from trusted brands like Burpee, known for their reliable seed stock, and always check the packaging for the “packed for” year to ensure freshness. For supplies, consider robust seed starting trays like the “Epic 6-Cell Seed Starting Trays” offered by Epic Gardening, which are designed for durability and proper drainage.
Step 2: prepare your seed starting mix
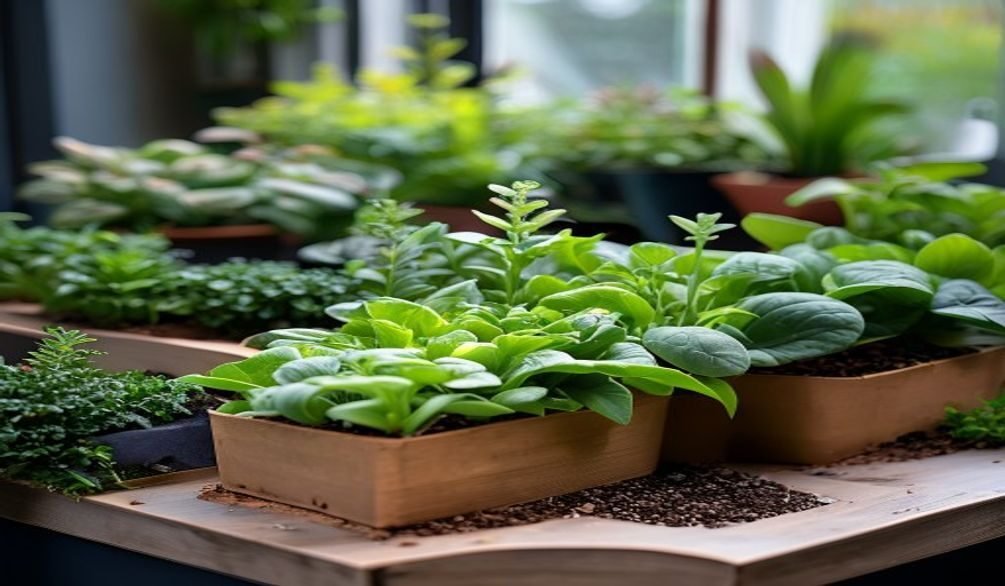
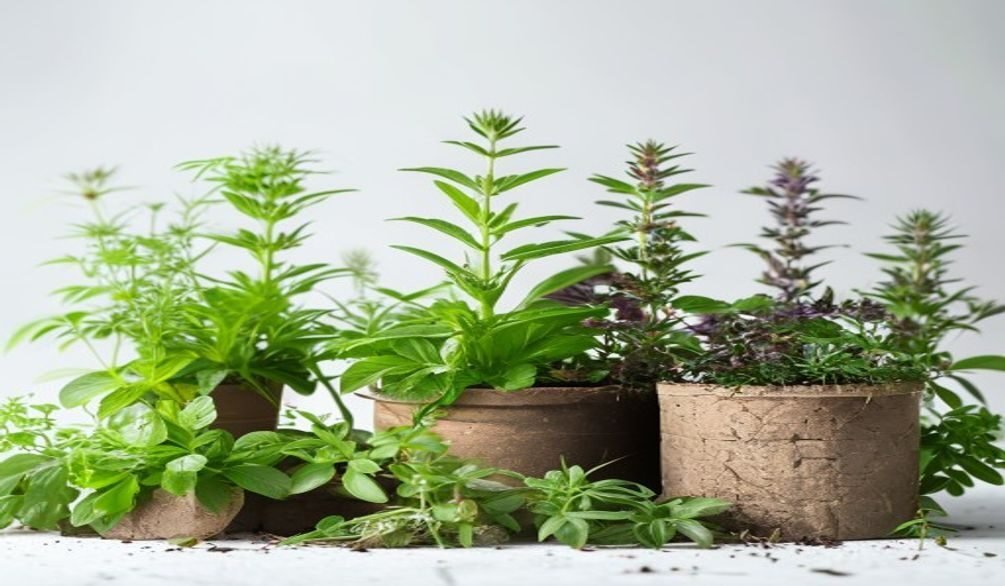
Preparing the right seed starting mix is critical for healthy germination and strong early growth. A good mix provides the perfect balance of moisture retention, drainage, and aeration that tiny seedlings need. In my experience, a sterile, fine-textured mix prevents damping-off disease and allows delicate roots to establish easily. Commercial options like Espoma Organic Seed Starter Premium Potting Soil Mix or Miracle-Gro Seed Starting Potting Mix are excellent choices, offering a balanced blend. Alternatively, you can create a DIY seed starting mix recipe using 3 parts sphagnum peat moss or coco coir and 1 part perlite, as recommended by experts like Luke Marion of MIgardener.
Step 3: pre-treat seeds (if needed)
Some seeds require pre-treatment to break dormancy and encourage successful seed germination. This step mimics natural conditions and can significantly boost your germination rate. For example, lotus seeds need scarification (scratching the seed coat) and then soaking, while prairie turnips also require scarification followed by soaking in boiled water. Seed priming, a process that partially hydrates seeds, can increase germination percentage and improve early seedling vigor by 10–20% on average across studies, according to WifiTalents (2026). Hydropriming, specifically, has been shown to increase seed germination by an average of 10% relative to untreated controls in controlled studies.
Step 4: plant seeds at correct depth
Planting seeds at the correct depth is crucial because it ensures the seed has enough energy to push through the soil while remaining close enough to light and warmth. A general rule of thumb for successful seed germination steps is to plant seeds at a depth two to three times their diameter. Tiny seeds, like lettuce, often just need to be scattered on the surface and lightly pressed, as they require light to germinate. Larger seeds, such as beans or peas, can be planted deeper.
Step 5: provide optimal moisture & warmth
Maintaining consistent moisture and optimal temperature are perhaps the most vital factors for successful seed germination. Seeds need constant moisture to swell and initiate metabolic processes, but too much water leads to rot. Use a spray bottle for gentle watering to avoid dislodging small seeds. For warmth, many seeds germinate best between 65-75°F (18-24°C). Epic Gardening’s “Epic Seed Starting Heat Mats” are excellent for providing bottom heat, which can accelerate germination. In a study on pollinator species, seeds treated with gibberellic acid (GA3) had the highest germination rate at a 20/30°C temperature regime, resulting in 59% germination on the 14th day, versus the control at 49%, according to Preprints.org (2025).
Step 6: ensure adequate light & air
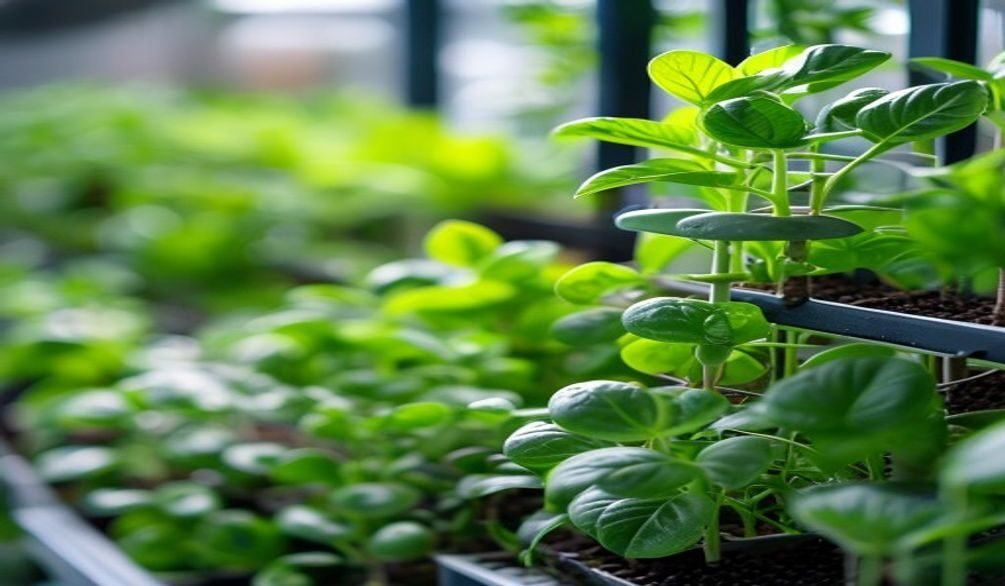
Once seeds sprout, adequate light and air circulation become paramount for healthy seedling development. Most seedlings need 12-16 hours of bright light daily. If you’re starting indoors, grow lights are essential to prevent leggy, weak seedlings. Position lights just a few inches above the seedlings. Good air circulation, often achieved with a small fan, prevents fungal diseases like damping-off. This step is a key part of successful seed germination steps that many beginners overlook.
Step 7: harden off seedlings
Hardening off is the process of gradually acclimating your indoor-grown seedlings to outdoor conditions before transplanting. This step prevents transplant shock and ensures your young plants can withstand the elements. Over 7-14 days, expose seedlings to increasing periods of outdoor sun, wind, and cooler temperatures. Start with an hour in a sheltered spot and gradually increase exposure, bringing them indoors at night until they can stay out full-time.
What factors affect seed germination and why do they matter?
Several critical factors affect seed germination, each playing a vital role in reactivating the dormant embryo and ensuring successful seed germination steps. These factors include water, temperature, oxygen, and light, and understanding them is key to troubleshooting why won’t your seeds germinate.
Water: Water is essential for successful seed germination because it triggers the seed’s metabolic processes and softens the seed coat, allowing the embryo to emerge. Without sufficient moisture, the seed remains dormant. However, too much water can lead to anaerobic conditions, causing the seed to rot instead of sprout.
Temperature: Optimal temperature is crucial for enzyme activity within the seed, which drives germination. Each plant species has a specific germination temperature chart that indicates its ideal range. Temperatures that are too low or too high can inhibit germination or even kill the embryo. For example, corn planted area for all purposes in 2026 is estimated at 95.3 million acres, a 3% decrease from 2025, according to the USDA National Agricultural Statistics Service (2026), highlighting the importance of planting at optimal soil temperatures for such crops.
Oxygen: Seeds require oxygen for respiration, a process that provides the energy needed for growth. A well-aerated seed starting mix ensures adequate oxygen supply, while compacted or waterlogged soil can suffocate the embryo, preventing successful seed germination. This is why a light, fluffy mix is so important.
Light: Light requirements vary greatly among seeds; some need light to germinate (e.g., lettuce), some prefer darkness (e.g., marigolds), and many are indifferent. Understanding your specific seed’s light needs is a key part of successful seed germination steps, as planting a light-requiring seed too deep can prevent it from sprouting.
How do you prepare seeds for planting, including dormancy breaking?
Preparing seeds for planting often involves techniques to break dormancy, ensuring a higher rate of successful seed germination. Seed dormancy breaking techniques are essential for many species that have evolved mechanisms to prevent premature sprouting.
Scarification: mechanical dormancy breaking
Scarification is a process that physically weakens the tough outer seed coat, allowing water to penetrate and initiate germination. This is vital for seeds with hard coats, like those of many legumes or native plants. You can achieve this by gently rubbing seeds with sandpaper, nicking them with a knife, or even soaking them in hot water. For example, lotus seeds require scarification to break their impenetrable seed coat.
Stratification: cold dormancy breaking
Stratification mimics the natural cold, moist period many seeds experience over winter, signaling to the seed that spring has arrived. This is a common method for how to prepare seeds for planting for many perennial and woody plant species.
There are two main types of stratification:
- Cold Stratification: Involves placing seeds in a moist medium (like peat moss or sand) in a refrigerator for a specified period (typically 4-12 weeks). This is crucial for seeds like lavender or coneflowers.
- Warm Stratification: Less common, this involves a period of warm, moist conditions, sometimes followed by cold stratification, for seeds that require a more complex dormancy breaking process.
Priming: pre-hydrating seeds
Seed priming is a controlled hydration treatment that brings seeds to a metabolic state just before radical emergence, without actually allowing them to sprout. This process can lead to more uniform and faster germination. Gibberellin priming, for instance, demonstrated a 34.2% improvement in germination recovery compared to 25.8% with hydro-priming in wheat under drought stress, according to a study in Preprints.org (2025). This shows the power of careful seed preparation for successful seed germination.
What is the best way to germinate seeds for different plant types?
The best way to germinate seeds varies significantly depending on the plant type, with specific requirements for moisture, temperature, and light influencing successful seed germination steps. Understanding these nuances is key to a high germination rate.
Here’s a look at common approaches:
| Plant Type / Seed Size | Best Germination Method | Key Considerations |
|---|---|---|
| Tiny Seeds (e.g., lettuce, petunia) | Surface sow, light press, mist gently. | Often require light to germinate; do not bury deeply. |
| Medium Seeds (e.g., tomatoes, peppers) | Plant 1/8 to 1/4 inch deep. | Consistent warmth (70-80°F) and moisture are crucial. |
| Large Seeds (e.g., beans, peas, squash) | Plant 1/2 to 1 inch deep. | Often benefit from pre-soaking for 12-24 hours; fast germinating seeds. |
| Hard-Coated Seeds (e.g., morning glory, okra) | Scarification or hot water treatment. | Break physical dormancy to allow water uptake. |
| Cold-Requiring Seeds (e.g., many perennials) | Cold stratification. | Mimic winter conditions to break physiological dormancy. |
For fast germinating seeds like snap peas and beans, a simple paper towel experiment shows them rooting quickly—snap peas by day 2 and beans by day 3. This hands-on approach can be a great way to observe the early stages of successful seed germination.
Common seed germination mistakes to avoid (and how to fix them)
Avoiding common seed germination mistakes is just as important as following the correct **successful seed germination steps**, as even small errors can lead to frustrating failures. Knowing these pitfalls and their solutions can save your seedlings.
- Overwatering or Underwatering: This is the most frequent mistake. Overwatering suffocates seeds and promotes damping-off, while underwatering prevents germination. The fix? Keep the seed starting mix consistently moist but not soggy. Use a spray bottle and ensure good drainage in your trays.
- Incorrect Planting Depth: Planting seeds too deep means they run out of energy before reaching the surface; too shallow, and they dry out or don’t anchor properly. The solution is to follow package instructions, generally planting 2-3 times the seed’s diameter.
- Using Garden Soil: Garden soil is too heavy, contains weed seeds, and can harbor pathogens that cause damping-off. Always use a sterile, light seed starting mix like those from Espoma Organic or Burpee.
- Insufficient Warmth: Many seeds need warmth to germinate. Placing trays in a cool room can significantly delay or prevent sprouting. Use a heat mat, like those from Epic Gardening, to maintain optimal soil temperatures, typically 70-80°F (21-27°C).
- Lack of Air Circulation: Stagnant, humid air encourages fungal diseases. A small fan providing gentle airflow for a few hours a day can prevent issues like damping-off.
- Ignoring Seed Dormancy: Some seeds simply won’t sprout without specific treatments. If your seeds aren’t germinating, research if they require scarification or stratification before planting.
What are sustainable seed starting practices?
Embracing sustainable seed starting practices not only benefits the environment but also often leads to healthier seedlings and more successful seed germination steps. These practices focus on reducing waste, conserving resources, and using eco-friendly materials.
Here are some ways to make your seed starting more sustainable:
- Use Peat-Free Seed Starting Mixes: Peat harvesting has environmental concerns. Opt for mixes that use coco coir, compost, or other sustainable alternatives. Burpee Organic Coconut Coir Concentrated Seed Starting Mix is an excellent example of a peat-free option.
- Recycle and Reuse Containers: Instead of buying new plastic trays every year, clean and sanitize old containers, yogurt cups, or even make newspaper pots. Epic Gardening offers durable, reusable trays that reduce plastic waste.
- DIY Seed Starting Mix: Creating your own mix, as Luke Marion often discusses, allows you to control ingredients and avoid unsustainable components. A common DIY recipe includes 3 parts sphagnum peat moss or coir and 1 part perlite, with lime added for peat moss-based mixes.
- Compost Your Waste: Any unused seed starting mix, spent seedlings, or plant debris can be added to your compost pile, enriching your garden soil naturally.
- Conserve Water: Use methods like bottom watering to ensure seedlings get enough moisture without waste, and consider rainwater harvesting for your gardening needs.
By incorporating these practices, you contribute to a healthier planet while still enjoying the rewards of successful seed germination. This also aligns with the growing global garden seeds market, which is projected to reach approximately USD 5,400.0 million by 2035, according to Fact.MR (2025), indicating a wider interest in home gardening.
Troubleshooting: what to do if your seeds aren’t germinating?
If your seeds aren’t germinating despite your best efforts, it’s time to troubleshoot the **successful seed germination steps** you’ve taken. Don’t despair—often, a small adjustment can make all the difference.
Here’s a systematic approach to identifying and fixing the problem:
- Check Seed Viability: Are your seeds old? The aging process possesses significant challenges to preserve seed integrity and germination capacity under storage, according to S. Arivusudar et al., Journal of Advances in Biology & Biotechnology (2025). Perform a simple seed viability test by placing 10 seeds on a moist paper towel inside a plastic bag. If fewer than 70% sprout after a week or two, your seeds might be too old.
- Review Temperature: Is your germination environment warm enough? Use a thermometer to check the soil temperature. If it’s too low, add a heat mat.
- Assess Moisture Levels: Is the soil too dry or too wet? It should feel like a wrung-out sponge. Adjust your watering habits—mist more often if dry, or allow to dry slightly if waterlogged.
- Consider Dormancy: Did the seeds require scarification or stratification? If you skipped these steps and your seeds are known to need them, it’s likely the cause. It might be too late for this batch, but you’ll know for next time.
- Evaluate Planting Depth: Are the seeds buried too deep or too shallow? Carefully check the recommended planting depth for your specific seeds.
- Examine Light Requirements: Some seeds need light to germinate, while others prefer darkness. Ensure you’re meeting the specific light needs of your seeds.
- Look for Pests or Disease: Though less common before germination, sometimes fungal issues (like damping-off) can prevent sprouts. Ensure good air circulation and sterile starting mix. Dr. Robert Pavlis, an expert on soil science, emphasizes the importance of a sterile medium for preventing seedling diseases.
By systematically checking these factors, you can usually pinpoint why your seeds aren’t germinating and adapt your approach for future success in your seed starting guide journey.
Frequently asked questions
What are the 7 steps of germination?
The 7 steps of germination typically refer to the entire process from planting to early seedling care: choosing quality seeds, preparing the seed starting mix, pre-treating seeds, planting at correct depth, providing optimal moisture and warmth, ensuring adequate light and air, and hardening off seedlings. These successful seed germination steps ensure robust plant development, with seed priming improving germination by 10–20% on average, according to WifiTalents (2026). Following these guidelines helps you grow healthy plants from the start.
What are the 5 factors affecting seed germination?
The 5 factors affecting seed germination are water, temperature, oxygen, light, and seed viability. These elements combine to break dormancy and trigger the growth of the embryo into a seedling. For instance, optimal temperature is crucial for enzyme activity, as seen in a study where GA3 treated seeds had 59% germination at 20/30°C compared to 49% for controls, according to Preprints.org (2025). Understanding these factors is key for any seed starting for beginners.
What is the best way to germinate seeds?
The best way to germinate seeds is by providing a consistent environment with adequate moisture, optimal temperature, good air circulation, and appropriate light conditions, often using a sterile seed starting mix. This method ensures all requirements for successful seed germination steps are met. Using a high-quality seed starting mix, such as those from Miracle-Gro, contributes significantly to this success.
What are the three most important things for seed germination?
The three most important things for seed germination are proper moisture, optimal temperature, and adequate oxygen. These conditions are fundamental for reactivating the dormant embryo and initiating growth. As Cindy Heath noted in Medium (2020), a seed is a dormant embryo that primarily needs proper moisture and warmth to grow.
Why won’t my seeds germinate?
Seeds may not germinate due to old or non-viable seeds, incorrect planting depth, improper moisture (too much or too little), unsuitable temperature, lack of oxygen in the soil, or a requirement for dormancy breaking techniques like stratification or scarification. Troubleshooting these common issues is a core part of successful seed germination steps. The aging process significantly challenges seed integrity and germination capacity under storage, according to S. Arivusudar et al., Journal of Advances in Biology & Biotechnology (2025).
Mastering the **successful seed germination steps** is a truly rewarding aspect of gardening, transforming tiny seeds into the vibrant plants you envision. By carefully selecting quality seeds, providing the right growing medium, ensuring optimal moisture and temperature, and understanding the specific needs of different plant types, you lay the groundwork for a thriving garden. Remember, even experienced gardeners face challenges, but by applying these proven methods and troubleshooting common issues, you’ll significantly increase your success rate. Happy planting!