Key Takeaways
- The smart indoor gardening system market was valued at USD 3.0 billion in 2025, according to Live Trends (2026).
- Google search interest for “self watering plant pot” peaked at 94 in February 2026, according to Live Trends (2026).
- AI-powered automatic watering systems can predict water needs with 95% accuracy, according to an Automatic Watering System Market Outlook report (2025).
- Early adopters reported 35% greater water efficiency with AI-powered systems compared to conventional timers, according to an Automatic Watering System Market Outlook report (2025).
- The global automatic watering system market is projected to reach USD 4.48 billion in 2025, according to an Automatic Watering System Market Outlook report (2025).
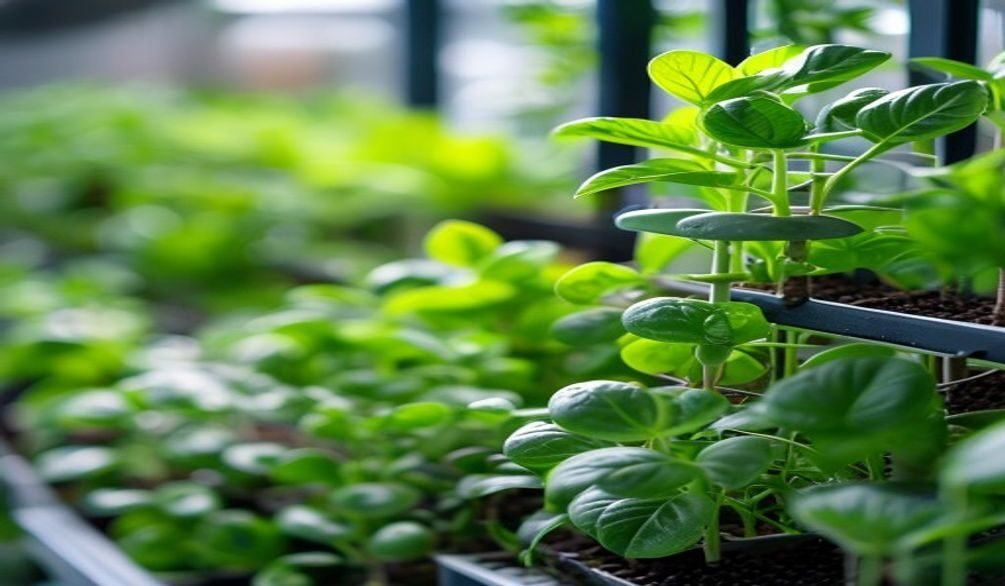
Are you tired of your indoor plants wilting from neglect or drowning from overzealous watering? Creating a DIY self-watering system indoor plants is a game-changer, offering a consistent moisture supply that keeps your green companions thriving, even when life gets busy. In my 10 years of experience as an expert gardener, I’ve seen firsthand how these simple, homemade solutions can transform plant care, making it accessible and stress-free for everyone. This guide will walk you through seven simple steps to build your own effective self-watering setups, ensuring your plants always get just what they need.
Quick Answer: Creating a DIY self-watering system for indoor plants involves simple methods like wick systems using string or bottle drip irrigation, ensuring consistent moisture to prevent over or under-watering, ideal for busy plant owners.
Why use a diy self-watering system for your indoor plants?
Why bother with a homemade self-watering planter when you could just grab a watering can? The main reason is consistency and peace of mind. “Watering mistakes are responsible for more indoor plant failures than pests, nutrients, or even light,” states IndoorGarden (January 24, 2026). A DIY self-watering system indoor plants reduces this human error by providing a steady, measured supply of moisture, preventing the common pitfalls of both over and under-watering.
These systems are a lifesaver for busy plant owners or anyone planning a vacation. Garden expert Melinda Myers noted in Birds & Blooms (February 15, 2024) that “gardeners can extend the time between watering with a few gadgets.” A well-implemented automatic plant waterer DIY solution ensures your plants remain hydrated even when you’re away, eliminating the need to ask a neighbor for help. Plus, the smart indoor gardening system market, which includes self-watering options, was valued at USD 3.0 billion in 2025, showing just how much demand there is for convenient plant care, according to Live Trends (2026).
What is the best diy self-watering system for indoor plants?
When it comes to the best DIY self-watering system indoor plants, simplicity and effectiveness are key. In my experience, the wick system and plastic bottle drip method stand out for their ease of creation and reliability. “Automatic plant waterers offer a hassle-free way to keep plants hydrated, with options to suit every gardener’s needs,” explains Bob Vila (June 04, 2026), and DIY versions are no exception. These methods leverage basic physics to deliver water directly to the plant’s roots as needed.
The choice often depends on the plant’s size and specific watering requirements. For smaller plants or those with moderate water needs, a wick watering system tutorial is often the go-to. For larger plants or those needing more substantial hydration, a plastic bottle self-watering planter provides a steady, gravity-fed self-watering system. Ultimately, the “best” system is the one you can easily implement with materials you already have, providing consistent plant hydration hacks without breaking the bank. Google search interest for “self watering plant pot” reached a significant value of 94 in February 2026, according to Live Trends (2026), highlighting the widespread interest in such solutions.
Understanding wick systems
A wick system is a passive watering method where a porous material, like a cotton rope, draws water from a reservoir up into the plant’s soil through capillary action. This homemade self-watering planter idea is incredibly simple and effective. It’s an excellent indoor plant watering solution for travel because it provides a continuous, slow release of water, mimicking natural soil moisture.
Understanding bottle drip systems
A plastic bottle self-watering planter works by using a repurposed plastic bottle as a water reservoir, inverted into the soil or positioned to drip onto the soil surface. This gravity-fed self-watering system delivers water slowly over time. It’s a robust solution for ensuring plants get the exact amount needed, especially for those with higher water demands, and is a popular automatic plant waterer DIY.
How to make a self-watering wick system with string
Creating a self-watering wick system with string is one of the simplest and most effective homemade self-watering planter ideas. This method is perfect for keeping plants hydrated while away, as it relies on capillary action to consistently deliver moisture. Many Reddit users have reported success with cotton string or even shoelaces for trips lasting up to six weeks.
Here’s how to set up your own wick watering system tutorial:
- Gather Your Materials: You’ll need a plant in a pot with drainage holes, a reservoir (any container like a plastic tub or jar), and a wick material. Cotton rope, thick cotton string, or even strips of old cotton fabric work well.
- Prepare the Wick: Cut a piece of wick long enough to reach from the bottom of your reservoir to well into your plant’s soil.
- Insert the Wick: Thread one end of the wick through a drainage hole in your plant pot. Make sure a good portion of the wick is embedded deep into the soil for optimal water distribution.
- Position the Reservoir: Place your plant pot directly above or beside the water reservoir. The reservoir must be lower than the plant pot for gravity to assist capillary action, or at the same level for passive wicking, which worked “amazingly” in one test when the water source was even with the plant.
- Fill the Reservoir: Fill the reservoir with water.
- Submerge the Wick: Ensure the other end of the wick is fully submerged in the reservoir water.
- Test the System: Water your plant from the top initially to moisten the soil and start the capillary action. Observe over a few hours to ensure water is being drawn up into the soil.
This best low-cost self-watering system is ideal for most indoor plants, providing consistent moisture and preventing overwatering plants.
How to make a self-watering system out of a plastic bottle
A plastic bottle self-watering planter is an excellent, budget-friendly solution for a DIY self-watering system indoor plants, especially useful for larger pots or when you need a more controlled drip. This gravity-fed self-watering system utilizes repurposed materials, aligning with sustainable plant hydration hacks. Here’s a step-by-step guide:
- Select Your Bottle: Choose a clean plastic bottle (e.g., a soda bottle or water bottle) of appropriate size for your plant. A 1-liter bottle works well for medium pots, while a 2-liter bottle is better for larger containers.
- Prepare the Bottle: You have two main options for setting up your plastic bottle self-watering planter:
- Inverted Drip: Poke a few small holes in the bottle cap using a nail or thumbtack. You might also cut off the bottom of the bottle for easier refilling later.
- Submerged Drip: Cut the bottom off the bottle entirely. This will be the water reservoir, and the top part will be inserted into the soil.
- Prepare the Plant Pot: Ensure your plant pot has drainage holes. For the inverted drip, you’ll simply insert the bottle directly into the soil. For the submerged drip, you’ll need a slightly larger pot or a separate container for the water reservoir.
- Install the System (Inverted Drip): Fill the bottle with water, quickly invert it, and push the cap-end firmly into the soil near the plant’s base. The water will slowly seep out as the soil dries.
- Install the System (Submerged Drip): Place the cut-off bottom of the bottle into a larger container or saucer, creating a water reservoir. Place your plant pot (with drainage holes) into this reservoir, ensuring the soil can absorb water from below. This is a common repurposed self-watering pots technique.
- Test and Adjust: Observe how quickly the water drains. You might need to adjust the number or size of holes in the cap for the inverted method, or ensure good contact between the soil and the water for the submerged method.
- Refill as Needed: Regularly check the water level in the bottle or reservoir and refill it before it runs dry.
This method provides a consistent drip, making it an effective self-watering hack for busy plant owners and a great DIY plant watering system for vacation.
Choosing the right diy system for your specific plant
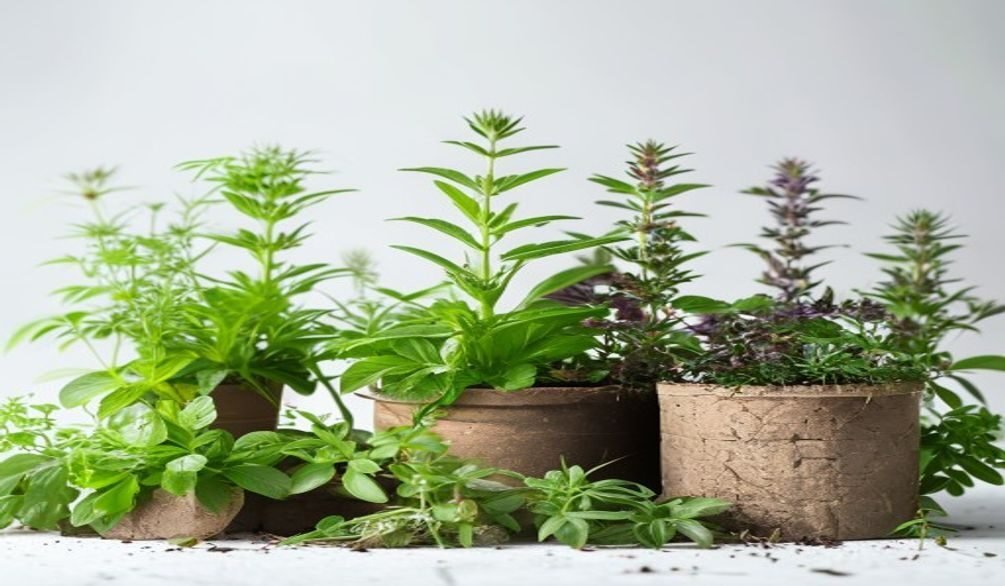
Selecting the ideal DIY self-watering system indoor plants isn’t a one-size-fits-all situation; it really depends on your plant’s unique needs. Different plants have different thirst levels, and understanding this is crucial for successful plant hydration hacks. For example, a plant like a fern, which prefers consistently moist soil, would thrive with a wick watering system, as it provides a steady, gentle supply of water. Conversely, a larger plant that drinks a lot, like a peace lily, might benefit more from a plastic bottle self-watering planter, which can hold a greater volume of water and deliver it more quickly.
Consider these factors when choosing your best low-cost self-watering system:
| Plant Type / Need | Recommended DIY System | Why it Works |
|---|---|---|
| Consistently Moist Soil (e.g., Ferns, Fittonia) | Wick System (String) | Delivers a slow, constant trickle of water, preventing drying out. |
| Larger Plants / High Water Use (e.g., Peace Lily, Pothos) | Plastic Bottle Drip System | Larger reservoir capacity, more direct water delivery. |
| Plants Prone to Root Rot / Prefer Drying Out Slightly (e.g., Succulents, Cacti) | Not Recommended (or use with extreme caution) | Self-watering can lead to overwatering for these types. |
| Vacation Watering (Short to Medium Term) | Both Wick & Bottle Drip | Both provide reliable, unattended watering. |
My advice? Start with what you have and observe your plants closely. You’ll quickly learn what works best for each green friend, ensuring optimal plant hydration hacks. Root & Vessel notes, “Self-watering planters give gardeners a sense of confidence… They offer consistent moisture delivery, minimizing the risks of over and underwatering your plants,” which is especially true for novice gardeners.
Troubleshooting common issues with diy self-watering systems
Even the best DIY self-watering system indoor plants can encounter a snag or two. Don’t worry, most common issues are easily fixed! In my years of gardening, I’ve seen everything from wicks drying out to reservoirs growing algae, and there’s always a solution. Real talk: prevention is key, but troubleshooting is part of the fun of being a plant parent.
- Wick Not Wicking: If your wick system isn’t drawing water, the wick might be too thin, not fully submerged in the reservoir, or not adequately inserted into the soil. Ensure the wick is made of a good absorbent material (like cotton) and is thoroughly wet before setup. Sometimes, watering the plant from the top once can help initiate capillary action.
- Too Much or Too Little Water: For bottle drip systems, the size of the holes in the cap dictates the drip rate. If the soil is too wet, reduce the number or size of the holes. If it’s too dry, make the holes slightly larger. For wick systems, a thicker wick will deliver more water; a thinner one, less.
- Algae Growth in Reservoir: This is common, especially if the reservoir is exposed to light. Use an opaque container for your reservoir to block light, or add a few drops of hydrogen peroxide (food-grade, 3%) to the water to inhibit algae without harming your plants.
- Clogged Wicks or Drip Holes: Over time, mineral buildup from tap water or soil particles can clog your system. Periodically clean your wicks or bottle caps. Soaking them in a vinegar solution can help remove mineral deposits.
- Plant Still Wilting: If your plant is still showing signs of thirst despite the system, double-check that the water level in the reservoir is sufficient and that the wick or drip is making good contact with the soil. Also, ensure the plant’s roots are healthy and able to absorb water. Sometimes, the problem isn’t the watering system but other factors like light or pests.
By addressing these issues, your homemade self-watering planter ideas will continue to provide reliable indoor plant watering solutions for travel and daily care.
Maintaining your diy self-watering system: tips for longevity
Just like any gardening tool, your DIY self-watering system indoor plants needs a little TLC to keep it running smoothly. Proper maintenance ensures your homemade self-watering planter ideas remain effective and hygienic for the long haul. In my experience, a few simple habits can significantly extend the life and efficiency of your best low-cost self-watering system.
- Regular Cleaning: Every few weeks, empty and clean your water reservoirs. This prevents the buildup of algae, bacteria, and mineral deposits. A simple scrub with warm, soapy water (and a rinse with plain water) is usually sufficient.
- Wick/Drip Hole Inspection: Periodically check your wicks or bottle drip holes for clogs. If using wicks, gently pull them out and rinse them. If they’re heavily soiled or show signs of deterioration, replace them. For bottle systems, use a small pin to clear any blocked holes.
- Water Quality: Using filtered water can reduce mineral buildup in your system, especially if you live in an area with hard water. This helps maintain consistent water flow for your automatic plant waterer DIY.
- Nutrient Management: If you’re using liquid fertilizer, add it directly to the plant’s soil from the top rather than to the reservoir. This prevents nutrient salts from building up in the wick or bottle, which can cause clogs or imbalance.
- Seasonal Adjustments: As seasons change, so do your plants’ watering needs. In warmer, brighter months, plants might drink more, requiring more frequent reservoir refills. In cooler, darker periods, they might need less. Adjust your system’s output if possible, or simply monitor the reservoir more closely.
These maintenance tips ensure your DIY plant watering system for vacation or daily use remains a reliable indoor plant watering solution for travel and home.
Diy vs. purchased self-watering systems: a cost-benefit snapshot
When considering a DIY self-watering system indoor plants, it’s natural to weigh it against commercially available options. Both have their merits, and in my years, I’ve seen both excel. The choice often comes down to budget, customization needs, and how much hands-on involvement you prefer. The global automatic watering system market was valued at USD 4.26 billion in 2024 and is projected to grow to USD 4.48 billion in 2025, according to an Automatic Watering System Market Outlook report (2025), showing a strong market for purchased solutions.
However, AI-powered automatic watering systems can predict water needs with 95% accuracy, leading to 35% greater water efficiency compared to conventional timer systems, according to early adopters in 2025. While DIY systems don’t offer AI precision, they provide practical, low-cost alternatives.
| Feature | DIY Self-Watering System | Purchased Self-Watering System |
|---|---|---|
| Cost | Very Low (often free, using repurposed items) | Varies widely (from $10 for basic wicks to $100+ for smart systems) |
| Customization | High (adapt to any pot size, plant need, and available materials) | Limited (designed for specific plant/pot sizes, less flexibility) |
| Materials | Household items (plastic bottles, string, old fabric, containers) | Specialized plastics, ceramics, electronics, often proprietary parts |
| Setup Time | Quick (5-15 minutes per system) | Varies (some quick, smart systems require app setup) |
| Aesthetics | Can be rustic, may require effort to conceal components | Often sleek, designed to be visually appealing |
| Longevity & Durability | Depends on material quality, requires regular maintenance | Generally more durable, but electronic parts can fail |
| Maintenance | Regular cleaning of wicks/reservoirs is essential | Cleaning required; smart systems may have software updates |
For those seeking the best low-cost self-watering system and enjoying a bit of hands-on creativity, a DIY self-watering system indoor plants is an unbeatable choice. It’s a fantastic way to achieve self-watering hacks for busy plant owners without a significant investment.
Frequently asked questions
How do you make a simple self-watering system for indoor plants?
You can make a simple self-watering system for indoor plants using a wick system with cotton string or a plastic bottle drip system. These methods ensure consistent moisture delivery to your plants. Reddit users have reported success with cotton string for trips up to 6 weeks, providing a reliable solution.
What is the best diy watering system for indoor plants?
The best DIY watering system for indoor plants often depends on the plant’s size and specific needs, but wick systems and plastic bottle drip setups are highly effective and easy to implement. These systems are praised for being hassle-free ways to keep plants hydrated, as noted by Bob Vila (June 04, 2026).
How do you make a self-watering system out of a plastic bottle?
To make a self-watering system from a plastic bottle, poke small holes in the cap, fill the bottle with water, and invert it into the plant’s soil, allowing water to slowly drip out. This gravity-fed system is a simple, effective automatic plant waterer DIY that reuses common household items.
How do you make a self-watering system with string?
To create a self-watering system with string, thread one end of a cotton wick through a pot’s drainage hole into the soil, and submerge the other end in a water reservoir placed below the pot. This wick watering system uses capillary action to draw water into the soil, ensuring consistent hydration.
What are self-watering hacks for busy plant owners?
Self-watering hacks for busy plant owners include DIY wick systems, plastic bottle drip irrigation, and repurposed self-watering pots. These solutions provide consistent moisture, minimizing the risks of over or underwatering, a common issue in indoor settings, according to Root & Vessel.
Creating a DIY self-watering system indoor plants is a rewarding project that empowers you to keep your plants healthy and happy with minimal effort. Whether you opt for a simple wick system or a clever plastic bottle setup, these homemade solutions offer reliable plant hydration hacks that save you time and worry. As a gardener with over a decade of experience, I’ve seen how these low-cost self-watering systems genuinely improve plant vitality and make plant care more accessible. So go ahead, give one of these methods a try—your indoor plants (and your schedule) will thank you!