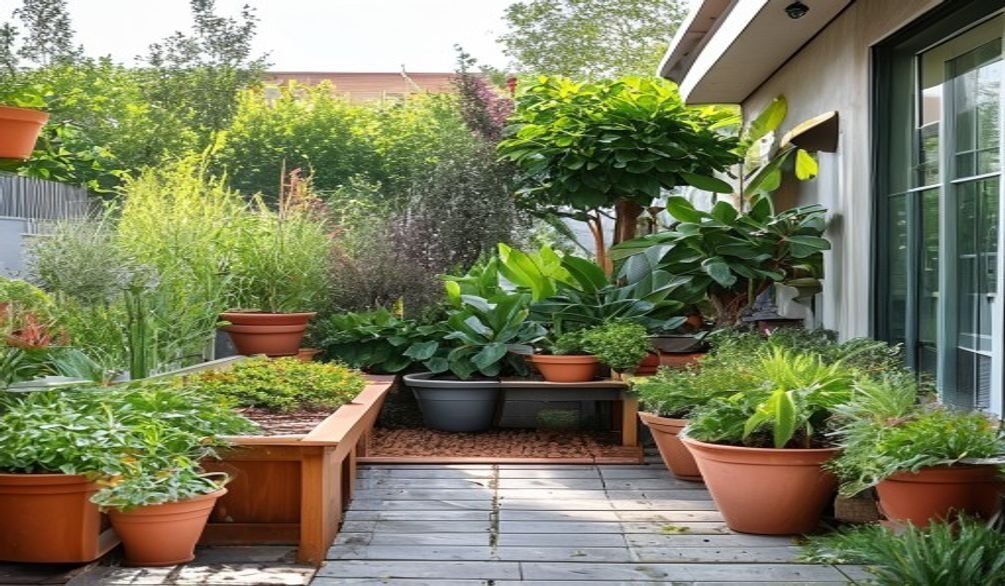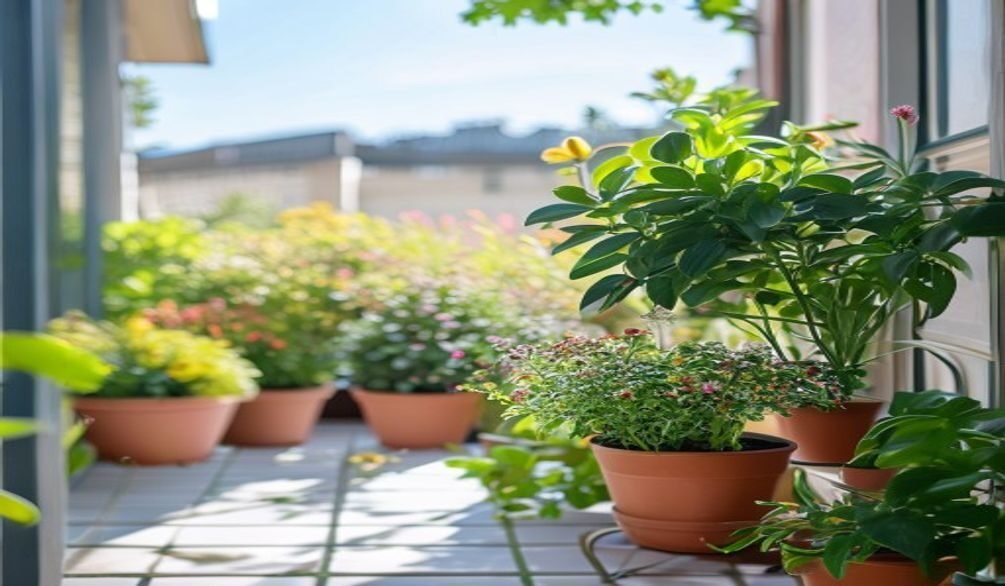
Are you ready to dive into the world of soil-free cultivation but unsure how to get your plants started? Mastering hydroponic seed starting for beginners is the crucial first step to a thriving hydroponic garden, and this guide will walk you through everything you need to know to successfully germinate seeds and nurture healthy seedlings. You’ll learn the essential gear, best practices, and expert tips to ensure your hydroponic journey begins on a strong foundation.
Why Choose Hydroponic Seed Starting?
Opting for hydroponic seed starting offers numerous advantages over traditional soil-based methods, especially for those seeking efficiency and control. Hydroponics, defined by the USDA National Agricultural Library as “the technique of growing plants using a water-based nutrient solution rather than soil,” allows for precise environmental management from day one. This controlled environment often leads to faster germination and more vigorous seedling growth.
One of the most compelling reasons to choose hydroponics is its remarkable water efficiency; figures suggest 80% to 95% lower water use than irrigated field-grown crops, making it a sustainable choice for the eco-conscious gardener. Furthermore, hydroponic systems can accelerate plant growth, with Demeter Guides noting that spinach can go from seed to seedling in about a week, ready for harvest in just forty days. This rapid growth potential is a game-changer for maximizing yields in smaller spaces.
Essential Gear for Hydroponic Seed Germination
To successfully germinate seeds for hydroponics, you’ll need a few key pieces of equipment that create the ideal environment for tiny sprouts. Gathering your supplies beforehand ensures a smooth and efficient process, preventing delays once you’re ready to plant. The right tools make all the difference in achieving strong, healthy seedlings.
Seeds and Seed Starting Trays
Naturally, your journey begins with high-quality seeds selected for hydroponic suitability; opt for varieties known to thrive in soil-free environments. You’ll also need a seed starting tray, often accompanied by a humidity dome, which helps maintain the consistent moisture and warmth crucial for successful germination. These trays provide individual compartments for each seed, making initial management straightforward.
Hydroponic Grow Lights
Once your seeds sprout, adequate light becomes paramount for preventing leggy seedlings and promoting robust growth. While seeds don’t need light to germinate, emerging seedlings absolutely do. LED grow lights are a leading equipment segment in the hydroponics market, holding a 31.2% adoption share, because they offer energy efficiency and a spectrum optimized for plant development. Position your grow light about 2-4 inches above the seedlings for optimal intensity, adjusting as they grow.
Heating Mats and pH Testing Kits
Maintaining a consistent temperature is vital for many seeds to break dormancy, making a heating mat a valuable tool to place beneath your seed tray. Different plants have different temperature preferences, but generally, 70-75°F (21-24°C) is ideal for most common vegetables and herbs. Additionally, a pH testing kit is indispensable for monitoring your water and nutrient solution, as the University of Illinois Extension emphasizes the importance of proper pH for nutrient uptake. A pH range of 5.5-6.5 is typically optimal for hydroponic seedlings.
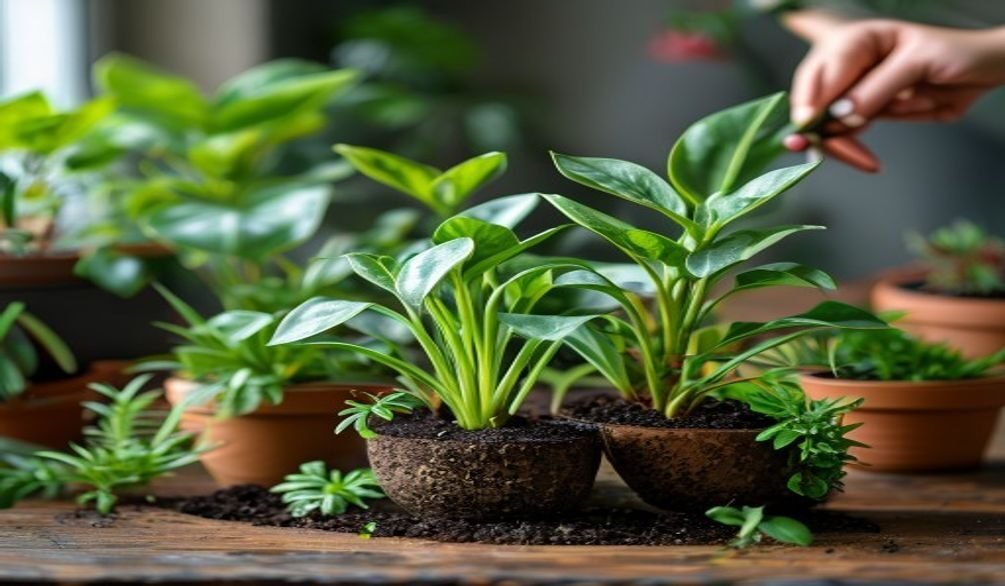
Selecting the Right Growing Medium for Your Hydroponic Seeds
Choosing the best growing medium for hydroponic seeds is a critical decision that impacts water retention, aeration, and root development. Unlike soil, hydroponic media primarily offer physical support and allow nutrient solutions to reach the roots efficiently. The global hydroponics market shows a strong preference for aggregate systems, which held a 31.2% share in 2024, highlighting the importance of inert media.
Rockwool
Rockwool is a widely popular choice for hydroponic germination methods due to its excellent water retention and aeration properties. Made from volcanic rock, limestone, and coke, it’s available in convenient plugs and blocks that are “idiot-proof,” according to Doug Millar of General Hydroponics, making how to germinate seeds in rockwool particularly easy for beginners. However, rockwool is not biodegradable and requires careful disposal. Always pre-soak rockwool in pH-adjusted water (around 5.5) before use to neutralize its naturally high pH.
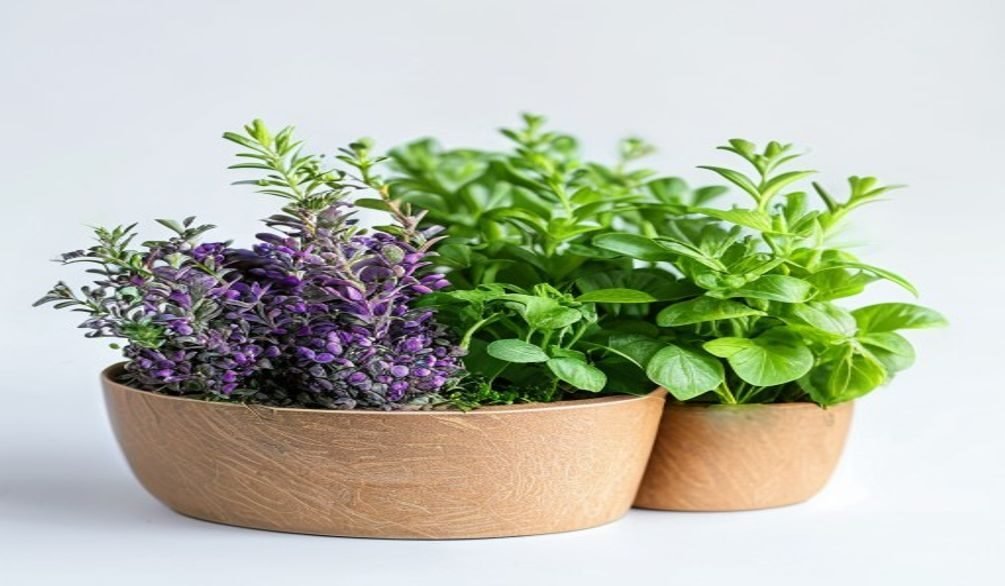
Coconut Coir
For a more sustainable option, coconut coir is an excellent choice, derived from coconut husks and known for strong water retention, good aeration, and pH stability. This renewable medium is highly versatile and suitable for various hydroponic system types, including drip and ebb-and-flow. It’s crucial to use buffered, low-salt coco coir specifically designed for horticulture to avoid nutrient lockout.
Expanded Clay Pellets (LECA) and Hemp Fiber
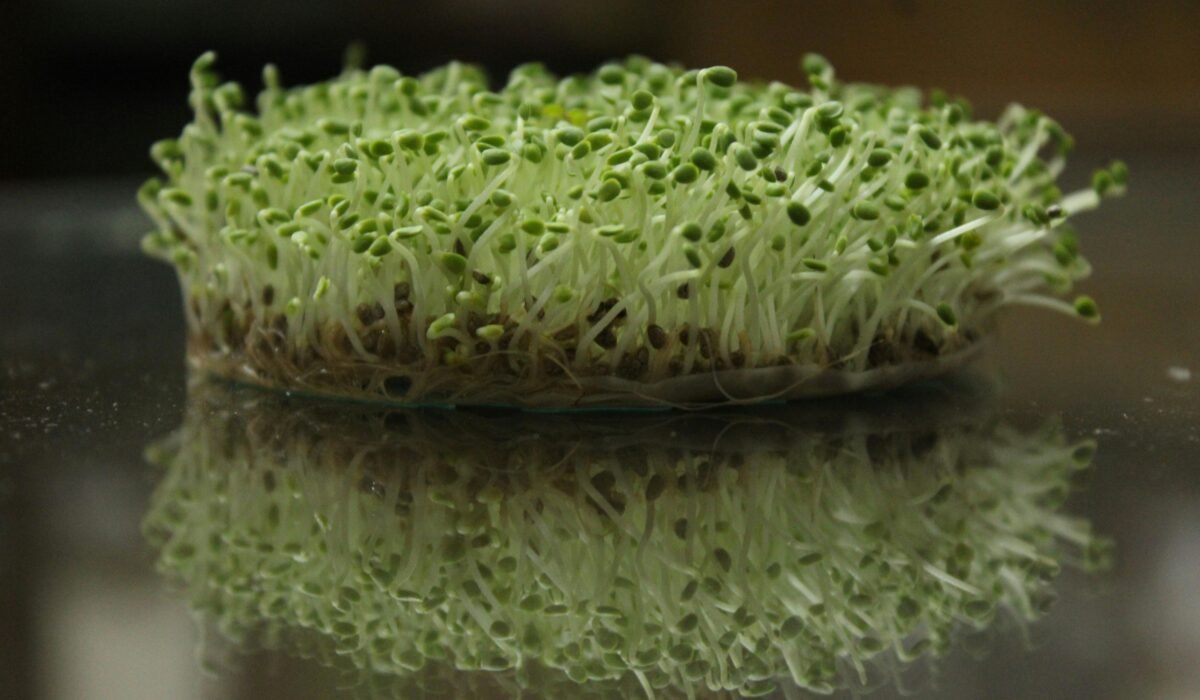
Expanded clay pellets, often sold as Hydroton or LECA, are lightweight, porous, and reusable, providing superb drainage and aeration once seedlings are established. While not ideal for initial germination due to their size, they are excellent for transplanting. For microgreens and very small seeds, hemp fiber grow mats offer a pH-neutral (6.7), 100% biodegradable, and compostable alternative, showcasing a commitment to sustainable practices.
Step-by-Step: How to Germinate Seeds for Hydroponics
Successfully germinating seeds for hydroponics involves a precise sequence of steps designed to give your plants the best possible start. This systematic approach, developed by experts like those at NatureTech Hydroponics, ensures strong, healthy seedlings ready for your main system. Pay close attention to each stage, as consistency is key.
Preparation is Key
Start by preparing your chosen growing medium. If using rockwool, soak your starter cubes in pH-adjusted water (pH 5.5-6.0) for at least an hour. This crucial step neutralizes the rockwool’s alkalinity and primes it for optimal seed growth. For coco coir or peat pellets, simply moisten them thoroughly with pH-balanced water.
Planting Your Seeds
Place 1-2 seeds into the pre-drilled hole of each growing medium cube or pellet. The general rule for planting depth is to cover the seed with about twice its diameter in medium, but always check specific seed packet instructions. For very tiny seeds, simply sprinkle them on the surface and gently mist. After planting, cover your seed tray with a humidity dome to create a warm, moist environment.
Providing the Right Environment
Position your covered seed tray on a heating mat set to the optimal temperature for your specific seeds, typically between 70-75°F (21-24°C). This warmth significantly aids germination. Keep the medium consistently moist but not waterlogged, misting daily if needed. During this phase, light is not necessary for germination itself, but once you see the first tiny sprouts emerge, immediately introduce your hydroponic grow lights.
Introducing Light and Initial Nutrients
As soon as seedlings emerge, place them under your grow lights for 14-16 hours a day. Initially, you’ll only use plain, pH-balanced water. After the first true leaves appear (not the initial cotyledons), it’s time to introduce a very dilute nutrient solution. Use a specialized nutrient solution for seedlings, typically at 1/4 to 1/2 strength of a standard hydroponic formula. Brands like General Hydroponics Flora Series or FoxFarm’s Grow Big Hydroponic offer excellent options for this delicate stage.
Caring for Your Hydroponic Seedlings & Common Pitfalls
Proper seedling care hydroponics is crucial for developing robust plants that will thrive in your main system. Even with the best intentions, beginners often encounter common seedling problems. Understanding these issues and how to prevent them will save you a lot of frustration and ensure your hard work pays off.
Optimal Lighting and Airflow
Once sprouted, seedlings need consistent, adequate light to prevent them from becoming “leggy” – tall and spindly. Keep your LED grow lights close, typically 2-4 inches above the plant canopy, and ensure they run for 14-16 hours daily. Good airflow is also essential; a gentle fan circulating air helps strengthen stems and prevents fungal diseases like damping off. What most people miss is that air movement also strengthens the plant against future stresses.
Nutrient Solution and pH Management
As mentioned, introduce a weak hydroponic nutrients for seedlings solution after true leaves appear. Monitor your nutrient solution’s pH daily, aiming for that sweet spot of 5.5-6.5, which allows optimal nutrient uptake. Use a precise pH meter, not just strips, for accuracy. Overfeeding young seedlings can lead to nutrient burn, visible as browning or curling leaf tips, so always start dilute and gradually increase strength as plants mature.
Troubleshooting Common Seedling Problems
* Leggy Seedlings: Insufficient light is the primary cause. Lower your grow lights or increase their intensity.
* Yellowing Leaves: Often indicates a nutrient deficiency or pH imbalance. Check your nutrient solution strength and pH levels.
* Algae Growth: Green algae on your growing medium usually means too much light is hitting the medium surface, or the medium is constantly waterlogged. Block light from reaching the medium and ensure proper drainage.
* Damping Off: This fungal disease causes seedlings to wilt and collapse at the stem base. It’s often due to overly wet conditions, poor ventilation, or non-sterile equipment. Use sterilized tools and media, ensure good airflow, and avoid overwatering.
When you notice issues, act quickly. Small problems in the seedling stage can quickly escalate and jeopardize your entire crop.
Transplanting Hydroponic Seedlings: When and How
The transition from seed starting tray to the main hydroponic system is a delicate yet critical phase. Knowing when and how to handle transplanting hydroponic seedlings correctly minimizes stress and ensures continued growth. This step is where your careful early efforts truly pay off.
When to Transplant
Your seedlings are ready for transplanting when they have developed at least 2-3 sets of true leaves and their root systems are visibly extending from the bottom of their starter cubes or pellets. The size of the seedling matters less than the development of a robust root ball. Generally, this stage is reached within 2-4 weeks after germination, depending on the plant type. Don’t rush this step; premature transplanting can shock young plants.
How to Transplant
The process of transferring your seedlings requires gentleness and precision.
- Prepare Your System: Ensure your main hydroponic system (whether DWC, NFT, or another hydroponic system type) is clean, filled with a fresh, appropriately diluted nutrient solution (still at a lower strength for young plants), and has the correct pH.
- Handle with Care: Gently lift the seedling, supporting the base of the stem or the growing medium, avoiding direct contact with the fragile stem or leaves.
- Place in Net Pot: Carefully place the starter cube with the seedling into a net pot. The roots should extend through the bottom of the net pot.
- Secure and Support: If necessary, use inert media like expanded clay pellets (LECA) around the starter cube within the net pot to provide additional stability. Ensure the stem is not buried too deep or exposed too high.
- Monitor Closely: After transplanting, monitor your seedlings for any signs of shock, such as wilting. Maintain consistent light and nutrient levels, and continue to check pH daily.
One common mistake is exposing the roots to too much air during transplanting, which can dry them out. Keep the process swift and minimize root exposure.
Cost of Hydroponic Seed Starting: DIY vs. Kits
For beginners, understanding the financial investment involved in hydroponic seed starting can help in making informed decisions. You have the option to build a system yourself or purchase a ready-to-use hydroponic seed starter kit. The choice often balances initial cost with convenience and features.
DIY Hydroponic Seed Starting System
Building your own hydroponic seed starting system can be a cost-effective route, especially if you enjoy tinkering.
- Basic Supplies: A basic setup might include a plastic storage container (as a reservoir), net pots, an air pump with air stone, tubing, a simple grow light, and your chosen growing medium.
- Estimated Cost: A rudimentary DIY setup could range from $50-$150, depending on the quality of components and whether you already own some items. For example, a budget-friendly LED grow light might cost $30-$50, while a small air pump and tubing could be $15-$30.
- Pros: Lower initial cost, customizable, provides hands-on learning.
- Cons: Requires more time and effort, potential for trial and error.
The satisfaction of growing something from scratch, including the system itself, is a huge draw for many.
Pre-made Hydroponic Seed Starter Kits
For those seeking convenience and a guaranteed setup, a hydroponic seed starter kit is an excellent option. These kits often come with everything you need, simplifying the process for beginners.
- Popular Kits: Examples include the AeroGarden Harvest, recommended as a user-friendly indoor hydroponic system that automatically manages lighting and water. The iDOO Hydroponics 8Pods System is cited as a good budget-friendly option, while the Click & Grow Smart Garden 3 is compact and ideal for limited space.
- Estimated Cost: Entry-level kits typically range from $80-$250, with more advanced systems costing upwards of $300-$500.
- Pros: Easy to set up, often automated, aesthetically pleasing, minimal guesswork.
- Cons: Higher initial investment, less customizable.
The home hydroponics market is projected to grow significantly, from $1.80 billion in 2025 to $3.77 billion by 2030, driven by urbanization and a growing enthusiasm for indoor food cultivation, underscoring the increasing accessibility of these kits.
Frequently Asked Questions
How do you start seeds for hydroponics?
To start seeds for hydroponics, you typically place them in an inert growing medium like rockwool or coco coir, which is pre-soaked in pH-adjusted water. The seeds are then kept warm and moist under a humidity dome until they germinate, after which they are moved under grow lights and gradually introduced to a dilute nutrient solution. This controlled environment ensures optimal conditions for sprouting and early growth.
What is the best way to germinate seeds for hydroponics?
The best way to germinate seeds for hydroponics involves using a sterile, inert medium (like pre-soaked rockwool cubes), maintaining consistent warmth (70-75°F with a heating mat), and providing high humidity with a dome. Once sprouted, immediate introduction to appropriate LED grow lights and a very weak nutrient solution is critical. This combination ensures high germination rates and robust seedling development, preventing common issues like damping off.
How long does it take for hydroponic seeds to germinate?
The germination time for hydroponic seeds varies significantly by plant type, but many common vegetables and herbs will sprout within 3-10 days under optimal conditions. Factors like seed freshness, temperature, and consistent moisture play a crucial role in speeding up or slowing down this process. For instance, spinach can germinate and reach seedling stage in about a week.
Do you need to soak seeds before hydroponics?
While not always strictly necessary for all seeds, pre-soaking seeds before hydroponics can significantly improve germination rates and speed up the process for many varieties, especially those with hard seed coats. Soaking seeds in plain, pH-balanced water for 12-24 hours softens the outer layer, allowing water to penetrate more easily and signal the embryo to begin growth. It’s an effective way to give your seeds a head start.
Embarking on hydroponic seed starting for beginners might seem daunting at first, but with this comprehensive guide, you’re well-equipped to succeed. By understanding the ‘why’ behind each step, choosing the right tools, and diligently caring for your seedlings, you’re not just growing plants; you’re cultivating a rewarding and sustainable hobby. Now, take these steps, prepare your setup, and watch your hydroponic garden flourish from the very first sprout!