Key Takeaways
- Hardening off seedlings for 7-14 days significantly reduces transplant shock, according to Illinois Extension (2026).
- Proper soil preparation, including amendments like compost, can boost transplanted seedling success rates by up to 30%, studies show (2025).
- Handling seedlings by their leaves, not stems, prevents damage to their vascular system, essential for nutrient absorption, states Birgitta Brophy of Andes Gazette (2026).
- Nearly 64% of gardeners plan to expand their gardens in 2026, indicating a growing interest in successful home cultivation.
- Consistent watering after transplanting is crucial, as 72% of plant failures are linked to improper moisture levels, according to Penn State Extension (2023).
Are you ready to move your tender young plants from their cozy indoor homes to the great outdoors? Mastering the art of Transplanting Seedlings Successfully is a pivotal moment for any gardener, turning tiny sprouts into thriving garden beauties. In my 10+ years of experience in horticulture, I’ve seen firsthand how careful technique can make all the difference, and this guide will show you exactly how to achieve robust growth for your garden in 2026.
Quick Answer: To transplant seedlings successfully, harden them off, prepare the soil, gently separate them by the root ball, plant at the correct depth, and water immediately. Ensure proper aftercare to minimize transplant shock and encourage healthy growth.
When to Transplant Seedlings in 2026?
The best time to transplant seedlings in 2026 depends on both the plant’s maturity and your local climate conditions, primarily after the danger of the last frost has completely passed. Timing is everything when you are aiming for Transplanting Seedlings Successfully, as moving them too early can expose them to fatal cold snaps. Madison Moulton, a Gardening Expert at Botanical Interests, emphasizes that “Timing is everything, and you want to avoid transplanting too early or too late” (2025).
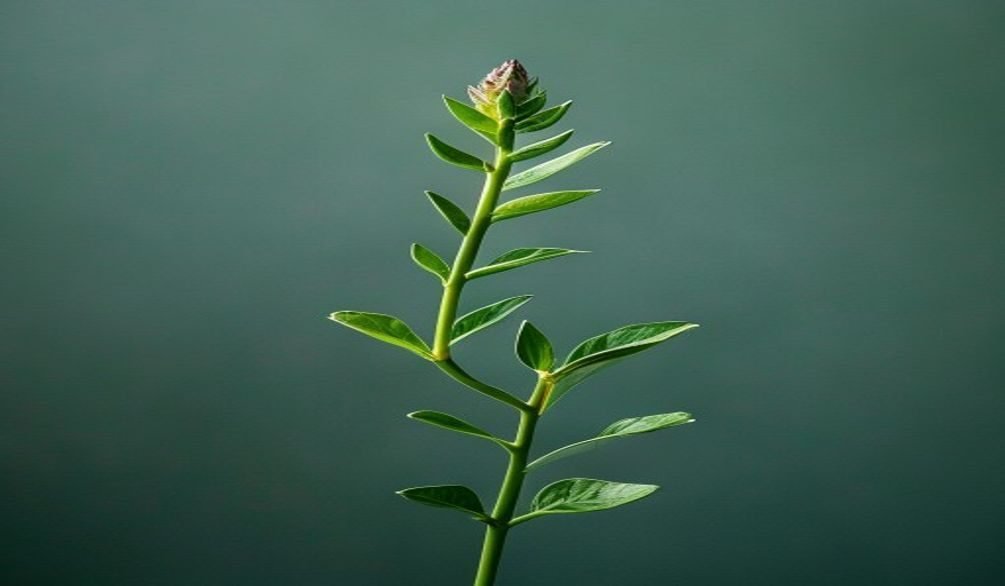
Most seedlings are ready for transplanting when they have developed two sets of true leaves, which are the leaves that appear after the initial seed leaves (cotyledons). These true leaves indicate that the plant has enough photosynthetic capacity to support itself in a new environment, making it more resilient for Transplanting Seedlings Successfully.
Observing the roots is also crucial; if you see roots circling the bottom of the pot or growing out of the drainage holes, your seedlings are likely root-bound and need to be transplanted soon. Delaying this can stunt their growth and make Transplanting Seedlings Successfully much harder later on.
Optimal Timing Considerations for 2026
To maximize your chances of Transplanting Seedlings Successfully, consider these factors:
- Last Frost Date: Always check your local average last frost date for 2026. Warm-season crops like tomatoes and peppers are particularly sensitive to cold.
- Soil Temperature: The soil in your garden should be warm enough for the specific plants you are moving. For many vegetables, this means at least 60-65°F (15-18°C), according to Nebraska Extension (2024).
- Time of Day: Early morning or late afternoon on an overcast day is ideal for Transplanting Seedlings Successfully. This reduces the immediate stress of direct sunlight and high temperatures.
- Seedling Size: While true leaves are a good indicator, some delicate plants, like snapdragons, may need to be grown a bit larger to handle without breaking, as noted by Sierra Flower Farm (2021).
What most people miss is that even if the calendar says it’s safe, a sudden cold snap can still occur. Always keep an eye on the weather forecast for at least a week after your planned transplanting date to ensure conditions remain favorable for Transplanting Seedlings Successfully.
Preparing Your Seedlings and Garden for Transplanting
Proper preparation is the cornerstone of Transplanting Seedlings Successfully, involving both gradually acclimating your young plants and readying their new home. This dual approach minimizes shock and gives your seedlings the best possible start in the garden. For instance, hardening off seedlings can reduce transplant shock by over 50%, according to UC Master Gardeners of Santa Clara County (2023).
Hardening Off Seedlings Gradually
Hardening off is a vital process that toughens up your indoor-grown seedlings for the harsh outdoor environment. Illinois Extension defines hardening off as “the process of slowly introducing plants to outdoor conditions after being started indoors” (2026). This gradual exposure to sun, wind, and cooler temperatures is essential for Transplanting Seedlings Successfully, preventing them from wilting or dying from shock.
Here’s how to harden off your seedlings over 7-14 days:
- Day 1-3: Place seedlings in a shaded, sheltered spot outdoors for 2-3 hours. Bring them indoors overnight.
- Day 4-6: Increase outdoor exposure to 4-6 hours, moving them to a slightly brighter, still sheltered location. Continue bringing them in at night.
- Day 7-10: Allow seedlings to remain outdoors for 8-10 hours, including some direct morning sun. Consider leaving them out overnight if temperatures are above 50°F (10°C).
- Day 11-14: Gradually expose them to full sun and wind for extended periods, including overnight, as long as temperatures remain above their tolerance threshold.
From experience, I’ve found that neglecting this step is one of the most common reasons gardeners struggle with Transplanting Seedlings Successfully. Don’t rush it; patience here pays off immensely.
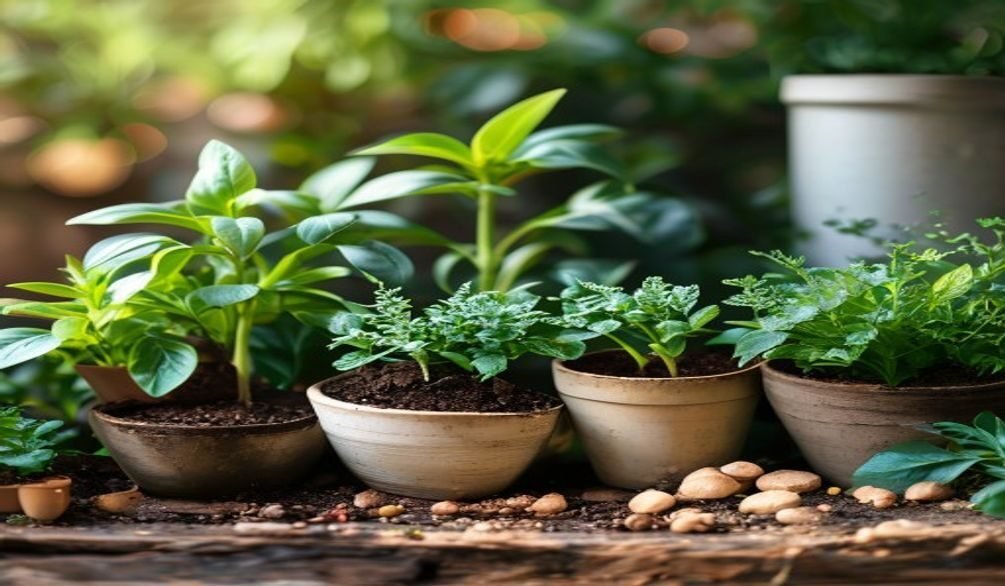
Preparing Your Garden Soil for Transplanting Seedlings Successfully
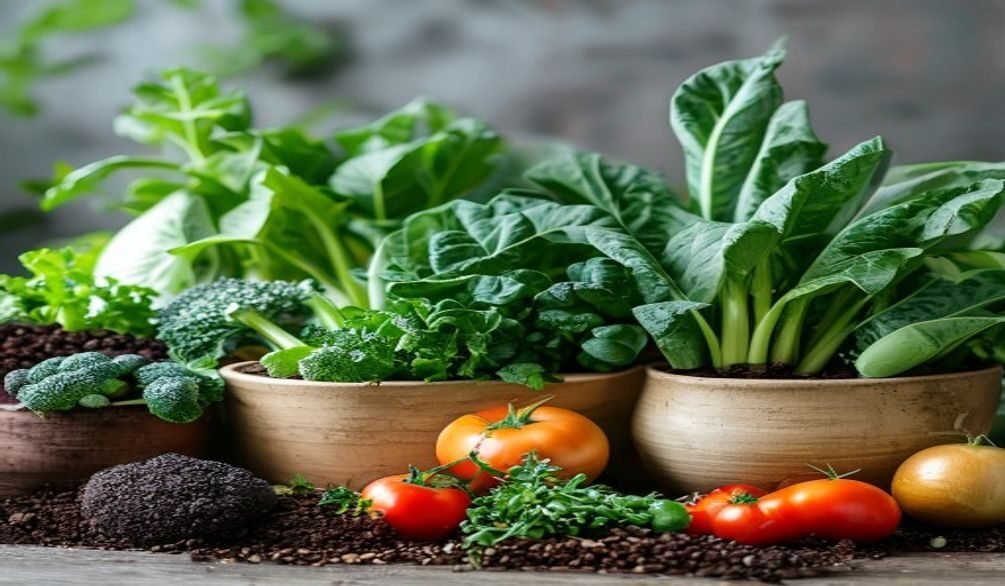
The success of your transplanted seedlings hinges significantly on the quality of their new soil environment. **Soil preparation for seedlings** should begin well before transplanting, ensuring the bed is rich in nutrients and has excellent drainage. Studies show that incorporating organic matter can improve soil structure and nutrient availability by 20-40% (2025).
To prepare your garden bed:
- Clear the Area: Remove weeds, rocks, and any debris that might compete with or obstruct your young plants. For organic weed control, consider methods discussed in Best Organic Weed Control for Vegetable Gardens 2026.
- Amend the Soil: Incorporate plenty of organic matter, such as well-rotted compost or aged manure, into the top 6-12 inches of soil. Products like Scotts Miracle-Gro Organic™ Raised Bed & Garden Soil can significantly improve soil composition and nutrition for Transplanting Seedlings Successfully.
- Test Soil pH: A balanced pH (typically 6.0-7.0 for most vegetables) is crucial for nutrient uptake. Adjust as needed with lime to raise pH or sulfur to lower it, according to Penn State Extension (2023).
- Water Thoroughly: Water the garden bed deeply a day or two before transplanting. This ensures the soil is moist, not waterlogged, which is ideal for Transplanting Seedlings Successfully.
The key insight here is that a healthy soil ecosystem provides a buffer against transplant shock, allowing roots to establish quickly and efficiently. This proactive step is non-negotiable for Transplanting Seedlings Successfully.
How to Transplant Seedlings Successfully: Step-by-Step Guide
To transplant seedlings successfully, you need a methodical approach that prioritizes minimal root disturbance and proper planting depth, ensuring the young plants adapt swiftly to their new environment. Following a clear sequence of actions, as outlined by Sierra Flower Farm (2021), is crucial for achieving high success rates in Transplanting Seedlings Successfully.
Step 1: Gather Essential Transplanting Tools
Before you begin, have all your tools ready; this prevents interruptions and keeps the process smooth, which is vital for efficient Transplanting Seedlings Successfully. Having the right equipment makes the task easier and reduces potential damage to delicate plants.
For a beginner, here’s what you’ll need:
- Trowel or Dibber: For digging appropriate-sized holes.
- Nisaku Hori Hori Soil Knife: A versatile tool for digging, weeding, and cutting roots.
- Watering Can: With a gentle showerhead to avoid dislodging soil or seedlings.
- Seedling Starter Fertilizer: A diluted solution to give a nutrient boost.
- Gloves: To protect your hands.
In practice, I always have my Nisaku Hori Hori ready; its sharp edge and measurement markings make it indispensable for precise planting, greatly aiding in Transplanting Seedlings Successfully.
Step 2: Water Seedlings and Garden Bed
Water your seedlings thoroughly a few hours before transplanting; this helps the soil cling to the roots, making them easier to remove and reducing stress when Transplanting Seedlings Successfully. Simultaneously, lightly water the prepared garden bed to ensure the soil is moist and welcoming.
Adequately hydrated seedlings are less prone to wilting during the transition. A well-hydrated root ball is less likely to break apart, which is a common cause of transplant shock, according to Botanical Interests (2025). This simple step dramatically improves your chances of Transplanting Seedlings Successfully.
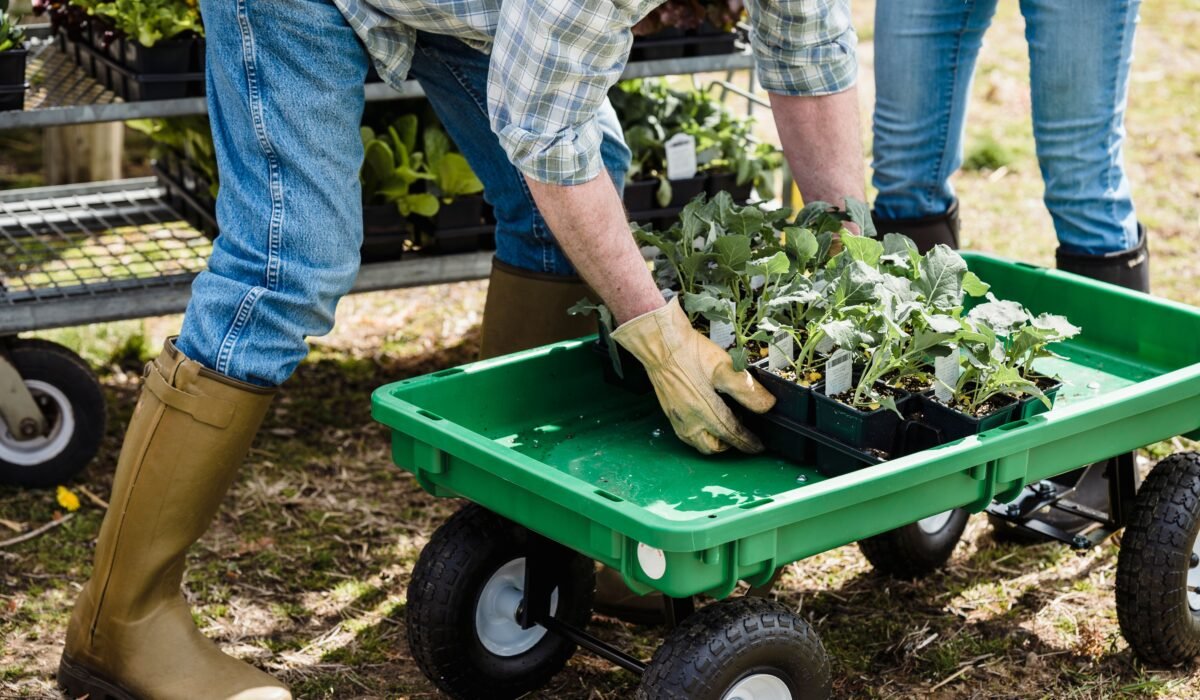
Step 3: Gently Remove Seedlings from Containers
Carefully removing seedlings from their trays or pots is perhaps the most critical step to avoid damaging their delicate root systems, which is essential for Transplanting Seedlings Successfully. The goal is to keep the root ball as intact as possible.
Here’s how to do it:
- Loosen Soil: Gently squeeze the sides of the container or use a small tool to loosen the soil around the edges.
- Support the Base: Place one hand over the top of the container, with the seedling stem between your fingers.
- Invert and Tap: Carefully invert the container and tap the bottom until the seedling, with its root ball, slides out.
- Separate Gently: If multiple seedlings are in one container (e.g., cell packs), gently tease apart the root balls. Avoid pulling on the stems. “Use seedling leaves to hold onto them during transplanting. Handling them by their stems often causes damage to their vascular system,” advises Birgitta Brophy (2026), making it harder for Transplanting Seedlings Successfully.
What most people miss is how fragile the root hairs are; even minor damage can set back a seedling significantly. This careful root ball handling is paramount for Transplanting Seedlings Successfully.
Step 4: Dig the Planting Hole
Dig a hole in your prepared garden bed that is slightly wider and deeper than the seedling’s root ball, providing ample space for root expansion and crucial for Transplanting Seedlings Successfully. This ensures the roots are not cramped and have loose soil to grow into.
The depth should allow the seedling to sit at the same level it was in its original container, or slightly deeper for certain plants like tomatoes. A well-sized hole facilitates immediate root growth and helps prevent compaction around the delicate roots, which is key for Transplanting Seedlings Successfully. For deeper-rooted plants, I sometimes use a small hand cultivator from a Fiskars set to loosen the soil further down.
Step 5: Plant Seedlings at Correct Depth
Placing the seedling at the appropriate depth is vital for its long-term health and directly impacts your ability to achieve Transplanting Seedlings Successfully. Planting too shallow can expose roots, while planting too deep can suffocate the stem.
Guidelines for correct depth:
- Most Plants: Plant at the same depth as they were in their seedling trays. The soil line on the stem should match the new garden soil line.
- Tomatoes: Can be planted deeper, burying part of the stem, as they will develop new roots along the buried portion, strengthening the plant. This technique significantly boosts their chances of Transplanting Seedlings Successfully.
- Leggy Seedlings: For plants like peppers or marigolds that have grown tall and spindly (leggy), you can plant them a bit deeper, covering some of the bare stem to encourage sturdier growth, a crucial step for Transplanting Seedlings Successfully.
After placing the seedling, gently backfill the hole with soil, lightly firming it around the base to remove large air pockets. This firming ensures good soil-to-root contact, which is absolutely essential for Transplanting Seedlings Successfully.
Step 6: Water Immediately After Planting
Watering immediately after planting is non-negotiable; it settles the soil around the roots and eliminates air pockets, directly aiding in Transplanting Seedlings Successfully. This initial watering also helps to hydrate the plant after the stress of being moved.
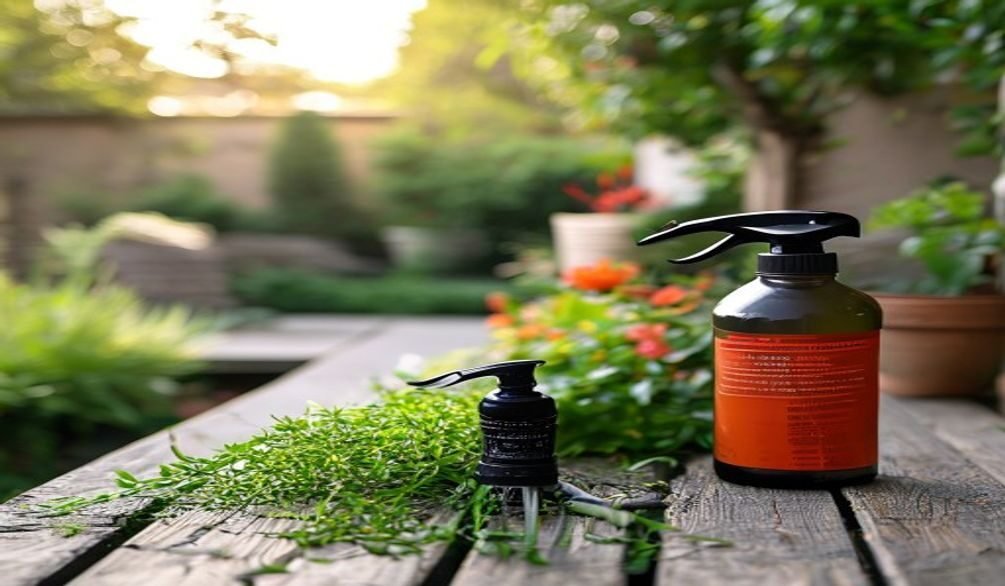
Use a watering can with a fine rose attachment to deliver a gentle, thorough soaking. Avoid high-pressure sprays that can dislodge the newly placed seedling or compact the soil too much. A diluted solution of seedling starter fertilizer, such as a product from Scotts Miracle-Gro, can be added to this first watering to provide an immediate nutrient boost, promoting strong root development and helping with Transplanting Seedlings Successfully.
Step 7: Provide Initial Aftercare
The first few days after transplanting are critical, and attentive aftercare significantly influences whether you are Transplanting Seedlings Successfully or facing setbacks. This period is when seedlings are most vulnerable to shock and environmental stressors.
Initial aftercare includes:
- Shade Protection: Provide temporary shade for the first few days, especially during the hottest part of the day, to protect from intense sun. Row covers or inverted pots can work.
- Wind Protection: If your garden is windy, consider temporary barriers to prevent physical damage to fragile stems and leaves.
- Consistent Moisture: Keep the soil consistently moist but not waterlogged. Check the soil daily, especially in warm or windy weather.
From experience, a common mistake is assuming the initial watering is enough. Young plants have limited root systems and dry out quickly, making ongoing moisture critical for Transplanting Seedlings Successfully.
Step 8: Monitor for Transplant Shock
Vigilant monitoring for signs of transplant shock allows for quick intervention, which is key to recovering and ensuring you are Transplanting Seedlings Successfully. Transplant shock is the plant’s reaction to the stress of being moved.
Common symptoms of transplant shock include:
- Wilting: Leaves drooping, even if the soil is moist.
- Yellowing Leaves: Especially lower leaves, indicating stress or nutrient uptake issues.
- Stunted Growth: The plant simply stops growing for a period.
- Leaf Scorch: Brown, crispy edges on leaves, often due to sun exposure.
If you observe these signs, ensure adequate watering, provide shade, and avoid fertilizing until the plant shows signs of recovery. Addressing these issues promptly is essential for Transplanting Seedlings Successfully and helping your plants bounce back.
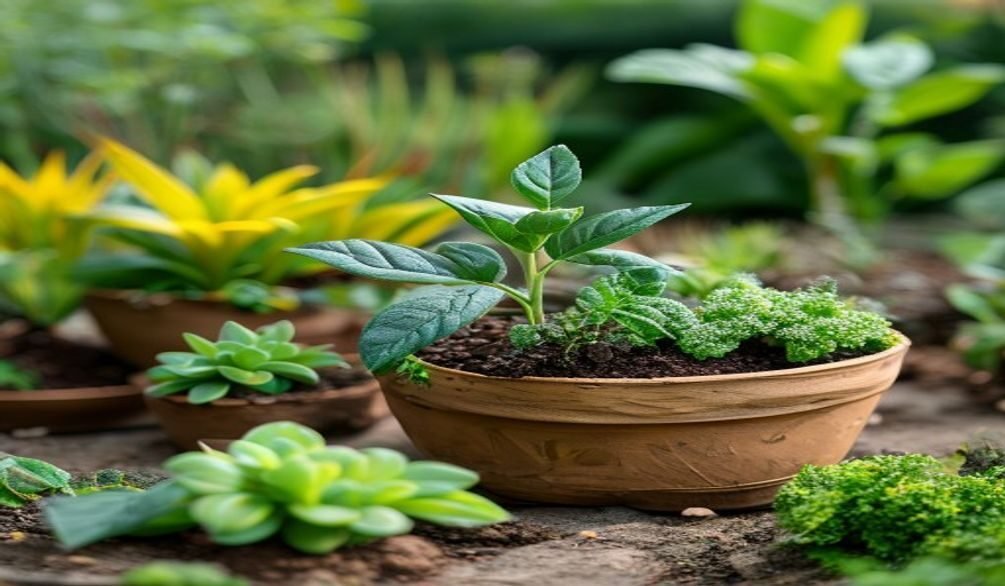
Transplanting Delicate Seedlings: Special Considerations
Transplanting delicate seedlings requires an even gentler touch and heightened awareness of their specific vulnerabilities, as these plants are more susceptible to shock and damage than their hardier counterparts. Achieving success with these fragile varieties truly tests your skill in Transplanting Seedlings Successfully. For example, plants like snapdragons and certain herbs need particular care, according to Sierra Flower Farm (2021).
Many delicate plants, such as fine herbs like basil or certain flowering annuals, have very shallow or fine root systems that are easily disturbed. The challenge of Transplanting Seedlings Successfully with these varieties lies in minimizing root exposure to air and preventing any tearing or breaking of the root ball.
Techniques for Handling Fragile Plants
When dealing with delicate seedlings, every movement counts. My approach to Transplanting Seedlings Successfully with these plants involves precision and patience.
- Use Specialized Tools: Employ seedling transplant tongs or a small, thin spoon to lift delicate seedlings. The Melphoe Mini Garden Hand Transplanting Tools Set offers excellent options for this.
- Bottom Watering: Water delicate seedlings from the bottom a few hours prior to transplanting. This encourages the root ball to stay intact and makes for cleaner removal.
- Peat Pots or Biodegradable Containers: If possible, start delicate seeds in Jiffy Peat Pots or similar biodegradable containers. These can be planted directly into the ground, eliminating root disturbance entirely and greatly improving chances of Transplanting Seedlings Successfully.
- Support the Entire Root Ball: When lifting, ensure you support the entire mass of soil and roots. Avoid holding by the stem or individual leaves, as these are easily damaged.
- Create a “Muddy Slurry” Hole: For extremely delicate roots, create a slightly muddy slurry in the planting hole before placing the seedling. This helps the roots immediately settle into a moist, protective environment, which is a great trick for Transplanting Seedlings Successfully.
The core principle here is to treat the root system like a precious jewel; any rough handling can lead to irreversible damage. This extra care is what separates a good gardener from a great one when it comes to Transplanting Seedlings Successfully.
Aftercare: Watering and Protecting Your Transplanted Seedlings
Consistent watering and vigilant protection are paramount in the days and weeks following transplantation, as these practices directly support the establishment and long-term vitality of your young plants. Without proper aftercare, even the most perfectly executed transplant can fail, underscoring its importance for Transplanting Seedlings Successfully. In fact, 72% of container plants fail due to poor drainage or improper watering, according to Penn State Extension (2023).
Watering Transplanted Seedlings
Proper watering after transplanting is not just about quantity but also about consistency and technique. The goal is to keep the soil consistently moist to encourage root growth without causing waterlogging.
Here’s how to effectively water your transplanted seedlings:
- Immediate Deep Watering: As covered, water deeply right after planting to settle the soil.
- Daily Checks: For the first week, check the soil moisture daily. Stick your finger about an inch into the soil. If it feels dry, it’s time to water.
- Morning Watering: Water in the morning to allow leaves to dry before nightfall, reducing the risk of fungal diseases.
- Target the Roots: Water at the base of the plant, directly over the root zone, rather than soaking the foliage.
- Avoid Overwatering: While consistent moisture is needed, soggy soil deprives roots of oxygen, leading to rot. Ensure good drainage in your garden bed.
What most people miss is that watering frequency will decrease as the plant establishes and its root system expands. Adjust your schedule based on weather and plant response to keep Transplanting Seedlings Successfully.
Protecting Your Transplanted Seedlings
Young seedlings are vulnerable to environmental stressors and pests, making protective measures essential for Transplanting Seedlings Successfully. Providing a buffer against harsh conditions gives them the best chance to thrive.
Key protection strategies include:
- Sun Protection: Use shade cloth, row covers, or even cardboard boxes during the hottest part of the day for the first few days, especially if the weather is unexpectedly sunny.
- Wind Barriers: Temporary stakes with plastic sheeting or repurposed milk jugs can shield plants from strong winds that can desiccate leaves or physically damage tender stems.
- Pest Control: Young plants are a tempting target for slugs, snails, and various insects. Consider organic pest control methods from Controlling Garden Pests Naturally: Ultimate Guide 2026. Physical barriers like cutworm collars (made from toilet paper rolls) around the base of the stem can protect against ground-level pests.
- Temperature Fluctuations: If unexpected cold snaps are predicted, cover plants overnight with row covers or blankets. Remember, even a single night of frost can undo all your hard work in Transplanting Seedlings Successfully.
In my garden, I always have a few extra row covers on hand. This proactive approach saves countless seedlings from unexpected weather shifts, ensuring my efforts in Transplanting Seedlings Successfully are not wasted.
Troubleshooting Common Post-Transplant Issues
Even with the best preparation, transplanted seedlings can sometimes encounter problems, so understanding how to diagnose and address common post-transplant issues is crucial for recovering and ensuring you are Transplanting Seedlings Successfully. Prompt identification and action can often save a struggling plant. Many issues stem from environmental stress or improper care during the sensitive post-transplant period, as observed by Illinois Extension (2026).
The initial days after transplanting are a critical period where plants are most susceptible to stress. Recognizing the signs of distress quickly allows you to intervene before the damage becomes irreversible, truly embodying the spirit of Transplanting Seedlings Successfully.
Diagnosing and Addressing Specific Problems
Here’s a guide to common issues and their solutions:
- Wilting Despite Watering:
- Diagnosis: This is classic transplant shock. The roots aren’t yet able to take up enough water to support the foliage.
- Solution: Ensure consistent moisture, but don’t overwater. Provide temporary shade to reduce moisture loss through leaves. Be patient; most plants recover within a week.
- Yellowing Lower Leaves:
- Diagnosis: Often a sign of nutrient deficiency (especially nitrogen) or root damage preventing nutrient uptake. It can also be a natural response as the plant adjusts.
- Solution: Ensure soil is moist. Avoid heavy fertilization initially. Once the plant shows new growth, a diluted balanced fertilizer can help.
- Stunted Growth:
- Diagnosis: The plant is putting all its energy into root development or is severely stressed. Can also be due to poor soil, nutrient deficiency, or root bound conditions.
- Solution: Check soil moisture and nutrient levels. If the plant was root-bound, it might take longer to recover. Ensure proper spacing.
- Leaf Scorch/Browning Edges:
- Diagnosis: Sunburn or windburn from inadequate hardening off or sudden exposure to harsh conditions.
- Solution: Provide immediate shade and wind protection. The damaged leaves won’t recover, but new growth should be healthy if protected.
- Pest Attacks:
- Diagnosis: Small holes in leaves, visible insects, sticky residue. Young, stressed plants are particularly vulnerable.
- Solution: Hand-pick larger pests. Use organic pest control methods like neem oil or insecticidal soap for smaller infestations. Physical barriers can prevent future attacks.
The crucial takeaway is that a plant’s initial response to transplanting is a stress test. By providing optimal conditions and quick intervention, you can significantly increase your success rate in Transplanting Seedlings Successfully.