Key Takeaways
- Microgreens are harvested in 7-21 days and contain 4-40 times more nutrients than mature plants, according to IMARC Group (2026).
- The global microgreens market was valued at USD 3.52 billion in 2025, as reported by Polaris Market Research (2026).
- Broccoli microgreens comprised 24.1% of the United States microgreens market share in 2025, states Mordor Intelligence (2026).
- Growing microgreens on a balcony can yield a continuous supply of fresh produce in limited urban spaces.
- Effective balcony microgreen cultivation requires appropriate trays, a good growing medium, and careful light and water management.
Cultivating nutrient-dense greens in urban environments might seem challenging, but understanding how to grow microgreens on balcony spaces makes it entirely achievable. This guide will walk you through the precise steps, essential supplies, and expert tips to transform your compact balcony into a thriving microgreen haven, ensuring you enjoy fresh, flavorful harvests right at your fingertips.
Quick Answer: Growing microgreens on a balcony is an efficient way to cultivate nutrient-dense greens in limited urban spaces. They require shallow trays, a light growing medium, and moderate sunlight, maturing in 7-21 days for continuous harvests of fresh produce.
What Are Microgreens and Why Grow Them on Your Balcony?
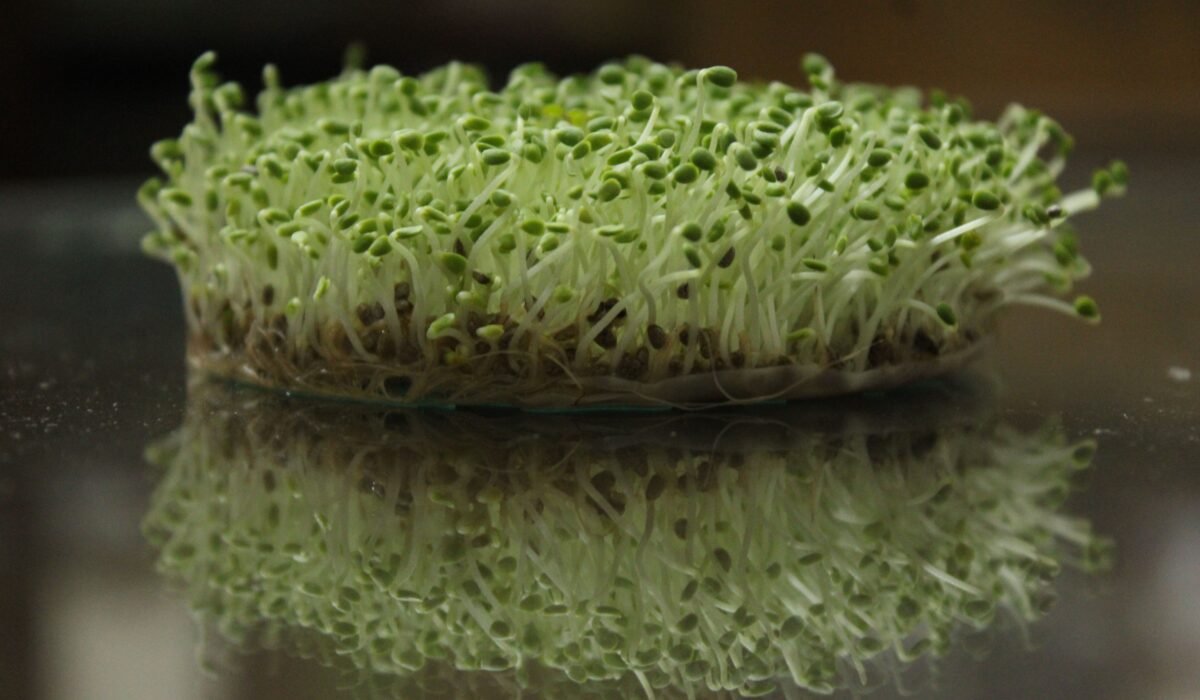
Microgreens are young vegetable greens harvested just after the first true leaves emerge, typically when they are 1-3 inches tall. They are nutrient-dense powerhouses, containing 4-40 times more nutrients than their mature counterparts, according to IMARC Group (2026). The primary reason to learn how to grow microgreens on balcony spaces is their exceptional nutritional value combined with their minimal space requirements.
Cultivating microgreens on your balcony offers an immediate supply of fresh, organic produce, enhancing your meals with intense flavor and vibrant color. “Microgreens are a powerhouse of nutrients; they pack a punch of vitamins, minerals, and antioxidants, often containing higher levels of nutrients than their mature plant counterparts,” notes Balcony Garden Paradise (2026). This makes them an ideal crop for anyone looking to boost their health from a small urban garden.
Beyond nutrition, the convenience of harvesting fresh greens just steps from your kitchen is unparalleled. Adrian Hum, an ERP Consultant and Software Developer, states, “Microgreens represent one of the most space-efficient crops imaginable.” A tiny tray of red cabbage grown on a balcony can pack much higher concentrations of vitamins C, E, and K than a fully grown plant, according to Adrian Hum (2026). This ease of access and high yield potential makes learning how to grow microgreens on balcony a rewarding endeavor for urban dwellers.
What Do You Need to Grow Microgreens on a Balcony?
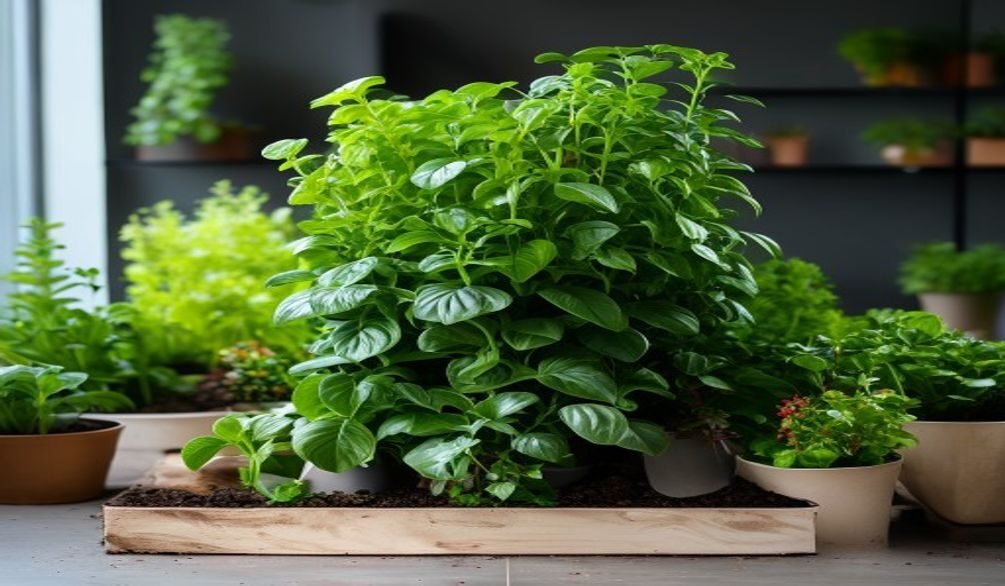
To successfully grow microgreens on a balcony, you need a few essential supplies that facilitate their rapid growth in a compact outdoor setting. The most crucial items include shallow trays, a suitable growing medium, quality seeds, and a reliable watering system. Investing in the right tools from the start ensures a smoother and more productive experience when you’re looking to grow microgreens on balcony.
You will also need a spray bottle for gentle watering and a pair of sharp scissors for harvesting. Many beginners find microgreens growing kits helpful, such as the HAMAMA Microgreens Kit, which offers organic seeds and self-watering seed quilts, simplifying the initial setup.
Here’s a comprehensive list of what you’ll need to grow microgreens on balcony:
- Shallow Trays: Look for trays 1.5-2 inches deep. You’ll need one tray with drainage holes and a slightly larger bottom tray without holes to catch excess water.
- Growing Medium: A soilless mix like coco coir, peat moss, or a specialized microgreens growing medium is ideal. These mediums offer good drainage and aeration, crucial for preventing mold.
- Quality Microgreen Seeds: Purchase seeds specifically intended for microgreens, as these often have higher germination rates and are untreated.
- Spray Bottle: Essential for gentle watering that doesn’t dislodge tiny seeds or seedlings.
- Light Source: While balconies provide natural sunlight, supplemental LED grow lights might be beneficial during cloudy periods or for shaded balconies.
- Sharp Scissors or Knife: For clean, efficient harvesting.
- Optional: A small fan for air circulation, especially in humid conditions, and a heat mat for faster germination in cooler climates.
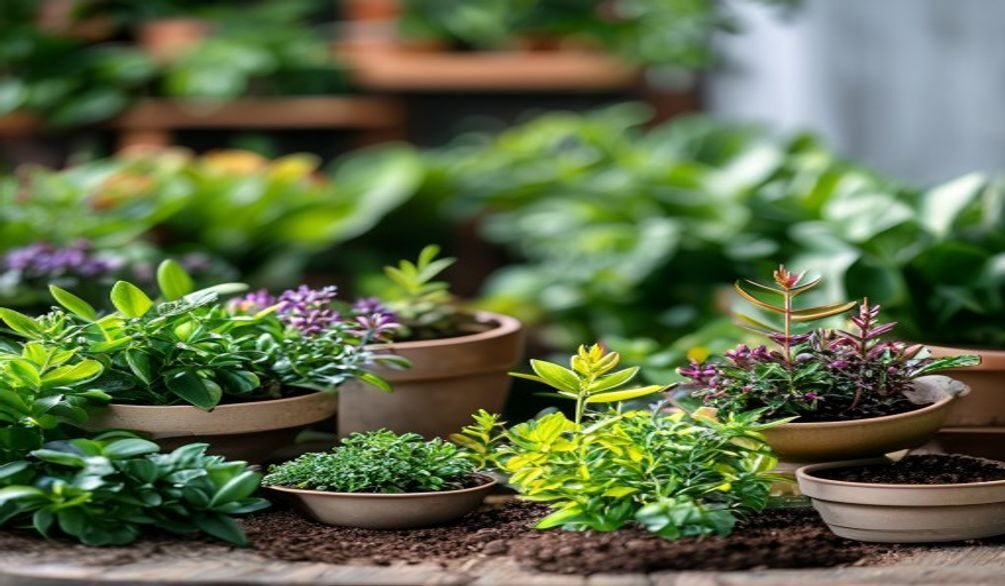
Choosing the Best Microgreens for Balcony Growing
Selecting the right microgreen varieties is key to a successful balcony garden, as some perform better in outdoor conditions and offer quicker harvests. When considering how to grow microgreens on balcony, prioritize varieties known for their resilience, rapid growth, and high yield in small spaces. Broccoli microgreens, for example, held the largest share at 24.1% in the United States microgreens market in 2025, according to Mordor Intelligence (2026), largely due to their strong nutritional profile and ease of cultivation.
Fast-growing, nutrient-dense options are always a smart choice for any urban microgreens farming balcony setup. Jessica Damiano, writing for The Associated Press (2022), emphasizes that “One way to maximize your harvest is to grow plants that mature quickly, harvest them and then plant more.” This approach is perfectly suited for microgreens.
Here are some of the best microgreens to grow on a balcony:
- Broccoli: Mild flavor, very easy to grow, and highly nutritious. Matures in 7-10 days.
- Radish: Spicy kick, rapid growth, and visually appealing. Ready in 5-8 days.
- Arugula: Peppery taste, quick to germinate and grow. Harvest in 8-12 days.
- Kale: Earthy flavor, packed with vitamins. Takes 8-14 days to mature.
- Mustard: Pungent and spicy, excellent for adding flavor. Grows in 7-10 days.
- Cabbage (Red or Green): Mild, slightly sweet flavor. Matures in 8-12 days.
- Sunflower: Nutty and crunchy, a larger microgreen that requires hulling. Ready in 7-12 days.
These varieties are relatively forgiving and adapt well to the varying conditions often found on balconies, making them ideal for beginners learning how to grow microgreens on balcony.
How to Set Up Your Balcony Microgreen Garden: Step-by-Step
Setting up your balcony microgreen garden involves a series of straightforward steps that, when followed carefully, ensure a bountiful harvest. The process begins with proper tray preparation and ends with continuous replanting, making it simple to consistently grow microgreens on balcony spaces. This structured approach simplifies the learning curve for beginners and helps optimize yields.
Step 1: Choose Your Microgreen Varieties
Select microgreen seeds based on your taste preferences and their growth characteristics. Opt for beginner-friendly options like broccoli, radish, or arugula, as these are resilient and have quick germination times. This initial choice sets the stage for a successful grow microgreens on balcony project.
Step 2: Gather Supplies and Equipment
Collect all necessary items before you begin, including shallow trays (one with drainage, one without), your chosen growing medium, quality seeds, a spray bottle, and scissors. Having everything organized streamlines the setup process and ensures you have all you need to grow microgreens on balcony effectively.
Step 3: Prepare Trays and Growing Medium
Fill your drainage tray with about 1-1.5 inches of your chosen growing medium, ensuring it’s level but not overly compacted. Lightly moisten the medium with water until it’s damp but not soggy, which creates the perfect environment for seed germination. This step is crucial for establishing a healthy foundation for your microgreens.
Step 4: Plant Seeds Evenly
Spread your microgreen seeds densely and evenly across the moistened growing medium, ensuring good seed-to-soil contact without overlapping too much. For smaller seeds, a light sprinkle is sufficient, while larger seeds like sunflower might need a little more space. This even distribution helps maximize your harvest when you grow microgreens on balcony.
Step 5: Provide Optimal Light and Water
After planting, mist the seeds gently with water from a spray bottle and cover the tray with another tray or dome for 2-4 days to create a blackout period, encouraging uniform germination. Once germinated, expose them to bright, indirect sunlight or a grow light for 4-6 hours daily, and water from the bottom by pouring water into the solid tray below. Consistent moisture without oversaturation is vital to grow microgreens on balcony successfully.
Step 6: Monitor Growth and Troubleshoot
Regularly observe your microgreens for signs of mold, uneven growth, or drying out. Ensure good air circulation and adjust watering as needed to prevent issues. Addressing problems early can save your entire crop and teach you valuable lessons about how to grow microgreens on balcony.
Step 7: Harvest Your Microgreens
When your microgreens reach 1-3 inches tall and have developed their first set of true leaves, they are ready for harvest. Use sharp scissors to cut them just above the soil line, ensuring a clean cut. Harvesting at the right time captures their peak nutritional value and flavor.
Step 8: Replant for Continuous Supply
After harvesting, discard the spent growing medium and clean your trays. You can then immediately replant a new batch of seeds, allowing for a continuous supply of fresh microgreens. This continuous cycle is one of the biggest advantages of learning how to grow microgreens on balcony.
Optimizing Light, Water, and Temperature for Balcony Microgreens
Optimizing light, water, and temperature is fundamental for healthy microgreen growth on a balcony, as these factors directly influence germination, development, and nutrient content. Balcony environments can be dynamic, with fluctuating sunlight, wind, and temperatures, requiring careful management to ensure success when you grow microgreens on balcony. Understanding these elements is paramount for a thriving urban microgreens farming balcony setup.
Microgreens generally thrive with 4-6 hours of bright, indirect sunlight daily. While direct afternoon sun can scorch delicate seedlings, insufficient light leads to leggy, weak growth, according to Penn State Extension (2023). Positioning your trays to receive morning sun or filtered light throughout the day is often ideal for balcony microgreens.
Balcony Microgreen Environmental Factors
| Factor | Optimal Conditions | Balcony Consideration |
|---|---|---|
| Light | 4-6 hours bright, indirect light | Morning sun or filtered light; avoid harsh afternoon sun. Consider supplemental lights for shaded balconies. |
| Water | Consistent moisture, bottom-watering preferred | Check trays daily; wind can accelerate drying. Use a spray bottle for initial misting. |
| Temperature | 65-75°F (18-24°C) | Protect from extreme heat/cold. Bring indoors during severe weather or use heat mats. |
| Air Circulation | Good airflow, but not strong drafts | Balconies often have good airflow, but protect from strong winds that can dry out plants. |
Watering is best done from the bottom to prevent damping-off disease and disturbance of the tiny seedlings. Pour water into the solid bottom tray and allow the growing medium to absorb it for 15-30 minutes, then drain any excess. This method ensures consistent moisture while preventing oversaturation, a common pitfall when you grow microgreens on balcony.
Temperature also plays a significant role; most microgreens prefer temperatures between 65-75°F (18-24°C). Balconies can experience wide temperature swings, so be prepared to bring trays indoors during extreme cold or heat. Adrian Hum (2026) suggests that “consistent environmental control, even in a small space, dramatically boosts yield and quality.”
Solving Common Challenges When Growing Microgreens on a Balcony
When you grow microgreens on balcony, you might encounter specific challenges related to the outdoor environment, such as mold, pests, and uneven growth, but most can be effectively managed with proactive strategies. Addressing these issues promptly ensures a healthier crop and prevents significant losses. Understanding these common problems is crucial for anyone looking to successfully grow microgreens on balcony in an urban setting.
One prevalent issue is mold, often caused by poor air circulation, overwatering, or excessive seed density. To combat this, ensure your balcony offers good airflow, water judiciously (preferably from the bottom), and avoid overcrowding seeds. If mold appears, a light misting with a diluted hydrogen peroxide solution can sometimes help.
Another challenge is pest management, particularly in an urban environment where insects might find your small garden appealing. For effective pest control, consider using natural deterrents like neem oil or introducing beneficial insects. For more detailed strategies, you can refer to our guide on DIY Organic Pest Control: 7 Effective Solutions for Common Pests.
Uneven growth can stem from inconsistent light exposure or watering. Rotate your trays regularly to ensure all seedlings receive adequate light, and verify that your bottom-watering method is evenly saturating the entire growing medium. “Consistent and uniform conditions are paramount for uniform microgreen development,” according to Cultivate Delight (2026). These careful adjustments will help you grow microgreens on balcony with greater success.
Maximizing Your Balcony Harvests: Vertical & Space-Saving Tips
Maximizing your balcony microgreen harvests, especially in limited urban spaces, often involves embracing vertical gardening solutions and clever space-saving techniques. These methods allow you to cultivate a significantly larger quantity of microgreens than traditional flat tray setups, proving invaluable for anyone looking to grow microgreens on balcony more efficiently. By thinking vertically, you transform your balcony into a highly productive food source.
Vertical gardening is an excellent way to make the most of your available square footage. Instead of just using the floor, consider tiered shelving units, wall-mounted planters, or even DIY vertical systems. For example, a balcony vertical microgreens garden using a simple tiered shelf can quadruple your growing area. Adrian Hum (2026) states, “A standard apartment balcony dedicated to these tiny seedlings can generate a dense, continuous harvest of vegetables in a fraction of the time required by traditional gardens.”
Here are practical tips for a high-yield urban microgreens farming balcony:
- Tiered Shelving: Invest in a durable, weather-resistant shelving unit. This allows you to stack multiple trays, significantly increasing your growing capacity.
- Wall Planters: Utilize vertical wall space with fabric wall planters or modular systems. Just ensure adequate light reaches all levels.
- Hydroponic Microgreens Balcony Setups: Consider a small hydroponic system like the InGarden® Microgreens Kit, which uses 90% less water and can be stacked. This is an advanced method for high-efficiency growing.
- Succession Planting: Stagger your planting times. Start a new tray of seeds every few days so you have a continuous supply maturing at different intervals.
- Repurpose Containers: Use shallow, food-safe containers with drainage holes for small batches. This is a cost-effective way to grow microgreens on balcony.
For more ideas on vertical structures, our article on Best Vertical Garden Structure Types: 7 Essential Options offers valuable insights. By implementing these strategies, you can truly maximize the potential of your balcony, turning it into a microgreen powerhouse.
Cost-Benefit: Is Growing Microgreens on Your Balcony Worth It?
Growing microgreens on your balcony is absolutely worth it, offering significant cost savings, superior nutritional value, and unparalleled freshness compared to store-bought options. While there’s an initial setup cost, the long-term benefits quickly outweigh the investment, making it a smart choice for health-conscious and budget-minded individuals. This makes learning how to grow microgreens on balcony a highly valuable skill.
The global microgreens market was valued at USD 3.52 billion in 2025, according to Polaris Market Research (2026), indicating a high demand and thus, a higher retail price for these specialty greens. By growing your own, you bypass these retail markups. A small packet of microgreen seeds costs just a few dollars and can yield multiple harvests, whereas a small clamshell of store-bought microgreens can cost upwards of $4-7 for a single serving.
Initial costs for setting up to grow microgreens on balcony might include trays, a growing medium, and seeds, potentially totaling $20-$50. However, these are largely one-time purchases or inexpensive recurring costs. For instance, the United States microgreens market is projected to expand from USD 1.62 billion in 2026 to USD 2.69 billion by 2031, registering a CAGR of 10.67%, according to Mordor Intelligence (2026), highlighting the commercial value that can be translated into personal savings.
Beyond financial savings, the nutritional benefits are profound. Microgreens are documented to contain 4-40 times more nutrients than their mature counterparts, according to IMARC Group (2026). This means you’re getting a powerful health boost with every harvest. Furthermore, the satisfaction of growing your own food and having fresh, organic produce readily available is an intangible benefit that many gardeners cherish. The convenience and control over what goes into your food are invaluable.
Frequently Asked Questions
What do you need to grow microgreens on a balcony?
To grow microgreens on a balcony, you need shallow trays, a light growing medium like coco coir, quality microgreen seeds, a spray bottle for watering, and a pair of sharp scissors for harvesting. A solid bottom tray is also essential for bottom-watering to prevent mold and overwatering.
What is the easiest way to grow microgreens?
The easiest way to grow microgreens is by using a self-contained kit, such as the HAMAMA Microgreens Kit, which includes pre-seeded quilts and requires minimal effort. These kits simplify the process of planting and watering, making it incredibly accessible for beginners to grow microgreens on balcony.
Do microgreens need direct sunlight on a balcony?
Microgreens do not typically need direct, harsh sunlight on a balcony; bright, indirect light for 4-6 hours daily is usually sufficient. Excessive direct sun can scorch delicate seedlings, so morning sun or filtered light is often preferred to grow microgreens on balcony effectively.
How often do you water microgreens on a balcony?
You should water microgreens on a balcony daily or every other day, checking the growing medium’s moisture level. Bottom-watering is recommended to keep the seeds and delicate stems from being disturbed and to prevent damping-off disease.
What is the best growing medium for microgreens on a balcony?
The best growing medium for microgreens on a balcony is a soilless mix like coco coir or peat moss, or a specialized microgreens growing medium. These options provide excellent drainage and aeration, which are crucial for preventing mold and ensuring healthy root development.
Learning how to grow microgreens on balcony spaces is a transformative step for any urban gardener, offering an accessible and rewarding path to fresh, nutrient-rich produce. By following the detailed steps and expert advice outlined here, you can overcome common challenges and cultivate a continuous supply of vibrant microgreens. Start your balcony microgreen garden today and enjoy the incredible flavors and health benefits of homegrown greens.