Key Takeaways
- Hydroponic seed starting can use up to 90% less water than traditional farming, according to Persistence Market Research (2026).
- The global hydroponics market is projected to reach USD 49.64 billion by 2033, growing at a CAGR of 12.83% from 2026, as reported by market analysis.
- Rockwool and Coco Coir are popular growing mediums for hydroponic seed starting, offering excellent moisture retention and aeration.
- Optimal germination temperatures for most hydroponic seeds range between 70-80°F, crucial for successful sprouting.
- Introducing grow lights immediately after germination prevents leggy seedlings, ensuring robust early growth.
Navigating the world of hydroponics can seem daunting, especially when it comes to getting your plants started right, but mastering the **Hydroponic Seed Starting Steps** is key to a thriving system. Many gardeners struggle with inconsistent germination or weak seedlings, which can derail an entire hydroponic project before it even begins. As someone with over a decade of experience in horticulture, I’m here to guide you through the precise techniques and expert tips needed to achieve robust, healthy seedlings every time, ensuring your hydroponic journey starts strong.
Quick Answer: To successfully start seeds hydroponically, prepare your growing medium, sow seeds at the correct depth, provide consistent moisture with a diluted nutrient solution, ensure adequate warmth (70-80°F), and introduce grow lights once sprouts appear. Transplant when roots are established and true leaves form.
What is Hydroponic Seed Starting?
Hydroponic seed starting is the process of germinating seeds and nurturing young seedlings in a soilless, water-based nutrient environment before transferring them to a larger hydroponic system. This method differs significantly from traditional soil-based germination, offering advantages like faster growth and reduced pest issues, as highlighted by the USDA National Agricultural Library, which states that “Hydroponics is the technique of growing plants using a water-based nutrient solution rather than soil, and can include an aggregate substrate, or growing media, such as vermiculite, coconut coir, or perlite” (2024). Understanding these core **Hydroponic Seed Starting Steps** is fundamental for any successful grow.
The key insight here is that you’re providing everything the seed needs directly to its roots. This controlled environment allows for precise delivery of water, nutrients, and oxygen, which can lead to more vigorous seedlings. In my experience, this precision is what truly sets hydroponics apart.
The global hydroponics market is projected to grow from US$ 17.4 billion in 2026 to US$ 41.5 billion by 2033, at a CAGR of 13.2%, according to market analysis. This growth underscores the increasing adoption of hydroponic techniques, including advanced hydroponic germination methods.
This rapid expansion is driven by advancements in technology and a growing demand for sustainable agriculture. Companies like AmHydro, known for designing innovative hydroponic systems, are at the forefront of this industry shift, proving the long-term viability and impact of hydroponic seed starting.
7 Essential Steps for Hydroponic Seed Starting Success
Achieving success with **Hydroponic Seed Starting Steps** hinges on a meticulous approach to preparation, environment, and care, ensuring robust growth from the very beginning. The careful execution of each stage directly impacts seedling vigor and future plant health, with proper technique leading to significantly higher germination rates, as observed in studies by the University of Florida, Institute of Food and Agricultural Sciences Extension (2023). Let’s break down the critical **Hydroponic Seed Starting Steps** you need to follow.
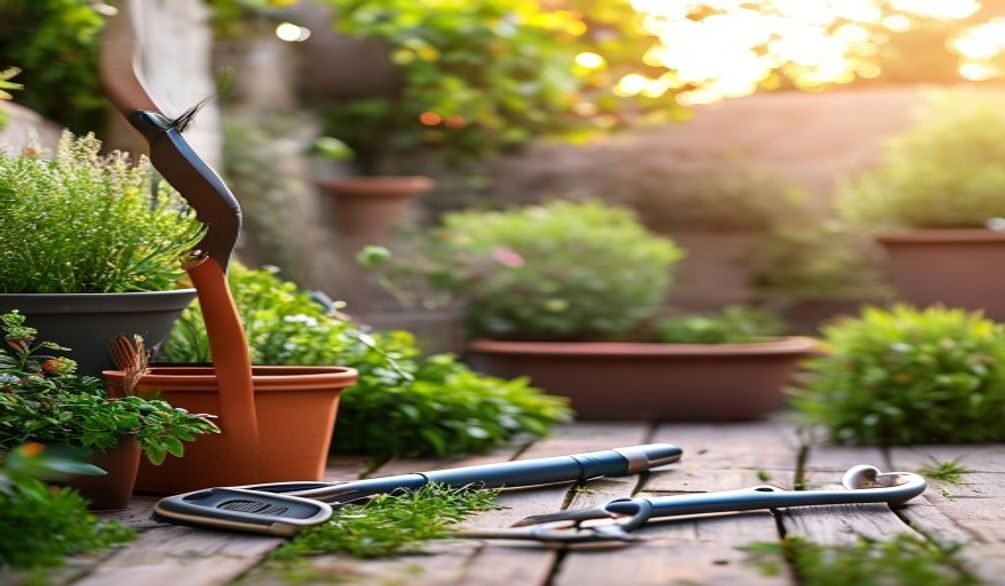
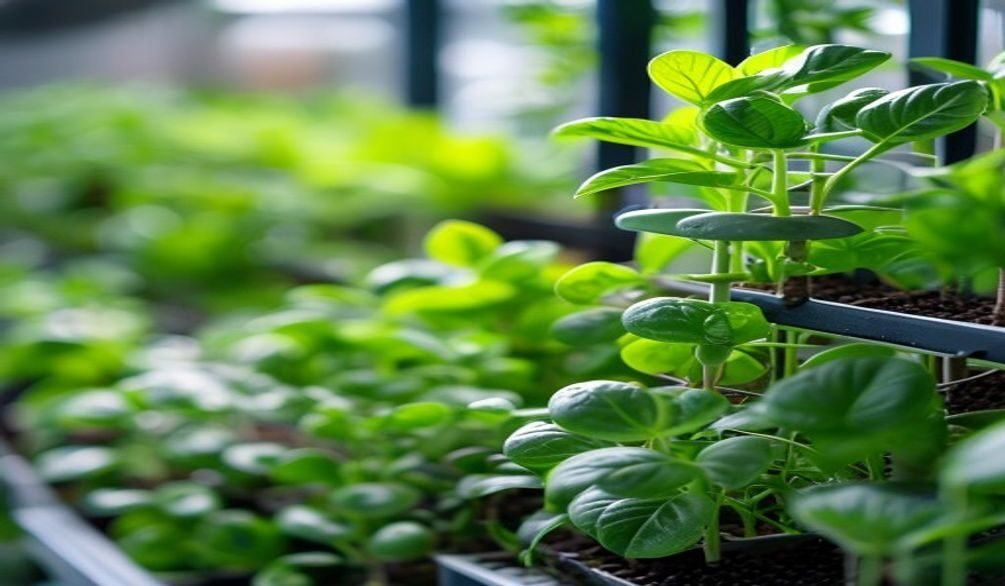
Step 1: Prepare Growing Medium
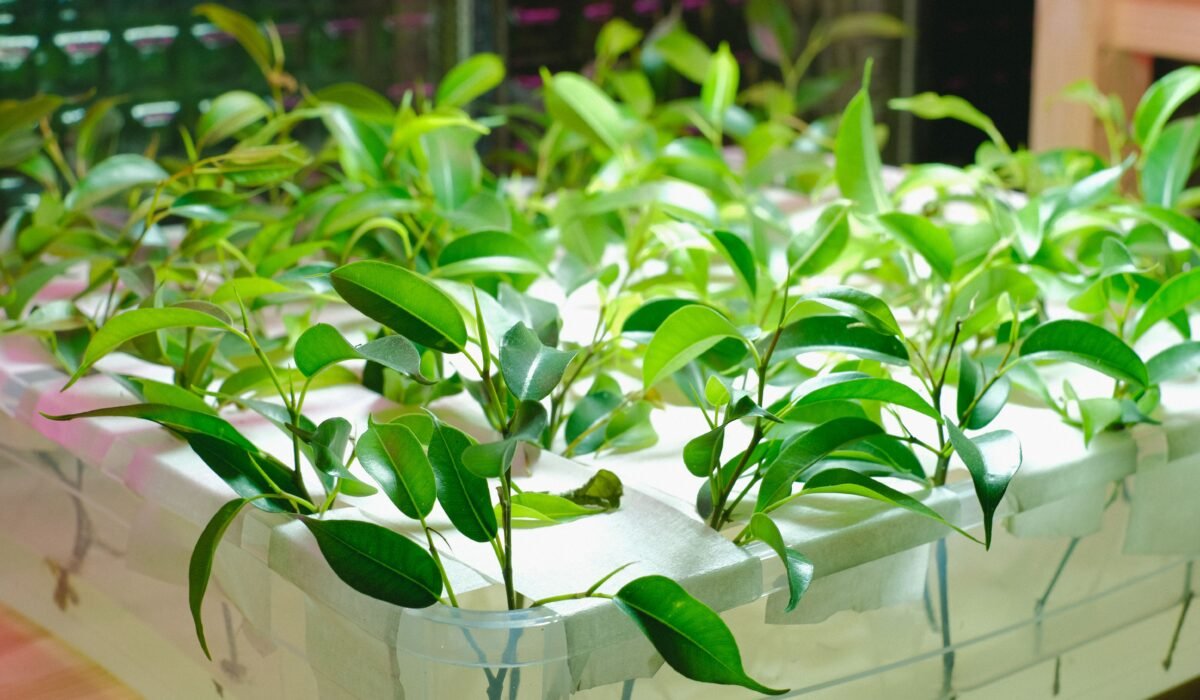
The first of the crucial **Hydroponic Seed Starting Steps** is to select and prepare your growing medium carefully. This step matters because the right medium provides essential support, aeration, and moisture retention for the delicate seeds and emerging roots. Many growers find Rockwool cubes or Coco Coir starter plugs to be excellent choices for their inert properties and consistent structure.
To prepare Rockwool, soak the cubes in pH-adjusted water (typically 5.5-6.5) for at least an hour to buffer their naturally high pH. Coco Coir, often used in products like Jiffy pellets, should be thoroughly rinsed to remove excess salts and then hydrated with pH-adjusted water. This initial preparation is vital for healthy hydroponic germination methods.
Step 2: Sow Seeds Correctly
Next in the **Hydroponic Seed Starting Steps**, sow your seeds at the appropriate depth and spacing within your chosen medium. This is important because improper depth can prevent germination or lead to weak sprouts, while correct spacing ensures each seedling has room to develop. For most small seeds, a depth of about 1/8 to 1/4 inch is ideal.
Place one or two seeds per hole or cube, then lightly cover them with a small amount of the same growing medium or vermiculite. Avoid burying seeds too deeply, as this can exhaust their energy before they reach the light.
Step 3: Provide Essential Moisture
Consistent moisture is paramount among the **Hydroponic Seed Starting Steps** for successful germination. Keeping the medium consistently moist, but not waterlogged, is crucial because seeds need a steady supply of water to trigger metabolic processes and break dormancy. Use a spray bottle for gentle, even watering, particularly during the initial phase.
Once seeds have sprouted, maintain moisture by placing the medium in a shallow tray with a diluted nutrient solution (EC 0.5-0.8), ensuring the bottom of the cubes or plugs wicks up moisture. This early exposure to nutrients supports initial root development.
Step 4: Ensure Optimal Warmth
Maintaining the correct temperature is a non-negotiable part of the **Hydroponic Seed Starting Steps**. Optimal warmth is critical because it activates the enzymes necessary for germination, significantly influencing the speed and success rate of sprouting. Most seeds germinate best between 70-80°F (21-27°C).
Consider using a heat mat with a thermostat to maintain a stable temperature, especially in cooler environments. This can drastically improve your hydroponic germination methods and overall success, according to Oklahoma State University Extension (2023).
Step 5: Introduce Grow Lights
As soon as your seeds sprout and you see the first tiny leaves, immediately introduce appropriate grow lights, which is a vital one of the **Hydroponic Seed Starting Steps**. Providing light at this stage is essential to prevent seedlings from becoming leggy and weak, encouraging strong, compact growth. Position LED grow lights (like those from Mars Hydro) 6-12 inches above the seedlings, providing 16-18 hours of light per day.
The intensity and spectrum of light are critical; blue light promotes vegetative growth, while red light aids in flowering and fruiting. A full-spectrum LED light is generally best for young seedlings.
Step 6: Nurture Healthy Seedlings
Nurturing healthy seedlings involves careful monitoring of their environment and providing a gentle nutrient solution, making it a continuous part of the **Hydroponic Seed Starting Steps**. This ongoing care is important to ensure they develop strong roots and true leaves, preparing them for transplant. Continue with a diluted nutrient solution (EC 0.8-1.2) and maintain good air circulation to prevent fungal issues.
You can learn more about maintaining your hydroponic system by checking out our guide on Hydroponic System Cleaning Steps. This will help you keep your equipment pristine for future grows.
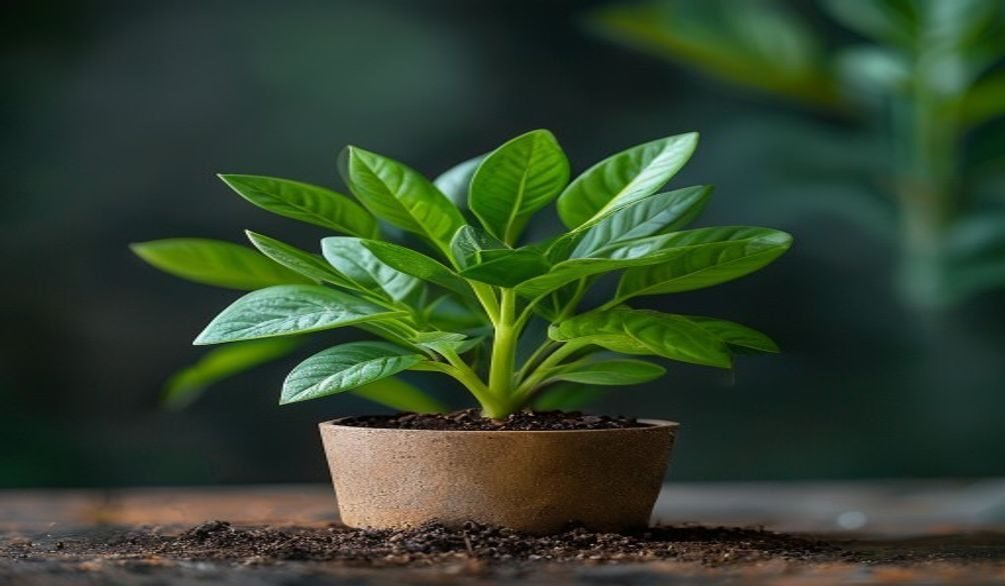
Step 7: Transplant Carefully
The final of the core **Hydroponic Seed Starting Steps** is carefully transplanting your seedlings into your main hydroponic system when they are ready. Proper transplanting is crucial to minimize shock and ensure a smooth transition, allowing your plants to continue their vigorous growth without interruption. Seedlings are ready when they have developed 2-3 sets of true leaves and their roots are visibly emerging from the bottom of their growing medium.
Gently place the entire Rockwool cube or Coco Coir plug into the net pot of your hydroponic system, ensuring the roots are in contact with the nutrient solution or wicking medium. Avoid handling the stems directly; instead, hold the growing medium.
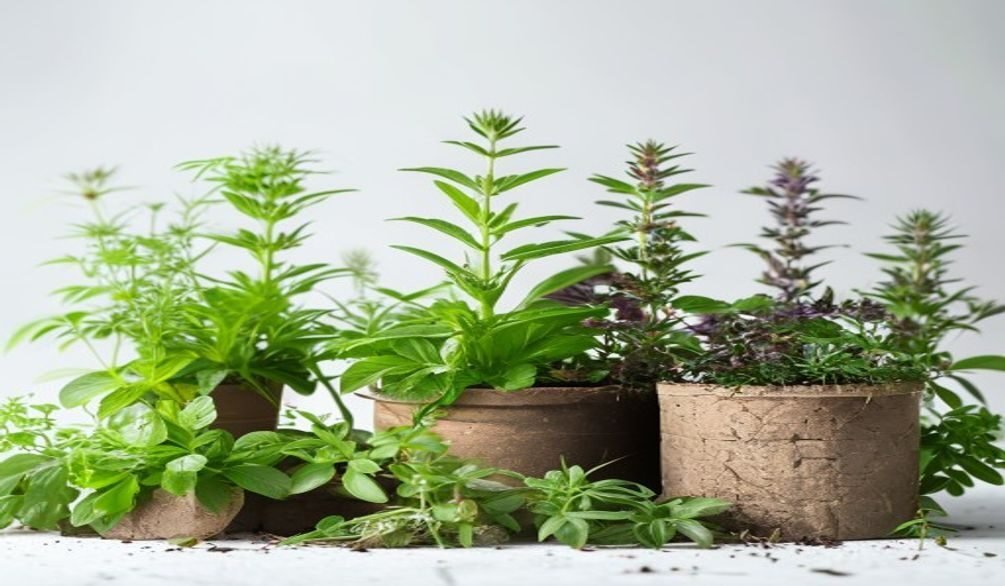
Choosing the Best Growing Medium for Hydroponic Seeds
Selecting the ideal growing medium is a critical decision among the **Hydroponic Seed Starting Steps**, as it directly impacts seed germination rates and early seedling development. The best medium provides optimal aeration, moisture retention, and structural support without contributing nutrients, with Rockwool being a top choice for its inert properties and excellent water-holding capacity, according to the University of Nevada, Reno Experiment Station (2023). When considering **Hydroponic Seed Starting Steps**, your choice of medium sets the foundation.
Different mediums offer unique advantages, catering to various preferences and system types. Understanding these differences helps you make an informed decision for your hydroponic germination methods.
For instance, the Ahopegarden Hydroponics Growing System often uses high-quality growing sponges, which ensure optimal plant growth and moisture retention, similar to other popular mediums. This variety allows growers to experiment and find what works best for them.
Here’s a comparison of popular choices for **Hydroponic Seed Starting Steps**:
| Medium | Pros | Cons | Best Use For |
|---|---|---|---|
| Rockwool | Excellent aeration & moisture retention, inert, widely available. | High pH (requires buffering), non-biodegradable, can cause skin irritation. | Beginners & commercial growers, most plant types. |
| Coco Coir | Good water retention, excellent aeration, renewable, pH neutral. | Can retain too much water if not properly drained, requires rinsing to remove salts. | Organic growers, those seeking sustainable options, compatible with Jiffy products. |
| Peat Pellets (Jiffy) | Easy to use, pre-formed, biodegradable. | Can compact over time, less aeration than Rockwool/Coco Coir, can dry out quickly. | Small-scale hobbyists, convenient hydroponic seed starting. |
| Oasis Cubes | Similar to Rockwool but easier to handle, pH neutral. | Less common, can be pricier. | Those sensitive to Rockwool, consistent performance. |

Optimizing Environmental Conditions for Hydroponic Germination
Optimizing environmental conditions is a cornerstone of successful **Hydroponic Seed Starting Steps**, directly influencing germination rates and seedling vigor. Precise control over temperature, humidity, and light ensures seeds break dormancy efficiently and develop into strong, healthy plants, with a stable temperature between 70-80°F being crucial for most seeds, according to KidsGardening.org (2024). These conditions are essential for effective hydroponic germination methods.
Temperature Control
Maintaining a consistent temperature is perhaps the most critical factor in the initial **Hydroponic Seed Starting Steps**. Fluctuations can delay or prevent germination, as seeds require a stable thermal environment to trigger the necessary biochemical processes. A heat mat with a thermostat is an invaluable tool for maintaining the ideal 70-80°F range, especially for common crops like lettuce and basil.
Humidity Management
High humidity is beneficial during the early **Hydroponic Seed Starting Steps** to prevent the medium from drying out too quickly and to soften the seed coat. Covering your seed tray with a clear dome or plastic wrap creates a mini-greenhouse effect, trapping moisture. Once seeds sprout, gradually reduce humidity to prevent damping-off disease.
Light Requirements
While light isn’t strictly necessary for germination for most seeds, it becomes crucial immediately after sprouting to prevent leggy growth, making it a key aspect of **Hydroponic Seed Starting Steps**. Once seedlings emerge, provide 16-18 hours of full-spectrum LED light daily, positioning the light source close enough to prevent stretching but far enough to avoid burning. This supports optimal hydroponic seedling care.
Nutrient Solution and pH
For **Hydroponic Seed Starting Steps**, a very diluted nutrient solution is best for seedlings. An EC (Electrical Conductivity) of 0.5-0.8 and a pH of 5.5-6.5 are generally recommended for young plants, gradually increasing strength as they mature. This gentle introduction of nutrients supports early root development without overwhelming the delicate seedlings.
How to Care for Hydroponic Seedlings Before Transplant
Properly caring for your hydroponic seedlings before transplant is a vital stage in the **Hydroponic Seed Starting Steps**, ensuring they are robust enough to thrive in your main system. This pre-transplant care is crucial for minimizing shock and promoting continued vigorous growth, as well-established roots and true leaves are indicators of a seedling ready for the next phase of its life cycle. Effective hydroponic seedling care involves several key practices.
One of the most common mistakes I see growers make is rushing the transplant process. Giving your seedlings adequate time to develop a strong root system and at least two sets of true leaves is paramount.
This period allows the seedling to build reserves and adapt to a more active nutrient uptake, making the transition much smoother. It’s an important part of the overall **Hydroponic Seed Starting Steps**.
Here are crucial elements of hydroponic seedling care:
* Nutrient Solution Strength: Gradually increase the nutrient solution strength as seedlings grow. Start with an EC of 0.5-0.8 for initial germination, then slowly raise it to 1.0-1.4 as true leaves develop. Always monitor for signs of nutrient burn (crispy leaf tips) or deficiency (yellowing leaves).
* Light Adjustment: Continue to provide 16-18 hours of light daily. Adjust the height of your grow lights (e.g., Mars Hydro LEDs) as seedlings grow to maintain optimal distance, typically 6-12 inches, to prevent stretching and encourage compact growth.
* Air Circulation: Ensure good air circulation around your seedlings to prevent fungal diseases like damping-off. A small oscillating fan set on a low setting can help strengthen stems and reduce humidity around the leaves.
* Hardening Off (Optional but Recommended): For seedlings destined for outdoor hydroponic systems, a process similar to hardening off can be beneficial. Gradually expose them to the conditions of the main system, such as slightly lower humidity or stronger air currents, over a few days. This prepares them for the transition.
* Monitoring pH: Continuously monitor the pH of your nutrient solution, keeping it between 5.5-6.5. Fluctuations can lock out nutrient availability, hindering growth.
Common Hydroponic Seed Starting Problems & Solutions
Encountering problems during the **Hydroponic Seed Starting Steps** is common, but understanding typical issues and their solutions can save your seedlings and ensure a successful grow. Addressing issues like leggy seedlings or mold promptly is critical because these problems can quickly lead to plant failure if left uncorrected, impacting your overall hydroponic germination methods. My years of experience have taught me that quick identification is key.
Many common issues stem from incorrect environmental conditions or nutrient imbalances. A proactive approach to monitoring can prevent most problems before they become severe.
For example, observing your seedlings daily for changes in color or growth pattern allows for early intervention, crucial for all **Hydroponic Seed Starting Steps**.
Here are some frequent problems and their fixes:
* Leggy Seedlings:
* Problem: Seedlings appear tall, thin, and stretched out with pale leaves.
* Cause: Insufficient light intensity or grow lights positioned too far away.
* Solution: Lower your grow lights (e.g., Mars Hydro) closer to the seedlings (6-12 inches) or increase light intensity. Ensure 16-18 hours of light daily.
* No Germination:
* Problem: Seeds fail to sprout after the expected germination period.
* Cause: Incorrect temperature, old/non-viable seeds (like those from Johnny’s Selected Seeds that haven’t been stored correctly), improper moisture, or buried too deep.
* Solution: Verify temperature is 70-80°F. Ensure medium is consistently moist but not waterlogged. Use fresh seeds. Re-sow at correct depth.
* Mold or Algae Growth:
* Problem: Fuzzy white mold or green algae appears on the growing medium surface.
* Cause: Excessive humidity, poor air circulation, or overwatering.
* Solution: Increase air circulation with a small fan. Reduce humidity by slightly opening the propagation dome. Ensure the medium isn’t constantly saturated; allow the top layer to dry slightly.
* Damping-Off:
* Problem: Seedlings suddenly wilt and collapse at the base, often appearing water-soaked or rotted.
* Cause: Fungal infection, often due to overly wet conditions, poor air circulation, or contaminated medium.
* Solution: Prevent by ensuring good air circulation, proper moisture levels, and clean equipment. Once affected, it’s often too late for the seedling.
* Yellowing Leaves (Chlorosis):
* Problem: Leaves turn yellow, often starting from the bottom.
* Cause: Nutrient deficiency (e.g., nitrogen, iron), incorrect pH, or overwatering.
* Solution: Check pH of nutrient solution (aim for 5.5-6.5). Adjust nutrient strength. Ensure proper drainage to prevent root suffocation.
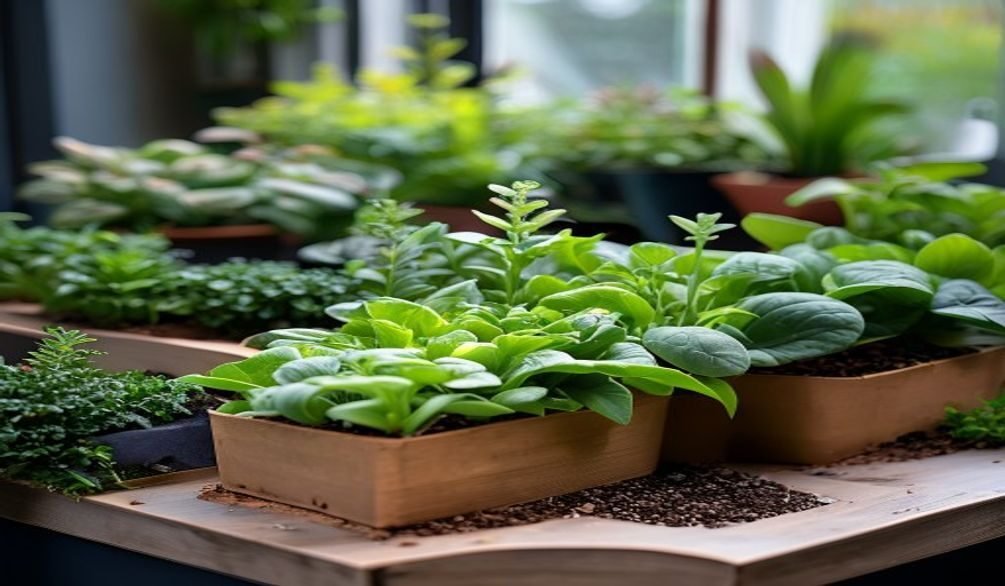
Best Plants for Hydroponic Seed Starting (Beginner to Advanced)
Choosing the right plants for your **Hydroponic Seed Starting Steps** is crucial for success, especially for beginners, as some plants are significantly easier to germinate and grow in soilless systems than others. Starting with easy-to-grow varieties ensures a rewarding experience and builds confidence, while more advanced growers can tackle challenging options, with leafy greens capturing 47.2% of the hydroponics market value in 2025, according to Mordor Intelligence (2026). This highlights their suitability for new growers.
The key is to match your plant choice with your experience level and the specific hydroponic germination methods you’re employing. Johnny’s Selected Seeds, for example, offers varieties specifically trialed for hydroponic systems.
From my experience, understanding a plant’s specific needs from seed to harvest significantly increases your chances of success across all **Hydroponic Seed Starting Steps**.
Here are some recommendations:
Beginner-Friendly Plants (Easy Hydroponic Seed Starting Steps)
These plants are excellent for learning the **Hydroponic Seed Starting Steps** due to their fast germination, quick growth, and tolerance for slight fluctuations.
* Lettuce (e.g., Romaine, Butterhead): Germinates quickly (3-7 days), grows rapidly, and requires relatively low nutrient levels. Varieties like Cecelia green butterhead from Johnny’s Selected Seeds are excellent.
* Spinach: Similar to lettuce, spinach is forgiving and has a short growth cycle, making it ideal for continuous harvests.
* Basil (e.g., Genovese, Doron Prospera® Active DMR): Herbs like basil are easy to start and produce abundantly. Doron Prospera® Active DMR basil from Johnny’s Selected Seeds is noted for its hydroponic performance.
* Radishes: Offer a quick turnaround from seed to harvest (around 3-4 weeks), making them satisfying for beginners.
Intermediate Plants (Moderate Hydroponic Seed Starting Steps)
These plants require a bit more attention to nutrient levels and environmental control but are still manageable.
* Strawberries: Can be started from seed, though often propagated from runners. They require precise nutrient management and light cycles.
* Swiss Chard: A robust leafy green that tolerates a wider range of conditions than some other greens but benefits from consistent care.
* Bell Peppers: Require a longer growing season and warmer temperatures for germination (75-85°F) and fruiting.
* Tomatoes: Similar to peppers, tomatoes need consistent warmth, strong light, and a well-balanced nutrient solution.
Advanced Plants (Challenging Hydroponic Seed Starting Steps)
These plants demand precise control over environmental factors and nutrient solutions, making them suitable for experienced hydroponic growers.
* Cucumbers: Fast growers that need ample space, support, and higher nutrient concentrations once established.
* Eggplant: Requires consistent warmth, strong light, and careful pollination in indoor settings.
* Melons: Large, vining plants that need significant space, high light, and specific nutrient profiles for fruit development.
Frequently Asked Questions About Hydroponic Seed Starting
How do you start seeds in hydroponics?
To start seeds in hydroponics, you typically place them in a sterile, inert growing medium like Rockwool or Coco Coir, keep the medium consistently moist with a diluted nutrient solution, and provide warmth (70-80°F). Grow lights are introduced immediately after germination to encourage strong growth. This process ensures effective **Hydroponic Seed Starting Steps**.
How long does it take for seeds to germinate hydroponically?
The germination time for seeds in hydroponics varies by plant species but is generally 3-14 days, often faster than in soil due to optimized conditions. For instance, lettuce can germinate in 3-7 days, while peppers might take 7-14 days. Consistent temperature and moisture are key factors in accelerating the **Hydroponic Seed Starting Steps**.
Do you need a heat mat for hydroponic seeds?
While not always strictly necessary, a heat mat is highly recommended for hydroponic seeds, especially in cooler environments, to maintain an optimal germination temperature of 70-80°F. Using a heat mat can significantly increase germination rates and speed, ensuring more successful **Hydroponic Seed Starting Steps**.
What is the best medium to start seeds for hydroponics?
The best medium to start seeds for hydroponics depends on your specific needs, but Rockwool and Coco Coir are widely considered top choices due to their excellent aeration and moisture retention. Rockwool is inert and provides great support, while Coco Coir is renewable and pH neutral, making both ideal for **Hydroponic Seed Starting Steps**.
How do you transfer seedlings to hydroponics?
To transfer seedlings to hydroponics, gently place the growing medium (e.g., Rockwool cube) containing the seedling into a net pot, ensuring the roots extend into the nutrient solution. This should be done when seedlings have 2-3 sets of true leaves and established roots. Care during these **Hydroponic Seed Starting Steps** minimizes transplant shock.
Mastering the **Hydroponic Seed Starting Steps** is a fundamental skill that unlocks the full potential of soilless gardening, leading to healthier plants and more bountiful harvests. By focusing on meticulous preparation, optimal environmental control, and attentive seedling care, you can overcome common challenges and establish a strong foundation for your hydroponic system. Embrace these expert tips and watch your seeds transform into thriving plants, setting you on a path to hydroponic success. Why not start your next batch of seeds today and experience the difference these precise steps can make?