Key Takeaways
- Propagating herbs from cuttings is a common method due to its low risk and ease, according to a 2023 observation.
- Water propagation can show roots in as little as 1 to 2 weeks for tender green stems, according to a 2024 report.
- Soil propagation, while slower (around a month), often produces stronger, healthier plants, a 2024 study suggests.
- Maintaining 65°F to 75°F (18°C to 24°C) is optimal for indoor herb cuttings to root, according to 2024 research.
- Dividing plants like chives and mint is a “fairly foolproof method” as roots and shoots are already formed, notes B. Rosie Lerner (1997).
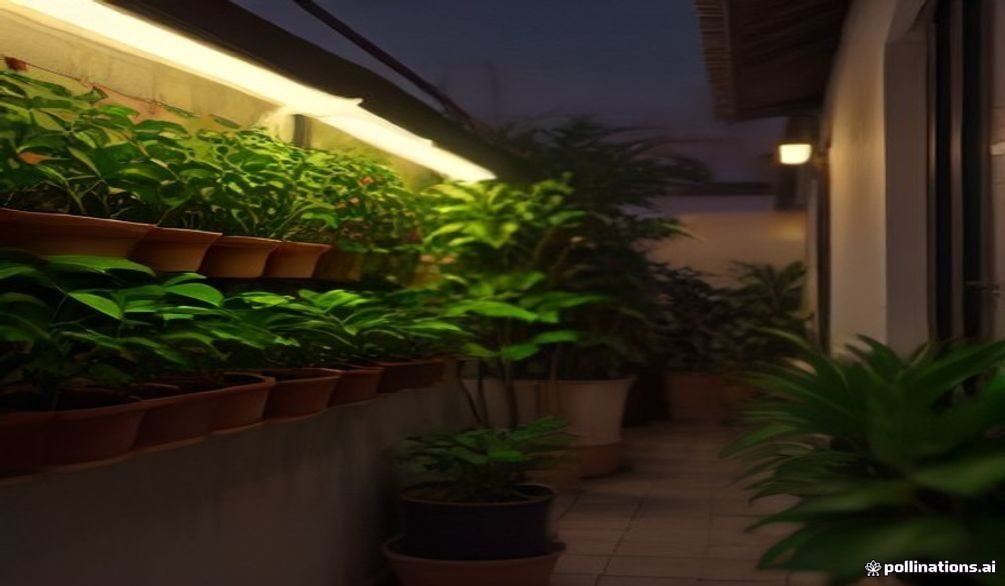
When you’ve got a thriving pudina plant on your balcony, or a bushy tulsi that’s just begging to be shared, it’s natural to want more—but buying new plants for ₹80-150 each time can add up. That’s why learning to propagate herbs from cuttings is such a game-changer for any Indian home gardener, allowing you to multiply your favorite plants for free. It’s incredibly rewarding to grow herbs for free, expanding your collection with minimal effort and cost.
Quick Answer: Propagate herbs easily using methods like stem cuttings (in water or soil), root division, or layering. Select healthy stems, ensure proper moisture and light, and use appropriate rooting mediums for successful growth. Many herbs root in just 1-2 weeks.
What are the easiest herbs to propagate?
The easiest herbs to propagate are generally those with soft, tender stems, making them ideal candidates for beginners looking to propagate herbs from cuttings. Water propagation can show roots forming in as little as 1 to 2 weeks for these tender green stems, according to a 2024 observation. For example, basil, pudina (mint), lemon balm, oregano, and stevia are fantastic choices because they root quickly and reliably.
Woody herbs like rosemary, sage, and thyme can also be propagated from cuttings, but they often do best from new, green growth rather than older, hardened stems. Camilla Phelps, a contributing gardens writer for Homes & Gardens, notes that “the likes of lavender and rosemary are easy to grow from cuttings,” recommending it as an “insurance against a harsh winter” (2023). My personal favorite for quick results is pudina; I’ve found that cuttings from a fresh sabziwala bunch root in water in just 6 days and are ready for soil by day 8. This is much faster and more reliable than growing pudina from seeds, which I’ve tried twice with slow, patchy results.
Here’s a quick look at some top contenders for easy herb propagation:
| Herb | Best Propagation Method | Notes for Indian Climate |
|---|---|---|
| Pudina (Mint) | Water or Soil Cuttings, Division | Thrives in partial shade during Indian summer heat (40°C+). |
| Basil | Water or Soil Cuttings | Prefers consistent moisture; protect from intense pre-monsoon sun. |
| Lemon Balm | Water or Soil Cuttings, Division | Very hardy, tolerates varied conditions, good for Bangalore climates. |
| Oregano | Water or Soil Cuttings, Division | Roots easily, can handle drier spells once established. |
| Chives | Division | Excellent for Mumbai balcony gardens; just split the clump. |
| Rosemary | Soil Cuttings (new growth) | Needs well-draining soil, struggles with excessive monsoon humidity. |
Propagate herbs from cuttings: water method
To propagate herbs from cuttings using the water method, you simply place healthy stem sections in water, allowing them to root before transplanting. This method is incredibly popular because it’s easy to observe root development and requires minimal equipment. Lucy Chamberlain, a fruit and vegetable expert, highlights that “it’s rewarding to flex your green fingers with home propagation,” saving money and allowing you to “quickly bulk up plants” (2023).
Here’s how to do it:
- Select Healthy Stems: Choose non-flowering stems, about 4-6 inches long, from a vigorous parent plant. Make sure they look fresh and green, not woody or wilted.
- Make a Clean Cut: Using clean, sharp pruning shears or scissors, cut just below a leaf node (the bump where leaves emerge). This is where new roots will form.
- Prepare the Cuttings: Remove the lower leaves that would be submerged in water to prevent rot. Leave 2-3 sets of leaves at the top.
- Place in Water: Put the cuttings into a clear glass or jar filled with clean, room-temperature water. Change the water every 1-2 days to keep it fresh and oxygenated. I often add a tiny pinch of Alaska Fish Fertilizer to the water, which seems to give them a little boost.
- Find the Right Spot: Place the jar in a bright spot with indirect sunlight. Avoid direct, harsh Indian summer sun, especially in cities like Delhi, which can cook your tender cuttings.
- Wait for Roots: You should see roots forming in 1-2 weeks for soft-stemmed herbs like pudina or basil. Once the roots are about an inch long, they’re ready for soil.
This method is fantastic for a quick start, but remember, the goal isn’t to keep them in water forever. We’ll talk more about that later.
Propagate herbs from cuttings: soil method
The soil method to propagate herbs from cuttings involves planting the prepared stems directly into a rooting medium, which often leads to stronger, more resilient plants in the long run. While soil propagation might take a bit longer—around a month—it consistently results in healthier plants, according to a 2024 analysis. This is my preferred method for most woody herbs and for ensuring robust growth before transplanting into a larger pot on my Pune terrace garden.
Follow these steps for successful soil propagation:
- Prepare Cuttings: Just like with water propagation, take 4-6 inch non-flowering cuttings, cutting below a leaf node. Remove the lower leaves.
- Apply Rooting Hormone (Optional but Recommended): Dip the cut end of the stem into rooting hormone powder or gel. This significantly encourages root development, especially for herbs like rosemary or sage.
- Prepare the Potting Mix: Use a light, well-draining potting mix. I usually go for a blend of cocopeat and perlite (or sand) in a 2:1 ratio. In my 10 years of experience, a good quality cocopeat is crucial. I once tested a local loose cocopeat brand from a nursery in 2023 that had salt residue, burning my seedling roots. Branded cocopeat, though costing ₹80-120 more per block, saves you from a ruined batch.
- Plant the Cuttings: Use a dibber, chopstick, or even a butter knife to make a small hole in the potting mix. Insert the cutting, ensuring at least one node is buried. Gently firm the soil around the stem.
- Water Thoroughly: Water the cuttings immediately after planting until the soil is evenly moist.
- Create Humidity: Cover the pot with a plastic bag or a clear plastic dome to create a mini-greenhouse effect, which helps maintain humidity. Just make sure the plastic doesn’t touch the leaves.
- Provide Indirect Light: Place the pot in a warm spot with bright, indirect light. Maintaining a consistent temperature between 65°F and 75°F (18°C and 24°C) is optimal for indoor herb cuttings to root and establish, a 2024 study confirms.
It’s common advice to keep the soil constantly moist, but you might have heard to water every day. In practice, overwatering, especially in India’s humid monsoon months, can lead to root rot. Instead, check the soil moisture daily and only water when the top inch feels dry. This prevents soggy conditions.
How to propagate herbs by division
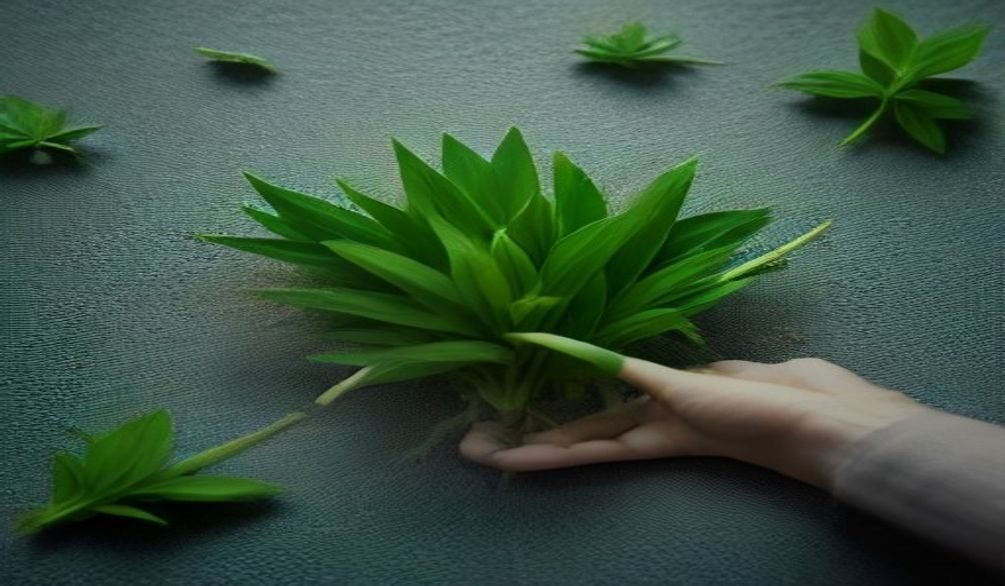
Propagating herbs by division is an incredibly straightforward method where you simply split a mature plant into smaller sections, each with its own roots and shoots. This “fairly foolproof method of propagation” works wonderfully because “both roots and shoots are already formed,” as noted by Consumer Horticulture Extension Specialist B. Rosie Lerner (1997). It’s perfect for clumping herbs like chives, lemon balm, mint, and even some varieties of oregano or thyme.
Here’s how you can divide your herb plants:
- Choose the Right Plant: Select a mature, healthy herb that forms a clump, like chives or pudina. It should be robust and perhaps even a bit crowded in its pot.
- Prepare for Division: Gently remove the entire plant from its pot or carefully dig around it if it’s in the ground. Try to keep the root ball as intact as possible.
- Separate the Clump: Carefully tease apart the root ball into smaller sections using your hands. For tougher clumps, you might need a clean, sharp knife or a small trowel. Ensure each section has a good amount of roots and at least a few healthy shoots.
- Replant Immediately: Plant each new section into its own pot filled with fresh potting mix or back into the garden. Water thoroughly after replanting.
I’ve found that terracotta pots outperform plastic for most Indian balcony plants. Yes, they dry faster and often cost more, but the breathability they offer prevents root rot, which is the number one killer of container plants in India’s humid monsoon months. This is especially true for divided herbs that are getting established.
Can you propagate herbs in water indefinitely?
No, you generally cannot propagate herbs in water indefinitely, as most herbs require the nutrients and support of soil to thrive long-term and reach their full potential. While water propagation is excellent for starting roots quickly, the water itself lacks essential nutrients that soil provides for sustained growth. The roots developed in water are often thinner and more fragile than soil-grown roots, making them susceptible to “water root” issues.
Think of it this way: water is a nursery, not a permanent home. Cuttings can survive for a while and even grow some leaves in water, but they won’t flourish or produce a bountiful harvest. For healthy, productive plants, you’ll want to transfer your rooted cuttings to a suitable potting mix once their roots are about an inch long. This transition is crucial for the plant’s long-term health and growth. If you keep them in water too long, they might struggle to adapt to soil later, leading to stunted growth or even death.
Troubleshooting common herb propagation issues
Even with the best intentions, you might run into a few hiccups when you propagate herbs from cuttings, but most issues have simple solutions. It’s easy to feel disheartened if your cuttings aren’t rooting, or if they start to look sad, but don’t worry—most people feel exactly this way when they first start.
Here are some common problems and their fixes:
- No Roots Forming:
- Problem: Your cuttings are sitting in water or soil but no roots appear after several weeks.
- Fix: Ensure you’re taking cuttings from a healthy, non-flowering part of the plant. Make sure your cut is clean and below a node. Sometimes, simply changing the water more frequently or ensuring the soil stays consistently moist (but not soggy) can make a difference. Using rooting hormone can also significantly boost success rates, especially for woody herbs like rosemary.
- Cuttings Wilting or Turning Yellow:
- Problem: Your cuttings look droopy, or their leaves are yellowing.
- Fix: This often points to too much direct sun or insufficient humidity. Move them to a spot with bright, indirect light. If propagating in soil, ensure you’ve covered them to create that mini-greenhouse effect. Also, check for overwatering; soggy soil suffocates roots.
- Mold or Rot:
- Problem: You see fuzzy mold on the stems or the base of the cutting feels soft and mushy.
- Fix: This is usually due to excessive moisture and poor air circulation. Remove any rotting parts immediately. Change water daily in water propagation. For soil, ensure your potting mix is well-draining (add more perlite!) and consider removing the humidity dome for a few hours daily to allow airflow. You might need to take new cuttings if the rot is extensive.
- Transplant Shock:
- Problem: Your rooted cuttings look fine, but wilt or struggle after being moved to a larger pot.
- Fix: This is common. Water thoroughly after transplanting. Keep the newly potted plants in a slightly shadier spot for a few days to help them adjust before moving them to their permanent, brighter location. Using a gentle liquid fertilizer like diluted Alaska Fish Fertilizer can also help them recover.
Tips for successful herb propagation
Achieving success when you propagate herbs from cuttings often comes down to paying attention to a few key details that can make all the difference. These little tricks can significantly increase your success rate and help you grow herbs for free more effectively.
Here are my top tips:
- Timing is Everything: The best time to take cuttings is during the plant’s active growing season, which is typically spring or early summer, just before the intense pre-monsoon heat in many parts of India. Avoid taking cuttings during the plant’s dormancy or when it’s stressed.
- Cleanliness Counts: Always use clean, sharp tools. This prevents the spread of diseases and ensures a clean cut, which heals faster and roots more readily.
- Don’t Overcrowd: Whether in water or soil, give your cuttings space. Overcrowding can lead to poor air circulation and increased risk of mold or rot.
- Patience is a Virtue: Some herbs root faster than others. Don’t get discouraged if woody herbs like rosemary take a few weeks longer than basil. Keep checking on them, but resist the urge to pull them out to “see” if roots are forming.
- Provide Bottom Heat: For some trickier cuttings, a seedling heat mat can provide consistent warmth, encouraging faster root development. This is especially helpful during cooler North Indian winters.
- Harden Off Your Cuttings: Once your cuttings are rooted and ready for transplanting, gradually introduce them to outdoor conditions. This “hardening off” process helps them adjust to differences in light, temperature, and wind.
- Consider Grow Lights for Indoors: If you’re propagating indoors, especially during monsoon or winter with less natural light, a simple LED grow light can provide the consistent bright, indirect light your cuttings need to thrive.
By following these tips, you’ll be well on your way to expanding your herb collection and enjoying fresh flavors from your own garden. It’s all about providing the right environment and a little bit of care.
Frequently asked questions
What are 5 ways to propagate plants?
Five common ways to propagate plants include stem cuttings (in water or soil), root division, layering, leaf cuttings, and growing from seeds. Propagating herbs from cuttings is often cited as one of the most common methods due to its simplicity and low risk to the parent plant (2023). Each method suits different plant types and gardener preferences.
What is the easiest herb to propagate?
The easiest herbs to propagate are typically soft-stemmed varieties like pudina (mint), basil, and lemon balm. These herbs readily form roots in water, often showing new growth in just 1 to 2 weeks, according to a 2024 report. Their vigorous growth habit makes them very forgiving for beginners.
How do you propagate herbs permanently?
To propagate herbs permanently, you should root your cuttings in water or soil, and then transplant them into a nutrient-rich potting mix or garden bed once they’ve established a robust root system. Soil propagation, while taking around a month, often results in stronger, healthier plants capable of long-term growth (2024). This provides the necessary nutrients and support for the herb to thrive.
Can you propagate herbs in water indefinitely?
No, you generally cannot propagate herbs in water indefinitely because water lacks the essential nutrients that soil provides for sustained, healthy growth. While roots will form in water, they are often weaker “water roots” not suited for long-term plant health. For a permanent plant, you must eventually transfer the rooted cutting to soil.
How do you root herb cuttings?
To root herb cuttings, take a 4-6 inch stem cutting just below a leaf node, remove lower leaves, and either place it in clean water (changing it every few days) or directly into a well-draining potting mix. Dipping the cut end in rooting hormone can encourage faster root development, according to horticultural experts. Maintain consistent moisture and indirect light for best results.
Learning to propagate herbs from cuttings is truly one of the most rewarding skills you can develop as a home gardener, especially in places like Bangalore or Chennai where fresh herbs are a daily staple. You’ll not only save money by growing your own pudina, tulsi, and dhania, but you’ll also gain the immense satisfaction of multiplying your green friends. Start with those easy-to-root herbs, pay attention to the little details like water changes and soil quality, and soon you’ll have a thriving, ever-expanding herb garden right on your balcony or terrace. Happy propagating!