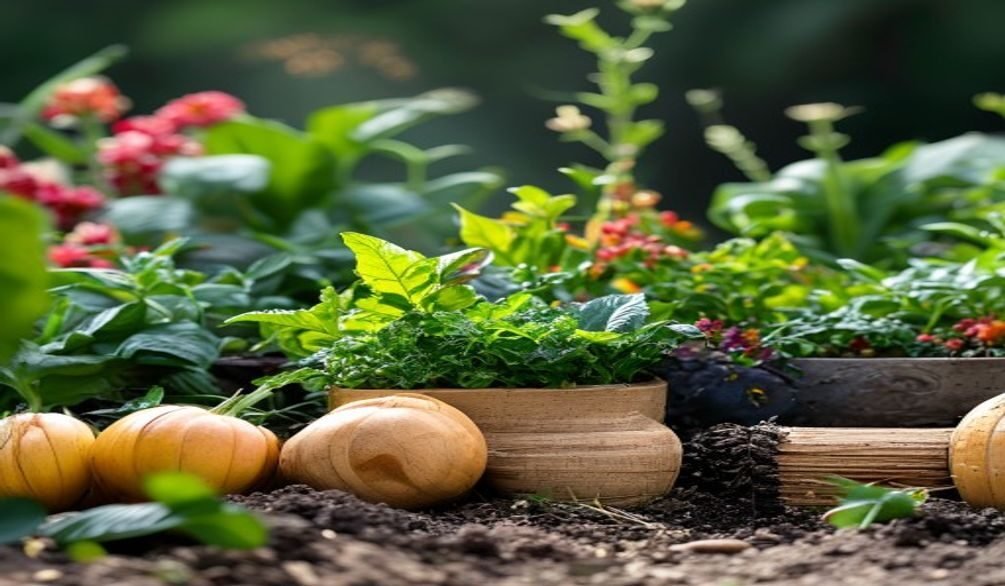
Embarking on your gardening journey is an exciting adventure, filled with the promise of fresh produce and vibrant blooms. Yet, for many beginners, the first hurdle isn’t digging the soil or choosing plants, but rather understanding the cryptic language printed on a tiny seed packet. Don’t let those small packages intimidate you; they are, in fact, your garden’s instruction manual, holding all the vital information you need for a successful harvest. This comprehensive Seed Packet Guide will demystify every label and symbol, empowering you to plant with confidence.
With home gardening experiencing a significant surge, and nearly 89% of U.S. households engaging in it in 2024, understanding your seeds is more important than ever. Whether you’re aiming for a bountiful vegetable patch or a stunning flower bed, this guide will equip you with the knowledge to transform tiny seeds into thriving plants. Let’s dig in and learn how to read a seed packet like a pro!
Decoding Your Seed Packet: Essential Terms Explained
Your seed packet is a treasure trove of information, crucial for proper garden planning and execution. Learning how to read a seed packet is the first step to successful planting, providing you with beginner gardening tips before you even touch the soil. Let’s break down the most common terms you’ll encounter.
Plant Identification & Characteristics
- Plant Name (Common & Botanical): The common name is what you usually call the plant (e.g., “Tomato”). The botanical name (e.g., Solanum lycopersicum) provides a precise, scientific identification, useful for distinguishing between similar varieties.
- Variety Name: This specifies the particular type of plant, such as ‘Cherokee Purple’ tomato or ‘Black Beauty’ zucchini. Different varieties offer unique characteristics like size, flavor, or disease resistance.
- Days to Maturity/Harvest: This indicates the approximate number of days from planting (or transplanting) until you can expect to harvest. This is a critical factor for garden planning seeds, especially if you have a short growing season.
- Growth Habit: Describes how the plant grows. For example, tomatoes might be ‘Determinate’ (bushy, all fruit ripens at once) or ‘Indeterminate’ (viney, produces over a longer season). Beans can be ‘Bush’ or ‘Pole’.
- Plant Size (Height/Spread): Provides an estimate of the plant’s mature dimensions, essential for spacing and ensuring adequate room in your garden or containers.
- Annual/Perennial/Biennial:
- Annuals: Complete their life cycle (seed to flower to seed) in one growing season and then die.
- Perennials: Live for more than two years, often returning year after year from their rootstock.
- Biennials: Complete their life cycle in two years, typically growing foliage in the first year and flowering/seeding in the second.
Sowing & Cultivation Instructions
- Sowing Time: Specifies when to plant, often recommending indoor starting dates (e.g., “6-8 weeks before last frost”) or outdoor direct sowing dates (e.g., “after all danger of frost”).
- Sowing Depth: The recommended depth to plant the seed. A good rule of thumb is to plant seeds 2-3 times their diameter deep, but always check the packet as some tiny seeds need light to germinate.
- Spacing: Indicates how far apart to plant individual seeds or seedlings (in-row spacing) and how much space to leave between rows. Proper spacing ensures adequate air circulation and nutrient availability.
- Light Requirements:
- Full Sun: 6+ hours of direct sunlight per day.
- Partial Sun: 4-6 hours of direct sunlight, often preferring morning sun.
- Partial Shade: 2-4 hours of direct sunlight, or dappled light throughout the day.
- Full Shade: Less than 2 hours of direct sunlight.
- Germination Time: The estimated number of days it takes for seeds to sprout under optimal conditions. This helps manage expectations and identify potential issues early on.
- Water Needs: General guidance on moisture levels, such as “keep consistently moist” or “allow soil to dry slightly between waterings.”
- USDA Hardiness Zone: A geographical zone indicating the average annual extreme minimum winter temperature. Knowing your zone helps you select plants that can survive winter in your region.
Seed Information
- Seed Count/Weight: The number of seeds or the total weight of seeds in the packet. Useful for estimating how many plants you can grow.
- Packaging Date/Sell-by Date: Indicates when the seeds were packaged or the date by which they should ideally be planted for best germination rates.
- Special Instructions: Some seeds require specific treatments like stratification (cold treatment) or scarification (nicking the seed coat) to break dormancy and encourage germination.
When to Plant: Understanding Sowing Times & Zones
Timing is everything in gardening. Plant too early, and your tender seedlings might succumb to a late frost; plant too late, and you might miss your harvest window. Your seed packet, combined with a little local knowledge, will guide your seed planting instructions.
The most critical date for outdoor planting is your region’s last expected frost date. This is the average date after which there’s a low probability of freezing temperatures. Many seed packets will instruct you to “sow after last frost” or “start indoors 6-8 weeks before last frost.” Knowing this date for your area is fundamental for successful garden planning seeds.
Another key piece of information is your USDA Plant Hardiness Zone. This system divides North America into zones based on average annual extreme minimum winter temperatures. While primarily for perennials, it can also inform your general planting schedule. You can find your specific zone using the USDA Plant Hardiness Zone Map. For instance, if a plant is hardy to Zone 5, it means it can typically survive winter temperatures down to -20°F in that zone.
Deciding between indoor and outdoor sowing depends on your climate and the plant’s needs. Starting seeds indoors gives heat-loving plants a head start in cooler climates, extending their growing season. Outdoor direct sowing is ideal for plants that don’t like to be transplanted, such as carrots, radishes, or beans, and is done once soil temperatures are consistently warm enough. Always refer to your seed packet for specific recommendations, as some plants require warmer soil temperatures for optimal germination.
For more detailed planning, consider reading our guide on Choosing Your First Garden Location: A Guide, which can help you align your planting schedule with your specific garden environment.
How Deep to Plant & Proper Seed Spacing
Once you’ve decoded the timing, the next crucial step in your Seed Packet Guide is understanding the physical act of planting. Sowing depth and proper spacing are vital for healthy plant development, directly impacting germination success and mature plant vigor.
Sowing depth is often specified on the packet. A general rule of thumb for many seeds is to plant them two to three times as deep as their diameter. However, some tiny seeds, like lettuce or snapdragons, require light to germinate and should be barely covered with soil or simply pressed onto the surface. Planting too deep can prevent germination by exhausting the seed’s energy reserves before it reaches the surface, while planting too shallow can expose it to drying out or being eaten by pests. Always follow the specific seed planting instructions provided.
Proper seed spacing is equally important. Seeds need adequate room to grow, both above and below the soil. The packet will usually provide two numbers: in-row spacing (how far apart seeds/seedlings should be within a row) and row spacing (how much space to leave between rows). Good spacing ensures plants have access to sufficient light, water, and nutrients, and promotes air circulation, which can reduce disease.
After your seeds germinate, you’ll often need to perform thinning. This involves removing weaker seedlings to give the stronger ones more room to grow to their mature size. Thinning prevents overcrowding, which can lead to stunted growth and reduced yields. The seed packet will typically advise on the final spacing for mature plants, indicating when and to what distance you should thin your seedlings. Do this carefully when seedlings are young, ideally after they’ve developed their first set of “true leaves” (the leaves that appear after the initial cotyledons).
Light, Water, and Care for Thriving Seedlings
Once your seeds are in the ground, their journey has just begun. Providing the right light, water, and care is paramount for strong, healthy seedlings. This section of our Seed Packet Guide focuses on nurturing your young plants through their most vulnerable stage.
Light is crucial for seed germination and initial growth. While some seeds germinate in darkness, most require light once they sprout to prevent them from becoming “leggy” – tall, spindly, and weak. If starting seeds indoors, ensure they receive ample light, ideally from a south-facing window or, even better, under grow lights for 12-16 hours a day. Your seed packet will indicate the mature plant’s light requirements (full sun, partial shade, etc.), which you should keep in mind for their eventual outdoor placement.
Watering seedlings correctly is a delicate balance. The soil needs to remain consistently moist but never waterlogged, which can lead to damping-off disease (a fungal infection that kills young seedlings). Use a gentle watering method, such as a spray bottle or bottom watering (placing seedling trays in a shallow pan of water until the soil absorbs moisture from below), to avoid disturbing delicate roots. As seedlings grow, they will need more water, but ensure good drainage. For more in-depth advice, check out our guide on Watering Plants: How Much & How Often for Plant Success.
Beyond light and water, consider temperature and humidity. Most seeds germinate best at specific soil temperatures, often found on the packet or through a quick search. Providing warmth, sometimes with a heating mat, can significantly improve germination rates. Once sprouted, aim for moderate temperatures and good air circulation to prevent fungal issues. Fertilizing is generally not needed until seedlings have developed their first two sets of true leaves, as they initially rely on the energy stored within the seed. A dilute, balanced liquid fertilizer can then be introduced.
Following these seed germination guide tips will help ensure your seedlings grow robustly, ready for transplanting into your garden or containers.
Seed Viability: Can You Still Plant Old Seeds?
You’ve likely stumbled upon an old seed packet tucked away in a drawer and wondered, “Are these still good?” The question of seed viability is a common one, and the answer is often “it depends.”
Seed viability refers to a seed’s ability to germinate and grow into a healthy plant. While seeds don’t truly “expire,” their germination rate—the percentage of seeds that will sprout—decreases over time. The packaging date or “sell-by” date on your seed packet provides a good indication of freshness. Generally, most seeds remain viable for 2-5 years if stored correctly, though some, like corn or onions, have a shorter lifespan, while others, like beans or squash, can last longer.
Proper storage conditions are key to extending seed viability. Seeds should be kept in a cool, dark, and dry place. Moisture, heat, and light are their enemies, as they can trigger premature germination or degradation. An airtight container in a refrigerator or freezer can significantly prolong their life.
If you have older seeds and want to know their chances of success, you can perform a simple seed viability test, also known as a germination test. This helps you determine the approximate germination rate before committing them to your garden. Here’s how:
- Count out 10 seeds from your old packet.
- Moisten a paper towel (not soaking wet, just damp).
- Place the 10 seeds evenly spaced on one half of the paper towel.
- Fold the other half of the paper towel over the seeds.
- Gently roll up the paper towel with the seeds inside.
- Place the rolled paper towel in a plastic bag or container to keep it moist, and label it with the seed type and date.
- Store it in a warm place (e.g., on top of a refrigerator) and check daily, misting the paper towel if it starts to dry out.
- After the expected germination time for that seed type (check the packet or online), count how many seeds have sprouted.
If 7 out of 10 seeds sprout, you have a 70% germination rate. This is generally considered good, though you might want to plant a few extra seeds to compensate for the lower rate. If only 2 or 3 sprout, it might be time to invest in a fresh packet. For more detailed information, Clemson University Extension offers excellent advice on storing and testing seeds.
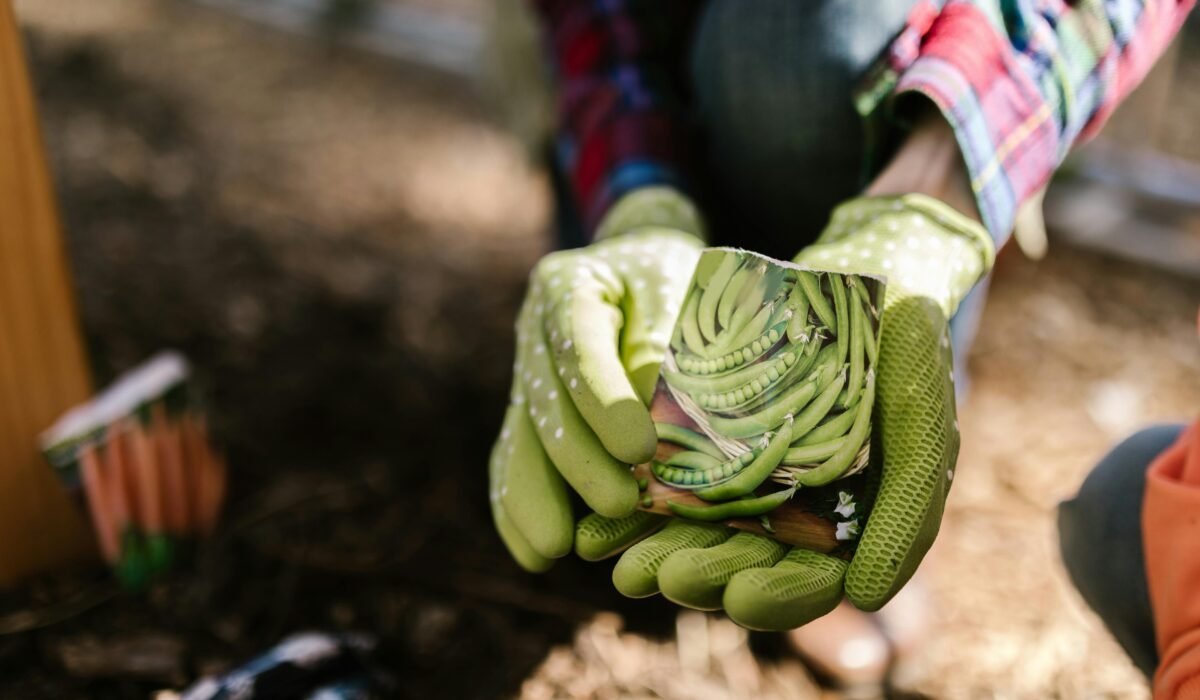
Choosing Your Seeds: Heirloom, Hybrid, Organic & More
Beyond the planting instructions, your seed packet also tells a story about the type of seed you’re holding. Understanding these distinctions is crucial for aligning your choices with your gardening philosophy and goals. The garden seed market is diverse, and knowing the difference between heirloom vs hybrid seeds, for example, can significantly impact your harvest.
Heirloom Seeds
Heirloom seeds come from open-pollinated plants that have been passed down through generations, typically for 50 years or more. They are valued for their rich history, unique flavors, and distinctive appearances. When you save seeds from an heirloom plant, they will “breed true,” meaning the offspring will be identical to the parent plant. This allows gardeners to preserve genetic diversity and specific traits over time.
Hybrid Seeds (F1)
Hybrid seeds, specifically F1 hybrids, are created by cross-pollinating two different parent varieties to achieve specific desirable traits, such as increased yield, uniformity, or disease resistance. They often exhibit “hybrid vigor,” growing more robustly than their parent plants. While hybrids offer many benefits (they represent the largest segment of the market due to superior yield and disease resistance), saving seeds from hybrid plants will not produce plants identical to the parent; subsequent generations will revert to various parent traits. This means you typically need to purchase new hybrid seeds each season.
Open-Pollinated Seeds
Open-pollinated seeds are produced from plants that are pollinated naturally by insects, birds, wind, or other natural mechanisms. If grown in isolation from other varieties of the same species, the seeds saved from open-pollinated plants will produce offspring true to the parent plant. Heirloom seeds are a type of open-pollinated seed, but not all open-pollinated seeds are heirlooms (some newer varieties are also open-pollinated).
Organic Seeds
Organic seeds are harvested from plants grown in accordance with organic farming standards, meaning they were produced without the use of synthetic pesticides, herbicides, or fertilizers. The interest in organic gardening continues to surge, driven by health consciousness and environmental concerns. Organic seeds are projected to have the fastest growth in the market, reflecting a broader shift towards sustainable practices.
Non-GMO Seeds
Non-GMO seeds are seeds that have not been genetically modified in a laboratory. It’s important to note that almost all garden seeds available to home gardeners are naturally non-GMO. Genetic modification is a complex process typically applied to large-scale agricultural crops like corn, soy, and cotton, not generally to the diverse range of vegetables and flowers found in your local garden center’s seed packets.
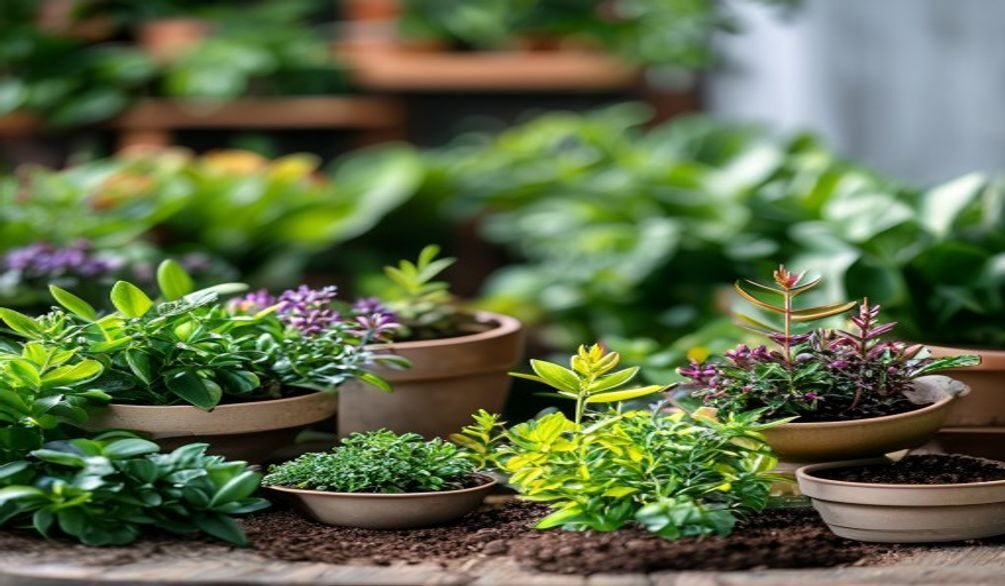
When choosing your seeds, consider your gardening space. The trend towards compact and container gardening, often dubbed “Botanical Bento,” means many seed companies now offer varieties specifically bred for smaller spaces. If you’re planning a balcony or patio garden, look for terms like “compact,” “bush,” or “container-friendly” on your seed packets. For more tips on maximizing your small space, explore our guide on Balcony Garden Soil: Top Mixes for Healthy Container Plants.
Your choices here will not only shape your garden’s aesthetic but also reflect your values regarding food production and environmental stewardship. This Seed Packet Guide empowers you to make informed decisions that resonate with your gardening journey.
Understanding your seed packets is truly the first step toward a flourishing garden. These small envelopes hold a wealth of information, from vital planting instructions to insights into your chosen plant’s lineage and growth habits. By taking the time to decode each term and symbol, you transform a potentially confusing task into an empowering act of preparation.
Armed with this Seed Packet Guide, you’re now ready to approach your planting season with confidence and clarity. No more guesswork, just informed decisions that lead to healthier plants and more abundant harvests. So, grab your seed packets, start decoding, and embark on your rewarding gardening journey!