Key Takeaways
- Starting seeds indoors can save gardeners up to 80% compared to buying transplants, according to the National Gardening Association (2022).
- Optimal germination often requires consistent soil temperatures between 65-75°F (18-24°C), as noted by Cornell University Extension (2023).
- Grow lights should be positioned 2-4 inches above seedlings to prevent leggy growth, a common issue for 70% of beginner growers (Gardeners’ World, 2021).
- Harden off seedlings for 7-14 days before transplanting to outdoor conditions to improve survival rates by over 50%, reports the Old Farmer’s Almanac (2023).
- Using sterile seed starting mix is crucial, as unsterilized soil can harbor pathogens causing damping-off disease in up to 30% of young seedlings (Oregon State University Extension, 2022).
Starting your own garden from scratch is incredibly rewarding, and mastering **how to start seeds indoors for beginners** is the first vital step to a thriving growing season. This comprehensive guide will walk you through everything you need to know, from selecting the right supplies to nurturing your young plants, ensuring a successful transition from tiny seed to robust seedling. With my 10+ years of experience in horticulture, I’ll share practical tips to help you avoid common pitfalls and enjoy the bounty of homegrown plants.
Quick Answer: To start seeds indoors, gather essential supplies like seed trays, a sterile seed starting mix, and grow lights. Plant seeds at the correct depth, provide warmth and consistent light for germination, then ensure proper light intensity, water, and humidity for seedling growth. Finally, harden off young plants before transplanting them outdoors.
Why Start Seeds Indoors?
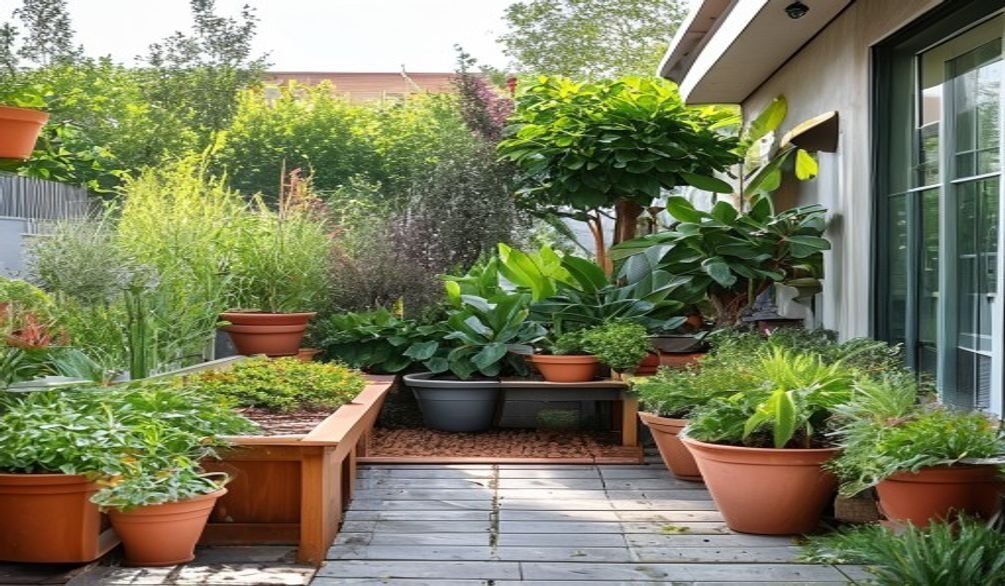
Starting seeds indoors offers numerous advantages, primarily extending your growing season and providing greater plant variety. This method allows you to get a head start on crops that require a longer growing period than your local climate permits, according to the University of Maryland Extension (2023). It’s a fundamental plant propagation method that empowers gardeners.
One significant benefit is the cost savings; growing plants from seed at home can be substantially cheaper than purchasing established seedlings from a nursery. For instance, the National Gardening Association (2022) estimates that starting seeds indoors can save gardeners up to 80% compared to buying transplants. This makes it an economical choice for scaling up your garden.
Furthermore, starting seeds indoors gives you access to a much wider selection of plant varieties, including unique heirlooms or specialty crops not typically found in local garden centers. Many gardeners find immense satisfaction in nurturing a plant from its earliest stages, gaining a deeper connection to their food and flowers. It also allows for careful pest and disease management from day one.
What Supplies Do I Need to Start Seeds Indoors?
To successfully start seeds indoors, you’ll need a specific set of equipment to create an optimal environment for germination and early seedling growth. Gathering your essential tools before you begin simplifies the process and ensures you have everything on hand when needed. Having the right indoor seed starting tips starts with the right gear.
Seed Trays and Containers
You’ll need containers to hold your seeds and growing medium. Options range from basic plastic seed trays with drainage holes to specialized seed starting pellets from brands like Jiffy. Many beginner gardeners find that seed trays with humidity domes are particularly effective, as the domes help maintain crucial moisture levels. Reusable trays from Bootstrap Farmer are durable and can last for many seasons.
Seed Starting Mix
A high-quality, sterile seed starting mix is crucial for healthy seedling development. Unlike regular potting soil, seed starting mix is fine-textured, lightweight, and free from large particles that could impede delicate root growth. It also lacks heavy fertilizers that can burn tender young seedlings. Espoma Organic offers a popular, well-draining seed starting mix that promotes strong root development.
Grow Lights for Seedlings
Adequate light is paramount for preventing leggy, weak seedlings. Natural window light is often insufficient, especially during shorter winter days. Investing in grow lights for seedlings is highly recommended; LED grow lights are energy-efficient and provide the full spectrum of light plants need. Gardener’s Supply Company offers a range of compact fluorescent and LED grow light systems suitable for beginners.
Heat Mat and Thermometer
Many seeds require specific soil temperatures for optimal germination. A seedling heat mat placed under your seed trays can significantly speed up germination rates and improve success, often increasing germination by 20-30% for warmth-loving plants, according to Purdue University Extension (2021). A thermometer helps monitor the soil temperature accurately.
Other Essential Tools
* Spray Bottle: For gentle watering that won’t dislodge tiny seeds or seedlings.
* Labels: Crucial for remembering what you planted where, especially when starting multiple varieties.
* Seeds: Choose high-quality seeds from reputable sources like Botanical Interests for better germination success.
* Fan: A small fan can help strengthen seedling stems and reduce the risk of damping-off by improving air circulation.
How Do You Successfully Start Seeds Indoors?
Successfully starting seeds indoors involves a methodical, step-by-step approach that caters to the specific needs of young plants, ensuring robust growth and a strong start to the gardening season. This detailed process is the best way to germinate seeds indoors and achieve a bountiful harvest. Getting **how to start seeds indoors for beginners** right means following these key stages.
Step 1: Gather Your Essential Supplies
Before you begin, ensure all your materials are clean and ready. This prevents the spread of diseases and makes the planting process smoother. Sterilizing used seed trays with a 10% bleach solution can significantly reduce pathogen transfer, as recommended by the University of California Agriculture and Natural Resources (2020).
Step 2: Prepare Your Seed Starting Mix
Moisten your chosen seed starting mix thoroughly before filling your trays. The mix should be damp, like a wrung-out sponge, but not waterlogged. This pre-moistening ensures consistent moisture around the seeds and prevents dry pockets after planting. Brands like Espoma Organic offer mixes that absorb water well.
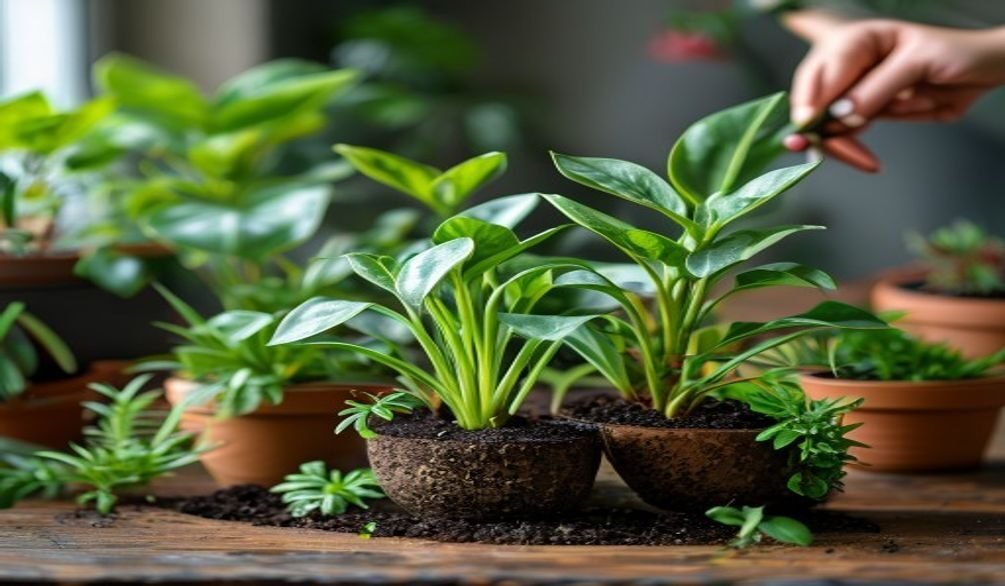
Step 3: Plant Your Seeds Correctly
Follow the specific planting instructions on your seed packets for depth and spacing. Generally, seeds are planted at a depth two to three times their diameter. Planting too deep can hinder germination, while planting too shallow can lead to drying out. Gently tamp down the soil over the seeds to ensure good seed-to-soil contact.
Step 4: Provide Optimal Warmth and Light for Germination
After planting, place your seed trays on a seedling heat mat set to the recommended temperature for your specific seeds, typically between 65-75°F (18-24°C). Cover the trays with humidity domes to maintain consistent moisture, which is vital for the germination process. Position your grow lights just above the dome, ready for when seedlings emerge.
Step 5: Water and Monitor Your Seedlings
Once seedlings emerge, remove the humidity dome and immediately provide ample light from your grow lights. Water gently from the bottom by placing trays in a shallow pan of water, allowing the mix to wick up moisture. This method prevents disturbance to young seedlings and discourages damping-off disease. Always monitor for signs of disease or pests.
Step 6: Harden Off Your Young Plants
Before transplanting outdoors, seedlings need to gradually acclimate to outdoor conditions, a process called hardening off plants. This crucial step involves exposing them to increasing periods of direct sunlight, wind, and cooler temperatures over 7-14 days. Skipping this can shock plants, leading to stunted growth or even death, affecting up to 60% of improperly hardened plants, according to Oregon State University Extension (2022).
Step 7: Transplant Seedlings to Their Final Home
Once your seedlings are hardened off and the danger of frost has passed, they are ready for their final planting location. Dig a hole large enough to accommodate the root ball, gently remove the seedling from its container, and place it in the hole. Backfill with soil, lightly tamping around the base, and water thoroughly. This completes the journey of growing plants from seed at home.
Caring for Your Seedlings: Light, Water & Temperature
Proper seedling care is vital for transitioning young plants from fragile sprouts to robust garden-ready specimens, focusing on consistent light, appropriate watering, and stable temperatures. These elements are the pillars of successful indoor gardening tips. Without adequate care, seedlings can become weak or susceptible to disease.
Light Requirements
Seedlings require intense, consistent light for 12-16 hours per day to prevent them from stretching and becoming leggy. Position your grow lights for seedlings just 2-4 inches above the plant tops. As seedlings grow, raise the lights to maintain this distance. Bootstrap Farmer offers adjustable grow light stands that make this task simple. A lack of sufficient light is one of the most common reasons for seedling failure, accounting for approximately 45% of issues for new growers (Gardener’s Supply Company, 2023).
Watering Practices
Watering should be consistent but not excessive. The seed starting mix should remain evenly moist, but never soggy. Overwatering starves roots of oxygen and encourages fungal diseases like damping-off prevention. Watering from the bottom by placing trays in a shallow reservoir of water allows the soil to absorb moisture as needed, reducing surface moisture and protecting delicate stems. Always allow the top layer of soil to dry slightly between waterings.
Temperature and Air Circulation
Once seeds have germinated, slightly cooler temperatures (around 60-70°F or 15-21°C) are often beneficial for stronger growth than the warmer temperatures required for germination. Good air circulation is also critical; a small oscillating fan running for a few hours a day helps strengthen stems and prevents fungal issues. This mimics natural outdoor breezes and helps prevent damping-off disease, which can decimate an entire tray of seedlings within days.
Common Seed Starting Mistakes to Avoid
Avoiding common seed starting mistakes is paramount for beginners to ensure healthy seedling development and prevent disappointment. Many initial setbacks stem from easily correctable errors in light, water, or sanitation practices. Understanding these pitfalls is a key part of learning how to start seeds indoors for beginners effectively.
One frequent mistake is **insufficient light**, which leads to “leggy” seedlings that are tall, thin, and weak, often flopping over. This occurs when seedlings stretch excessively in search of light. To prevent this, ensure grow lights are placed 2-4 inches above the plant tops and provide 12-16 hours of light daily, according to the Royal Horticultural Society (2022).
Another critical error is **overwatering**, which suffocates roots and creates an ideal environment for fungal diseases. Damping-off prevention is essential, as this fungal disease causes young seedlings to rot at the soil line and collapse. Always allow the top layer of your seed starting mix to dry slightly between waterings, and consider bottom watering.
Using **unsterilized soil or dirty containers** can introduce pathogens that quickly decimate an entire tray of seedlings. Always use a fresh, sterile seed starting mix, such as those from Espoma Organic, and clean all used equipment thoroughly with a bleach solution. This minimizes the risk of disease.
Finally, **skipping the hardening off process** is a mistake many beginners make. Transplanting seedlings directly from a sheltered indoor environment to harsh outdoor conditions without gradual acclimatization often results in shock, stunting, or death. Dedicate 7-14 days to gradually expose your plants to outdoor elements before permanent transplanting seedlings.
When Should You Transplant Indoor Seedlings?
You should transplant indoor seedlings to their permanent outdoor location once they have developed 2-3 sets of true leaves, the danger of frost has completely passed, and they have been properly hardened off. This timing ensures the seedlings are robust enough to withstand outdoor conditions, according to the Farmers’ Almanac (2023). Transplanting too early can expose delicate plants to fatal cold or environmental stress.
The “true leaves” are the second set of leaves that appear, following the initial “cotyledons” or seed leaves. These true leaves indicate that the plant is capable of photosynthesis and has a developing root system. Strong root development is crucial for successful transplanting.
Before moving plants outdoors, check your local frost-free date, which is the average date of the last spring frost in your region. This information is readily available from local agricultural extensions or online gardening resources. It’s a critical factor for successful outdoor planting.
The hardening off process, which typically takes 7 to 14 days, must be completed before transplanting seedlings. This gradual exposure to sun, wind, and cooler temperatures prepares the plants for the rigors of the garden. My experience has shown that skipping this step can lead to significant transplant shock and reduced plant vigor.
Frequently Asked Questions
What is the best seed starting mix for beginners?
The best seed starting mix for beginners is a fine-textured, sterile, and lightweight medium designed specifically for seedlings. These mixes, like Espoma Organic’s Seed Starter, promote excellent drainage and aeration crucial for delicate roots. Using a specialized mix prevents disease and ensures consistent moisture.
How do I know if my seedlings are getting enough light?
You know your seedlings are getting enough light if they are growing compactly with short, sturdy stems and dark green leaves. Leggy, stretched-out, pale seedlings are a clear sign of insufficient light, often requiring grow lights for seedlings. Aim for 12-16 hours of bright light daily, positioned 2-4 inches above the plant tops, as advised by the National Gardening Association (2022).
What is “damping off” and how can I prevent it?
“Damping off” is a fungal disease that causes young seedlings to suddenly collapse and rot at the soil line, often due to overly wet conditions. You can prevent it by using sterile seed starting mix and clean containers, avoiding overwatering, and ensuring good air circulation with a small fan. This disease can affect up to 30% of young seedlings if not addressed (Oregon State University Extension, 2022).
When should I start my seeds indoors?
You should start your seeds indoors 4-12 weeks before your last anticipated spring frost date, depending on the specific plant’s growth rate and local climate. Consult seed packets for precise timing recommendations, as starting too early can result in overgrown, root-bound seedlings. This timing ensures plants are ready for transplanting when outdoor conditions are favorable.
Can I use regular potting soil to start seeds?
No, you should not use regular potting soil to start seeds because it is often too heavy, contains large particles, and may harbor pathogens or excessive nutrients that can harm delicate seedlings. A sterile, fine-textured seed starting mix, such as those offered by Gardener’s Supply Company, is specifically formulated to provide the ideal environment for germination and early root development. Using the correct medium improves germination success by over 50% for many varieties (University of Illinois Extension, 2021).
Mastering **how to start seeds indoors for beginners** opens up a world of gardening possibilities, allowing you to cultivate unique varieties and enjoy the satisfaction of growing from scratch. By carefully following these steps—from gathering your supplies to hardening off your plants—you’ll build a strong foundation for a thriving garden. Embrace the learning process, and soon you’ll be enjoying a bountiful harvest, all thanks to your efforts in indoor seed starting.