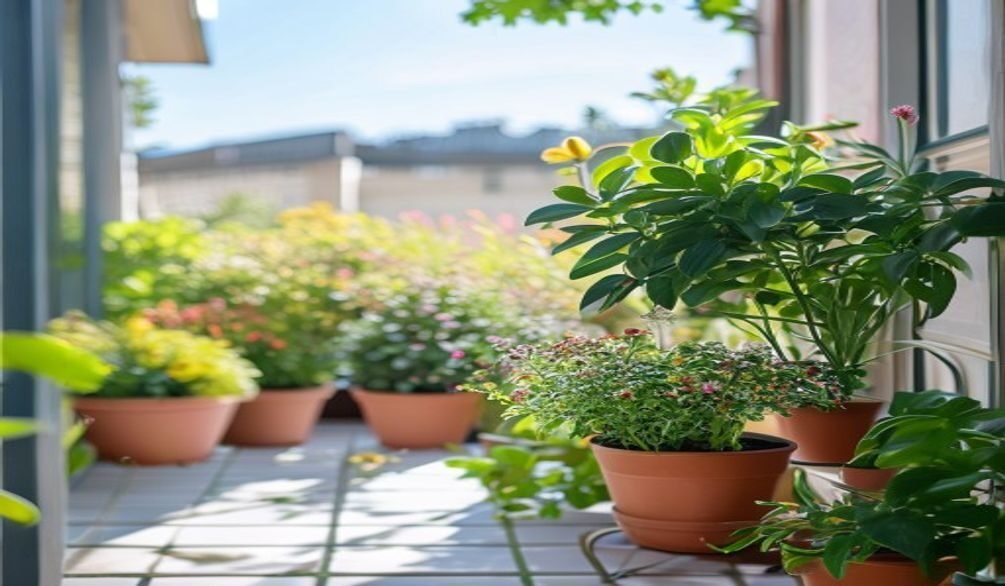
Dreaming of fresh herbs at your fingertips, even with limited outdoor space? A DIY Balcony Herb Spiral transforms a compact area into a thriving, multi-zone garden, providing an abundance of fresh flavors for your culinary adventures. This guide will walk you through building a lightweight, high-yield herb spiral designed specifically for urban balconies, ensuring you maximize every inch for a continuous harvest.
What is a Balcony Herb Spiral and Why Build One?
An herb spiral is a brilliant permaculture design that utilizes vertical space to create diverse growing conditions, or microclimates, within a small footprint. Imagine a coiled snail shell, but instead of a shell, it’s a raised bed that gradually ascends, offering varying levels of sun exposure, moisture retention, and drainage.
For urban gardeners, this design is a game-changer. It’s “a highly productive and energy efficient, vertical garden design,” allowing you to “stack plants horizontally AND vertically to maximise space,” as one expert notes. This makes it an ideal small space herb spiral design, perfect for maximizing your culinary harvest on a balcony.
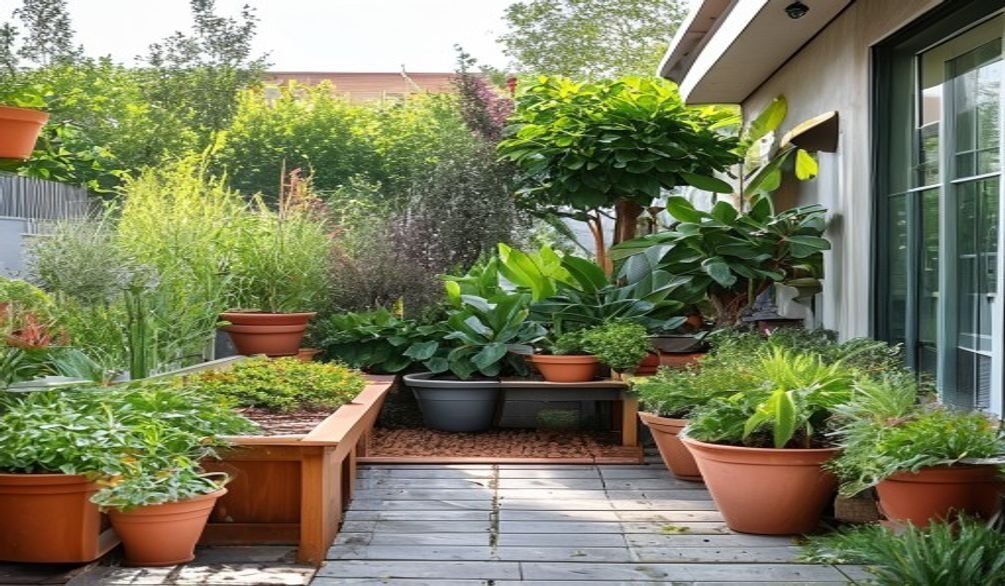
Beyond its space-saving efficiency, a balcony herb spiral also provides an aesthetic focal point, transforming a mundane balcony into a vibrant, living pantry. The diversity of herbs grown together creates a beautiful display, appealing to the growing number of gardeners who integrate plants into their home decor.
Choosing Lightweight Materials for Your Balcony Herb Spiral
When building a DIY Balcony Herb Spiral, the most critical consideration is your balcony’s load-bearing capacity. Unlike ground-level spirals made from heavy stone or concrete, a balcony version demands careful selection of lightweight materials to ensure safety and structural integrity.
This is where many general herb spiral guides fall short for apartment dwellers. According to structural advice for apartment dwellers, you must prioritize materials that won’t overload your space. For instance, plastic herb spiral kits are recommended over heavy natural stone or concrete. Remember, soil and plants add significant weight, so start light.
Assessing Your Balcony’s Load Capacity
Before you begin, try to determine your balcony’s weight limit. If you live in an apartment, consult your building management or landlord for specific guidelines on balcony load capacity. When in doubt, always err on the side of caution and choose the lightest options.
Recommended Lightweight Options
- Plastic Kits: Ready-made kits are an excellent choice, often designed specifically for container gardening. They are durable, weather-resistant, and significantly lighter than traditional masonry.
- Repurposed Plastics: Large plastic storage bins, thick-walled buckets, or even rigid plastic garden edging can be cut and shaped to form the spiral walls. This is a sustainable and cost-effective approach.
- Lightweight Wood: Cedar or redwood planks, while heavier than plastic, can be used if cut into smaller sections and secured. Ensure the wood is treated for outdoor use to prevent rot.
- Galvanized Metal: Corrugated metal sheets, often used for roofing, can be bent into a spiral shape. They are relatively lightweight and offer a modern, industrial aesthetic.
- Fabric Grow Bags: For a truly temporary or ultra-light solution, large fabric grow bags can be strategically stacked and filled to mimic a spiral shape, though this requires more structural support.
What most people miss is that the soil itself is heavy. Opt for a high-quality, lightweight potting mix that contains perlite or vermiculite to reduce overall weight while providing excellent drainage.
Step-by-Step: How to Build Your DIY Balcony Herb Spiral
Building your own DIY Balcony Herb Spiral is a rewarding project that can be completed in an afternoon. This process focuses on stability, efficiency, and creating those essential microclimates for your herbs.
Planning and Layout
First, choose a sunny spot on your balcony that receives at least 6 hours of direct sunlight daily. Mark out the footprint of your spiral; a diameter of 3-5 feet is typically manageable for a balcony. Remember, the goal is a small space herb spiral design that fits comfortably without obstructing movement or views.
Construction Steps
Follow these steps to construct your lightweight herb spiral:
- Prepare the Base: Place a sturdy, permeable base layer to ensure good drainage solutions and protect your balcony surface. A layer of landscape fabric or a large, heavy-duty drainage mat works well. For added protection, especially with wooden structures, consider using a plastic liner.
- Outline the Spiral: Using your chosen lightweight materials (e.g., plastic edging, cut plastic bins, or thin metal sheets), begin to lay out the spiral shape. Start with the outermost layer, forming a gentle curve that gradually spirals inward and upward.
- Build Up the Walls: As you coil inward, gradually increase the height of your walls. Secure your chosen materials. For plastic edging, stakes might be sufficient. For cut plastic bins, use strong, waterproof adhesive or small bolts. If using wood, screw planks together. Ensure the structure is stable at each level.
- Create Internal Drainage: Before adding soil, place a layer of coarse gravel or broken terracotta pots at the very bottom, especially in the lowest, wettest section. This prevents waterlogging and promotes healthy root growth.
- Fill with Soil: Begin filling your spiral with a high-quality, lightweight potting mix. As you fill, ensure the soil level gradually rises with the spiral walls, creating the varied heights. Leave about an inch or two of space from the top of the walls to prevent overflow when watering.
- Install a Central Irrigation Point (Optional): For consistent moisture, especially in the lower, shadier zones, you might embed a perforated PVC pipe or a terracotta olla pot in the center during construction. This provides a slow, steady release of water.
In practice, ensuring each layer of your spiral is well-compacted as you fill it with soil will prevent settling and maintain the structure’s integrity over time.
Selecting & Arranging Herbs for Maximum Culinary Yield
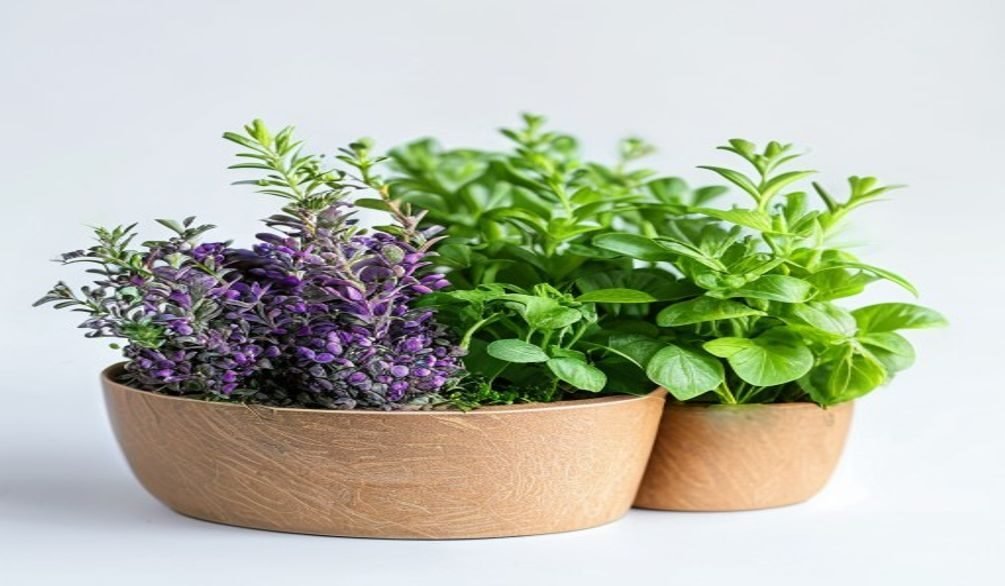
The beauty of a herb spiral lies in its ability to cater to diverse plant needs, creating ideal conditions for a wide range of flavors. Thoughtful herb selection and placement are crucial for a thriving, high-yield garden.
To truly maximize herb yield in small spaces, think about the specific requirements of each herb. This approach aligns with the core principles of a balcony permaculture herb garden, where plants are placed strategically to benefit from the created microclimates.
Matching Herbs to Microclimates
An herb spiral naturally creates four main microclimates:
- Top (Dry & Sunny): This is the warmest and driest zone. Ideal for Mediterranean herbs that love full sun and excellent drainage.
- Rosemary
- Thyme
- Oregano
- Lavender
- Sage
- Middle (Partial Sun & Moderate Moisture): This zone offers a balance, receiving good sun but retaining more moisture than the top.
- Basil
- Parsley
- Cilantro
- Dill
- Marjoram
- Bottom (Moist & Shady): The lowest part of the spiral tends to be the coolest and wettest, often receiving more shade.
- Mint (Crucial Tip: Plant mint in its own pot *within* the spiral to prevent it from aggressively spreading and taking over!)
- Chives
- Watercress
- Chamomile
What most people miss is that some herbs, like sage, can thrive in both middle and top zones depending on variety and local climate. Experimentation is part of the fun!
Strategies for Continuous Harvesting
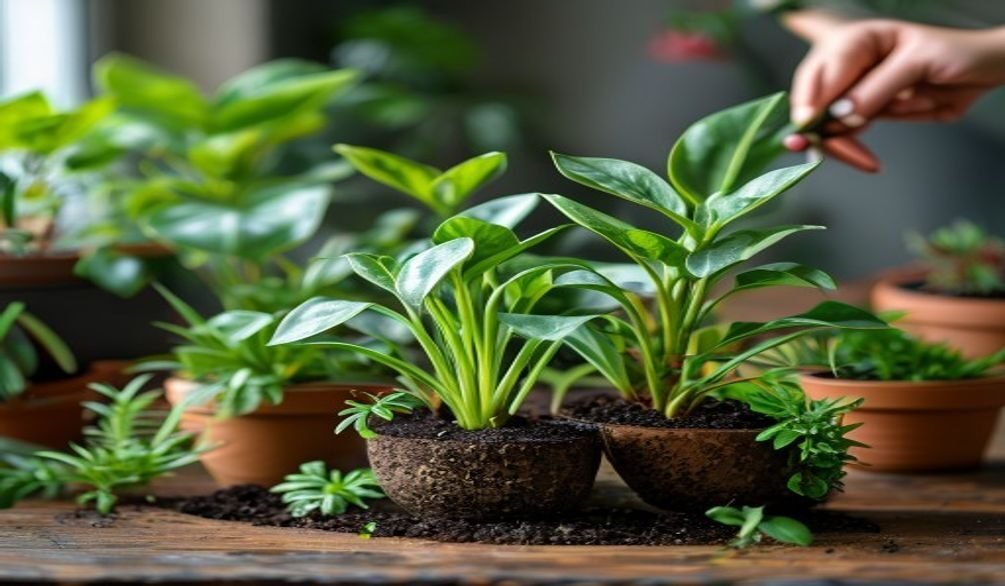
For a truly productive culinary harvest, adopt a “cut-and-come-again” approach. Instead of harvesting entire plants, snip off what you need from the outer leaves or stems. This encourages new growth and ensures a steady supply.
Consider succession planting for annuals like basil and cilantro. Plant a new batch every 2-3 weeks in an available spot to ensure you always have young, tender leaves. This strategy is key to continuous harvesting and getting the most out of your urban garden.
Optimizing Your Balcony Herb Spiral’s Microclimates
While the spiral design inherently creates varied microclimates, a balcony setting introduces unique challenges and opportunities for optimization. Your goal is to fine-tune these zones to provide the best herbs for balcony spiral garden success, even against urban elements.
Managing Sun Exposure and Heat
Balconies can experience intense reflected heat, especially from glass or concrete walls, which can scorch delicate herbs. Consider using a temporary shade cloth during peak summer afternoons for heat-sensitive plants like cilantro or parsley. Conversely, some materials like brick or stone (if used sparingly and lightly) offer thermal mass, absorbing sun heat during the day and releasing it at night, benefiting heat-loving herbs.
Addressing Wind and Airflow
Strong winds are a common balcony challenge that can stress plants, dry out soil rapidly, and even topple lightweight structures. Position your spiral against a solid balcony railing or wall for some protection. For more exposed balconies, consider a breathable windbreak, like a trellis with climbing plants or a strategically placed taller plant, to buffer the wind without blocking too much light. This is an important aspect of urban gardening tips.
Moisture Control and Drainage
The raised nature of the spiral, combined with container gardening, means faster soil drying. Consistent watering is crucial. The lowest part of the spiral should be kept consistently moist for water-loving herbs, while the top needs less frequent watering. Ensure your potting mix has excellent drainage solutions to prevent root rot, and consider a self-watering system or drip irrigation for efficiency.
Protecting from Urban Elements
Urban environments can expose plants to air pollution. While you can’t eliminate it, choosing resilient herb varieties and regularly washing foliage can help. For specific pest issues, proactive monitoring is your best defense. If you encounter common balcony pests, refer to resources like Solve Thrips Infestations for targeted solutions.
Here’s the thing: understanding how your specific balcony interacts with sun, wind, and rain is paramount. Observe it throughout the day and across seasons to make the best adjustments.
Maintaining & Troubleshooting Your Balcony Herb Spiral
A thriving DIY Balcony Herb Spiral requires consistent care, but the payoff of fresh, homegrown herbs is well worth the effort. Knowing how to maintain your garden and troubleshoot common issues will ensure your success.
Essential Maintenance Practices
- Watering: Due to the raised structure and contained soil of a vertical garden, your herb spiral will likely dry out faster than an in-ground garden. Check soil moisture daily, especially during hot, windy weather. Water thoroughly until you see drainage from the bottom.
- Fertilizing: Herbs are generally not heavy feeders, but container plants deplete nutrients faster. Every 4-6 weeks, apply a balanced, organic liquid fertilizer at half strength, especially for herbs you are actively harvesting for continuous harvesting.
- Pruning & Harvesting: Regular harvesting encourages bushier growth and prevents herbs from “bolting” (going to seed prematurely). Snip off flower buds to prolong leaf production. Don’t be afraid to prune back leggy growth.
- Weeding: While less common in a contained environment, weeds can still appear. Remove them promptly to prevent competition for nutrients and water.
Common Balcony Herb Spiral Challenges & Solutions
Balcony gardening comes with its own set of unique problems:
Rapid Soil Drying: This is a frequent issue in container gardening.
Solution: Water more frequently, apply a layer of mulch (like coco coir or small pebbles) to retain moisture, and consider adding water-retaining crystals to your potting mix.
Nutrient Depletion: Limited soil volume means nutrients are used up quickly.
Solution: Consistent, light fertilization with organic liquid feeds. Repotting or refreshing the top layer of soil with new compost annually can also help.
Pests: Even on a balcony, pests can find their way.
Solution: Regularly inspect your plants for signs of pests. Early detection is key. Use organic pest control methods like neem oil or insecticidal soap. For more specific issues, consult guides like Common Herb Garden Mistakes or Troubleshooting Vertical Garden Problems.
Wind Damage: Strong gusts can damage plants or even the structure.
Solution: Ensure your structure is stable. Choose resilient herbs. Use a windbreak if needed, or temporarily move very sensitive plants during storms.
The short answer to successful maintenance is paying attention. Your plants will tell you what they need through their appearance.
Integrating Your Herb Spiral into Balcony Aesthetics
Your DIY Balcony Herb Spiral isn’t just a functional garden; it’s also a prominent feature of your outdoor living space. Seamlessly integrating it into your existing balcony decor enhances its visual appeal and creates a cohesive urban oasis. This is where your personal touch can truly shine, transforming a functional structure into a beautiful one.
Design for Visual Harmony
Consider the color and texture of your chosen lightweight materials. For a rustic look, aged wood or repurposed terracotta shards work well. For a modern aesthetic, sleek metal or uniform plastic modules can create clean lines. The goal is for the spiral to complement, not clash with, your balcony’s style.
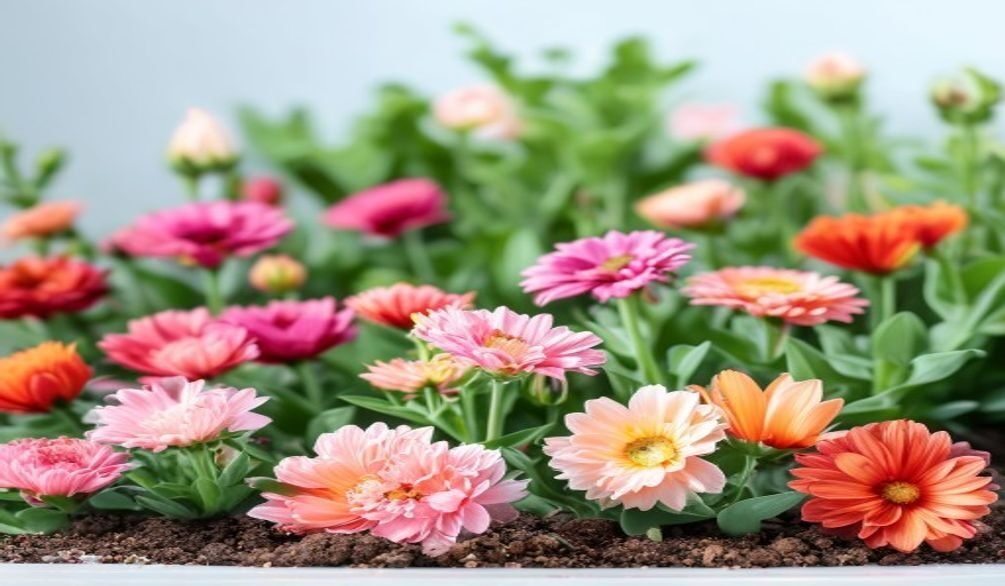
Think about the overall flow of your terrace garden layout ideas. Place the herb spiral where it’s easily accessible for harvesting but also serves as a visual anchor. You can soften the edges of the spiral by planting trailing herbs like creeping thyme or nasturtiums (edible flowers!) along its sides.
Enhancing with Decorative Elements
Don’t be afraid to add decorative touches. Small, weather-resistant figurines, solar-powered fairy lights, or even a strategically placed bird feeder can enhance the charm of your herb spiral. Just ensure any additions don’t impede plant growth or maintenance.
For a truly integrated look, combine your herb spiral with other balcony features. Perhaps a small seating area where you can enjoy the aromatic herbs, or other container plants that share a similar aesthetic. Remember, even tool storage can be stylish; explore Balcony Garden Tool Storage Solutions for ideas.
A well-designed herb spiral becomes a living piece of art, a testament to thoughtful small space herb spiral design, reflecting your personal style and passion for fresh food.
Frequently Asked Questions
What is an herb spiral garden?
An herb spiral garden is a vertical, raised garden bed designed in a spiral shape, often seen in permaculture. This unique structure creates varying microclimates, from dry and sunny at the top to moist and shady at the bottom, allowing a diverse range of herbs with different needs to thrive in a compact space.
What do you put in an herb spiral?
You put herbs with different moisture and sun requirements into an herb spiral, strategically placing them according to the microclimates created. Typically, drought-loving herbs like rosemary and thyme go at the dry, sunny top, while moisture-loving herbs like mint and watercress are placed at the cooler, moister bottom.
How big should an herb spiral be?
For a balcony, an herb spiral should be compact enough to fit comfortably without exceeding your balcony’s load capacity or obstructing movement. A diameter of 3 to 5 feet is generally suitable, with a gradual ascent to a maximum height of around 2-3 feet at its peak, ensuring it remains stable and manageable.
Are herb spirals worth it?
Yes, herb spirals are absolutely worth it, especially for urban gardeners with limited space. They maximize growing area, create diverse microclimates for a wide range of herbs, improve drainage, retain heat, and add significant aesthetic value to any balcony or patio, providing a constant supply of fresh culinary ingredients.
Building a DIY Balcony Herb Spiral is an empowering step towards urban self-sufficiency and a more flavorful kitchen. By focusing on lightweight materials, strategic herb placement, and attentive care, you can transform your balcony into a vibrant, high-yield garden. Start planning your spiral today and enjoy the bountiful, fresh herbs that await your culinary creations.