Ever wondered how to propagate flowers from cuttings to effortlessly multiply your favorite blooms and fill your garden with beauty without breaking the bank? You’re in the right place! This comprehensive guide will walk you through the simple steps of transforming a single stem into a vibrant new plant, ensuring you master the art of garden propagation for stunning success.
What is Plant Propagation from Cuttings?
Plant propagation from cuttings is a remarkable asexual reproduction method where you create new plants from a piece of an existing “mother” plant, typically a stem or leaf. This technique allows you to produce genetically identical copies, meaning your new flowering plants will have all the desirable traits of the parent. It’s a fantastic way to expand your garden, share beloved varieties, or simply save money on nursery purchases.
Here’s the thing: unlike growing from seed, which involves genetic recombination and can lead to variations, propagating from cuttings guarantees a clone. This consistency is invaluable when you want to replicate a specific flower color, bloom size, or growth habit. It’s truly one of the most rewarding plant propagation methods for any gardener.
Which Flowers Can You Propagate from Cuttings Easily?
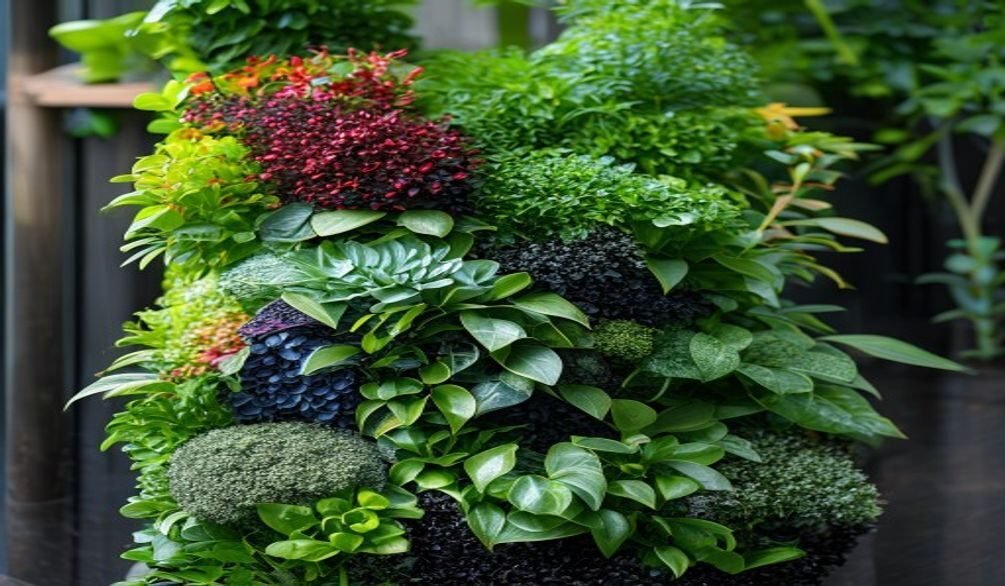
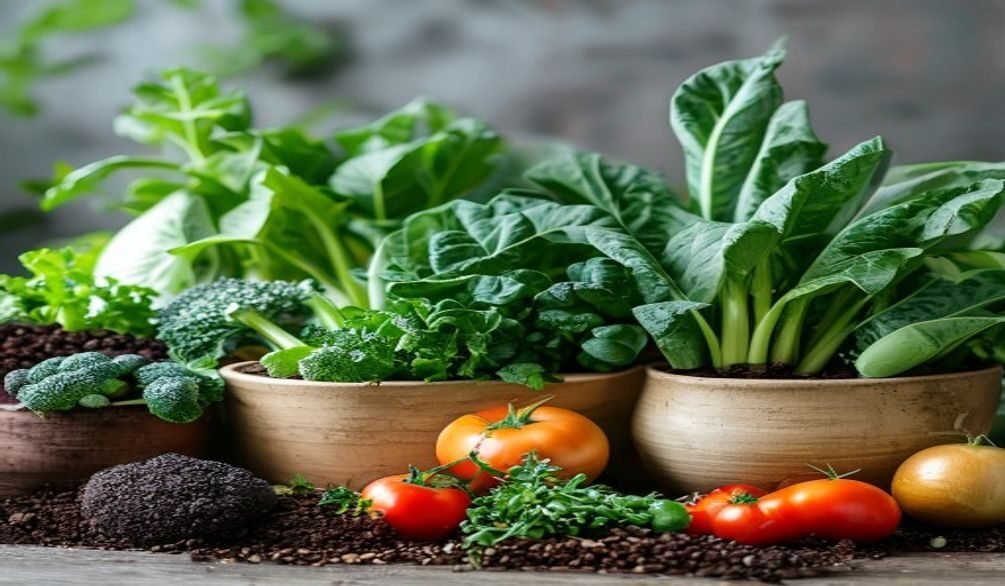
Many flowering plants readily root from stem cuttings, making them prime candidates for your propagation efforts. The easiest flowers to propagate often include popular annuals, perennials, and even some shrubs. This method is gaining popularity, with gardening trends showing a resurgence in home propagation across social media platforms.
Easiest Flowers to Propagate
Some flowering plants are renowned for their high propagation success rates. Geraniums, for instance, are famously simple, often rooting directly in water or soil with minimal fuss. Other widely recommended options include:
- Geraniums (Pelargonium): Root readily from softwood cuttings.
- Petunias: Easily propagated from tender stem cuttings.
- Impatiens: Quick to root in water or moist soil.
- Coleus (though grown for foliage, they flower): Almost foolproof from cuttings.
- Fuchsia: Softwood cuttings take well, especially in spring.
- Hydrangeas: Greenwood or softwood cuttings are highly successful.
- Roses: Hardwood cuttings taken in late fall or winter are common for growing new plants.
- Begonias: Many varieties can be propagated from stem or even leaf cuttings.
- Chrysanthemums: Softwood cuttings taken in spring or early summer.
- Hibiscus: Semi-hardwood cuttings work best for these beautiful flowering plants.
What most people miss is that the *type* of cutting matters. Softwood cuttings, taken from new, flexible growth, are generally the easiest for many annuals and perennials, while semi-hardwood or hardwood cuttings are better for woody shrubs like roses.
How to Take Flower Cuttings Successfully
Taking cuttings correctly is the first critical step toward propagation success. A clean, healthy cutting is far more likely to root than one taken improperly. You want to ensure your cutting has the best possible start for robust root development.
Choosing the Right Stem for Cuttings
Look for healthy, non-flowering stems that are free from pests or diseases. For most flowering plants, softwood cuttings are ideal, taken from new growth that is still pliable but not overly flimsy. Avoid stems with flowers or flower buds, as these divert energy from root formation. Purdue University Extension advises removing all flowers, flower buds, and fruit to focus the plant’s energy on rooting.
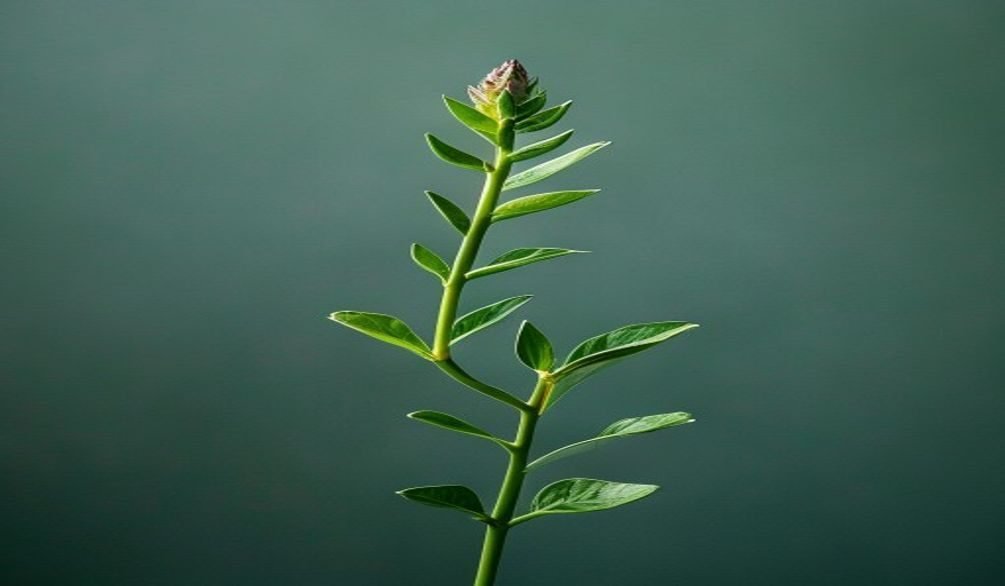
Making a Clean Cut
Using a sharp, sterilized knife or bypass pruners, make a clean cut just below a leaf node. A node is where leaves or branches emerge, and it contains meristematic tissue rich in auxins, the hormones that stimulate root growth. Your cutting should typically be 4-6 inches long, with at least 2-3 nodes. Remove the lower leaves from the bottom 1-2 inches of the stem to prevent them from rotting in the rooting medium.
Rooting Your Flower Cuttings: Step-by-Step Guide
Once you have your prepared cuttings, the next stage is providing the optimal environment for them to develop roots. This is where the magic of “how to propagate flowers from cuttings” truly comes to life.
Step 1: Prepare Your Cuttings
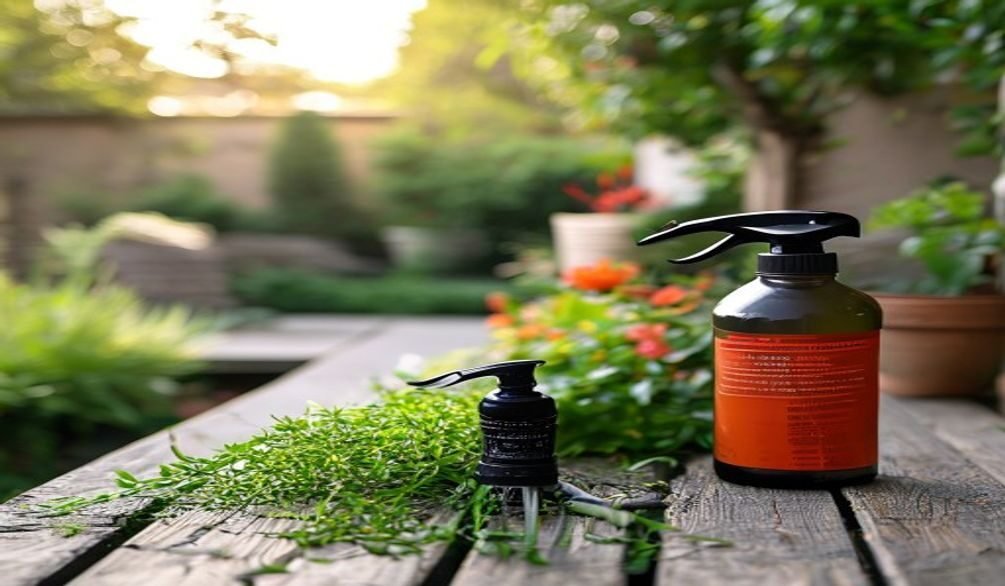
After taking your cuttings, remove any lower leaves that would be submerged in water or planting medium. If you’re using rooting hormone, dip the cut end of the stem into the powder, liquid, or gel. Studies suggest that using rooting hormone can double the success rate of plant propagation from cuttings, making it a valuable aid for growing new plants. Popular commercial options include Rootone®, Hormodin®, or Clonex gel.
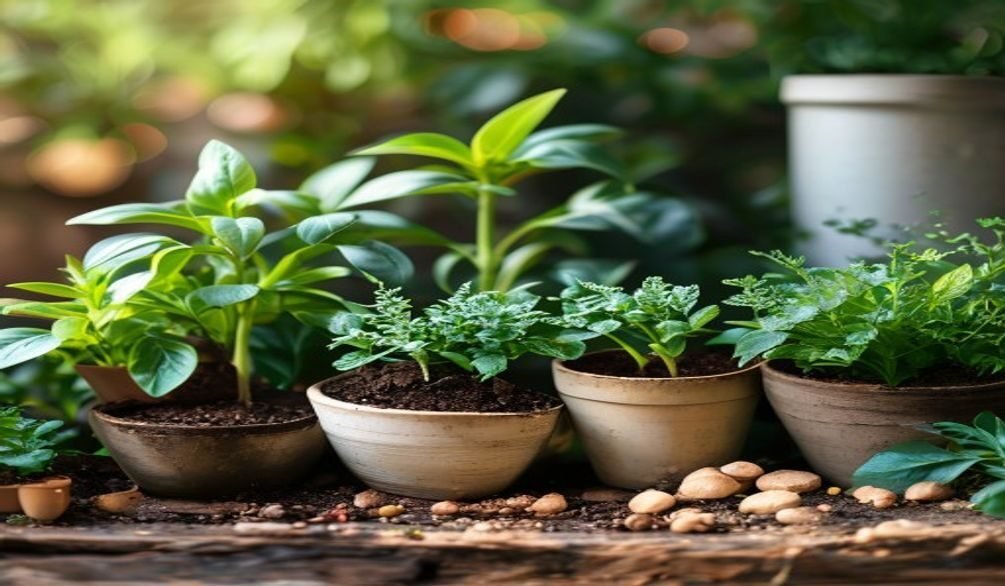
Step 2: Choose Your Rooting Medium
Your choice of rooting medium significantly impacts propagation success. Do not put cuttings directly into ordinary potting soil, as it can be too dense and prone to retaining excessive moisture, leading to rot. The Missouri Botanical Garden recommends using perlite, builder’s sand, vermiculite, or a mixture of these with sphagnum peat moss for optimal aeration and drainage. For those propagating annual flowers or very tender stem cuttings, simply rooting in water can also be effective.
Step 3: Plant Your Cuttings
If using a solid medium, make a small hole with a pencil or dibber before inserting the cutting to avoid scraping off the rooting hormone. Gently place the cutting into the hole, ensuring at least one node is buried, then lightly firm the medium around the stem. For water rooting, simply place the prepared cuttings in a clear glass of water, ensuring only the bottom portion of the stem is submerged.
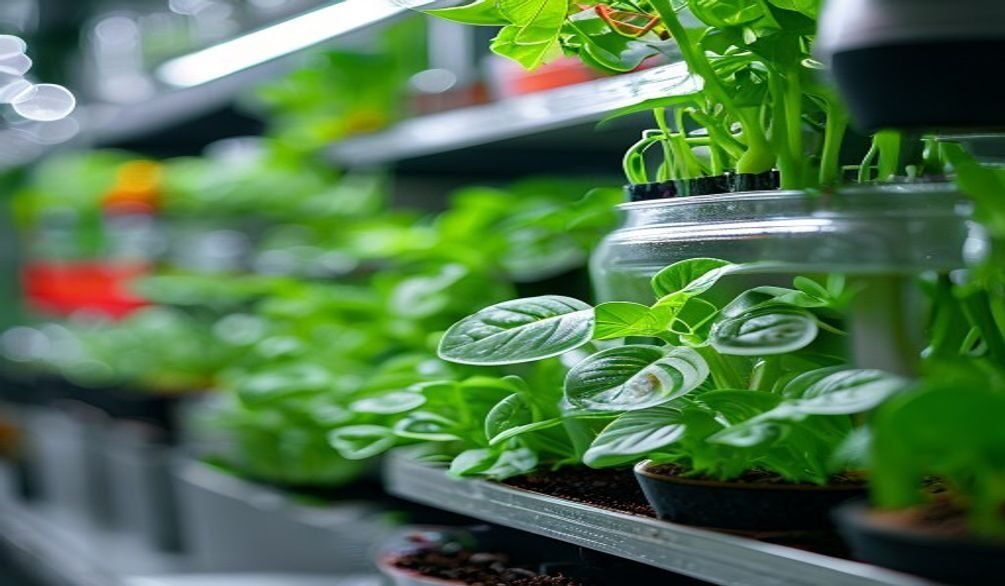
Step 4: Provide Optimal Environment
Cuttings need high humidity and consistent moisture to thrive. You can achieve this by covering your pots with a clear plastic dome or bag (creating a mini-greenhouse) or by placing them in a propagation station. Keep the medium consistently moist but not waterlogged. Warm temperatures, ideally between 65-75°F (18-24°C), encourage faster root development. A heat mat can be particularly beneficial for this.
Step 5: Monitor and Transplant
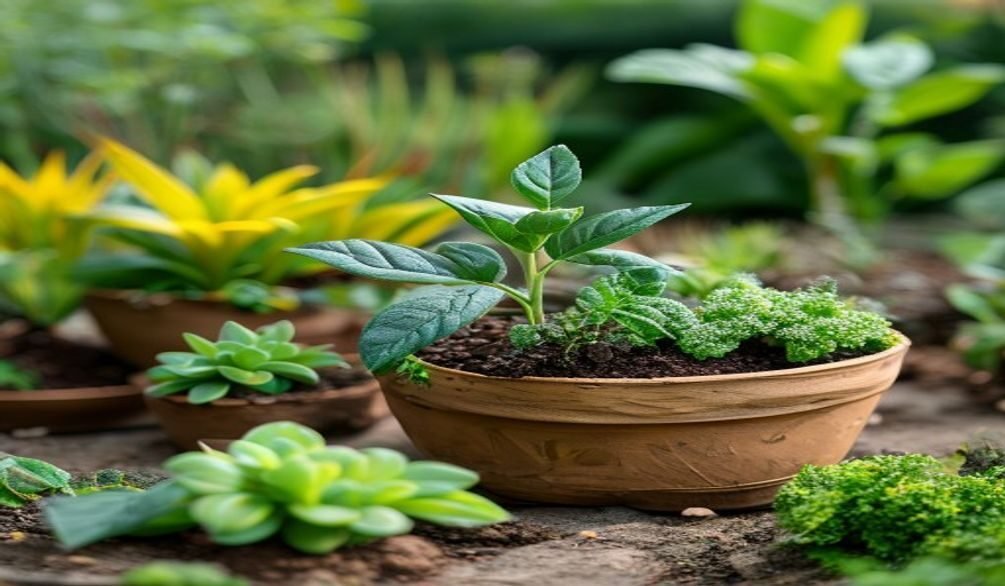
Check your cuttings regularly for signs of root development, which can take anywhere from a few weeks to several months depending on the plant. You can gently tug on the cutting; if you feel resistance, roots are forming. Once roots are about 1-2 inches long, you can carefully transplant your new flowering plants into individual pots with a good quality potting mix. For internal linking, consider our guide on Best Containers for Beginner Gardeners for suitable pot choices.
Essential Tools & Materials for Propagating Flowers
Having the right gear makes all the difference in garden propagation. Investing in a few key items will streamline your process and significantly boost your flower cutting tips and overall success rates.
- Sharp Bypass Pruners or Snips: Crucial for making clean cuts that heal quickly and prevent disease. Dull tools crush stems, hindering rooting.
- Sterilizing Alcohol or Bleach Solution: Use to clean your tools before and after each use to prevent the spread of diseases.
- Rooting Hormone: As mentioned, this can significantly increase your propagation success. Available in powder, liquid, or gel forms.
- Rooting Medium: Perlite, vermiculite, coarse sand, peat moss, or a sterile mix designed for seed starting are excellent choices.
- Small Pots or Seedling Trays: For planting your cuttings. Prevent Damping-Off in Seedlings offers good advice on seedling health, which applies to young cuttings too.
- Clear Plastic Domes or Bags: To create a humid environment around your cuttings, reducing moisture loss.
- Spray Bottle: For misting cuttings and maintaining humidity.
- Heat Mat (Optional but Recommended): Provides bottom heat, encouraging faster root development, especially for more challenging species.
In practice, you don’t need everything at once, but the sharp pruners and a good rooting medium are non-negotiable.
Troubleshooting Common Problems When Propagating Flowers from Cuttings
Even experienced gardeners encounter setbacks when taking cuttings. Don’t get discouraged if not every cutting thrives; it’s part of the learning process. Brittnay Haag, an Illinois Extension horticulture educator, wisely advises, “Keep in mind that not every plant is a candidate for propagation… and be patient, as propagation skills come with practice.”
Why Are My Flower Cuttings Not Rooting?
This is a common frustration. Several factors can inhibit root development:
- Incorrect Timing: Cuttings taken from woody or overly mature growth may struggle. Most flowering plants prefer softwood or semi-hardwood cuttings taken in spring or early summer.
- Insufficient Humidity: Cuttings lack roots to absorb water, so they rely on high ambient humidity to prevent desiccation. Without it, they wilt and die before rooting.
- Poor Medium Choice: Heavy, dense potting soil can lead to waterlogging and rot. Use a well-draining, sterile medium.
- Temperature Issues: Too cold, and root growth is slow or non-existent; too hot, and cuttings can stress or rot. Aim for that sweet spot of 65-75°F.
- Lack of Rooting Hormone: While not always essential, it significantly boosts success rates for many species by providing the necessary auxins.
Diagnosing Rotting Cuttings
If your cuttings are turning black or mushy at the base, they’re likely rotting. This is almost always due to:
- Overwatering: The medium is too wet, suffocating the stem and encouraging fungal or bacterial growth.
- Non-Sterile Tools or Medium: Pathogens can enter the cut wound and cause rot. Always sterilize your tools.
- Poor Air Circulation: High humidity without some airflow can create a stagnant environment ripe for rot.
To fix this, ensure your rooting medium drains freely, allow the surface to dry slightly between waterings, and consider increasing air circulation for a few minutes daily if using a humidity dome.
Dealing with Wilting Cuttings
Wilting usually indicates a lack of water, either because the cutting is losing moisture faster than it can absorb it (due to low humidity) or the medium is too dry. Increase humidity, ensure the medium is consistently moist (not soggy), and protect them from direct, intense sunlight.
Natural Rooting Alternatives & Boosting Success Rates
While commercial rooting hormone is highly effective, there are natural alternatives and additional strategies to boost your propagation success. These methods leverage natural plant hormones and optimal conditions to encourage robust root development.
DIY Rooting Hormones
For gardeners seeking organic solutions, several natural options can stimulate root growth:
- Willow Water: Made by soaking young willow branches in water, this solution is rich in indolebutyric acid (IBA) and salicylic acid, both known to promote rooting. Simply soak your cuttings in willow water for a few hours before planting, or use it to water your cuttings.
- Aloe Vera Gel: The gel from an aloe vera leaf has antimicrobial properties and contains compounds that can aid in rooting. Dip the cut end of your stem cuttings directly into fresh aloe vera gel.
- Honey: A natural antiseptic, honey can help protect cuttings from fungal and bacterial infections while providing some beneficial compounds. Dip the cut end in honey before placing it in the rooting medium.
- Cinnamon Powder: Similar to honey, cinnamon acts as a natural fungicide, helping to prevent rot in your freshly cut stems.
Some gardeners also report success by placing pothos or tradescantia cuttings in the same water as other plants, as these “helper” plants are believed to release rooting hormones that benefit their neighbors.
Boosting Success Rates Further
Beyond rooting aids, consider these techniques:
- Bottom Heat: As mentioned earlier, a heat mat can significantly speed up rooting by warming the medium to an ideal temperature of 65-75°F.
- Misting Regularly: Even with a humidity dome, a light misting with a spray bottle a couple of times a day can help keep the cutting turgid and reduce stress.
- Bright, Indirect Light: Cuttings need light for photosynthesis but direct sun can be too intense, causing them to wilt or scorch. A bright spot out of direct sun is perfect.
What’s key here is creating a stable, supportive environment that minimizes stress on the cutting while it works to produce roots.
Beyond the Basics: Advanced Propagation Tips
Once you’re comfortable with the fundamentals of how to propagate flowers from cuttings, you might be ready to explore more advanced techniques to expand your repertoire. These methods allow you to tackle a wider range of flowering plants and improve your overall propagation success.
Understanding Different Cutting Types
While softwood cuttings are common, mastering other types can open up new possibilities:
- Semi-Hardwood Cuttings: Taken from more mature, slightly woody stems, usually in mid to late summer. These are good for many evergreens and shrubs like Azaleas or Rhododendrons.
- Hardwood Cuttings: Taken from dormant, fully woody stems in late fall or winter. Roses are a classic example for this method. They often take longer to root but are very hardy once established.
- Heel Cuttings: A specific type of cutting where a small piece of older stem (the “heel”) is left attached to the base of the cutting. This heel contains more auxins and can improve rooting for some difficult-to-root species.
- Leaf Cuttings (for specific flowers): While not typically for stem-based flowers, some flowering plants like Begonias and African Violets can be propagated from a single leaf or even a leaf section.
Experiment with new plants, new growing media, and new propagation techniques to find what works for you, as advised by the University of Illinois Extension.
Environmental Control for Tricky Species
For those particularly challenging species, more precise environmental control can be beneficial. This might include:
- Intermittent Misting Systems: Automated systems that spray a fine mist at regular intervals to maintain perfect humidity.
- Bottom Heat Regulation: Using thermostats with your heat mats to maintain precise soil temperatures.
- Air Layering: A technique where roots are encouraged to form on a stem *while it’s still attached to the mother plant*. This is great for larger, woody plants like some ornamental trees or shrubs that are difficult to root from conventional cuttings.
Embracing these advanced techniques, even just knowing about them, marks your journey from a beginner to a true garden propagation enthusiast.
Frequently Asked Questions
Which flowers can be propagated from cuttings easily?
Many popular flowering plants can be easily propagated from cuttings, including Geraniums, Petunias, Impatiens, Coleus, Fuchsia, Hydrangeas, and certain varieties of Roses and Begonias. These plants typically have softwood or semi-hardwood stems that readily form new roots when given the right conditions. Focus on non-flowering stems for the best success.
What is the easiest flower to propagate from cuttings?
Geraniums (Pelargonium) are widely considered one of the easiest flowers to propagate from cuttings, often rooting successfully in just water or a simple moist rooting medium. Their softwood stems respond quickly to propagation efforts, making them an excellent choice for beginners to build confidence. Impatiens and Coleus are also exceptionally easy.
How do you root a flower cutting?
To root a flower cutting, first take a 4-6 inch stem cutting from a healthy, non-flowering part of the plant, making a clean cut below a leaf node. Remove lower leaves, optionally dip the cut end in rooting hormone, then place it in a well-draining rooting medium like perlite or a water glass. Provide high humidity and warm, indirect light, waiting for roots to develop before transplanting.
Can you take cuttings from any flower?
No, you cannot successfully take cuttings from *any* flower, although many can be propagated this way. Some plants, particularly those grown from seed or with very specific growth habits (e.g., bulbs, tubers), do not readily root from stem cuttings. Always research your specific plant to determine the best propagation method for it.
Armed with these expert insights on how to propagate flowers from cuttings, you’re ready to transform your garden and expand your botanical collection with ease. Imagine the satisfaction of growing dozens of new plants from just a few favorite stems! Start small, be patient, and remember that every successful cutting is a testament to your green thumb and a step towards a more abundant, beautiful garden. Go ahead, make that first cut and watch your garden flourish.