Imagine reaching into your pantry on a cold winter day and pulling out a jar filled with the vibrant aroma of summer. This isn’t just a fantasy; it’s the delicious reality of drying and storing herbs from your own garden. Preserving your garden’s bounty through proper drying techniques ensures you can enjoy fresh flavors year-round, adding depth and nutrition to your meals long after the growing season ends.
Mastering the art of drying and storing herbs is a rewarding skill for any gardener. It’s an essential step in extending the utility and enjoyment of your herb garden, transforming fleeting freshness into enduring pantry staples. Let’s dive into the best practices for harvesting, drying, and storing your herbs to lock in their peak flavor and potency.
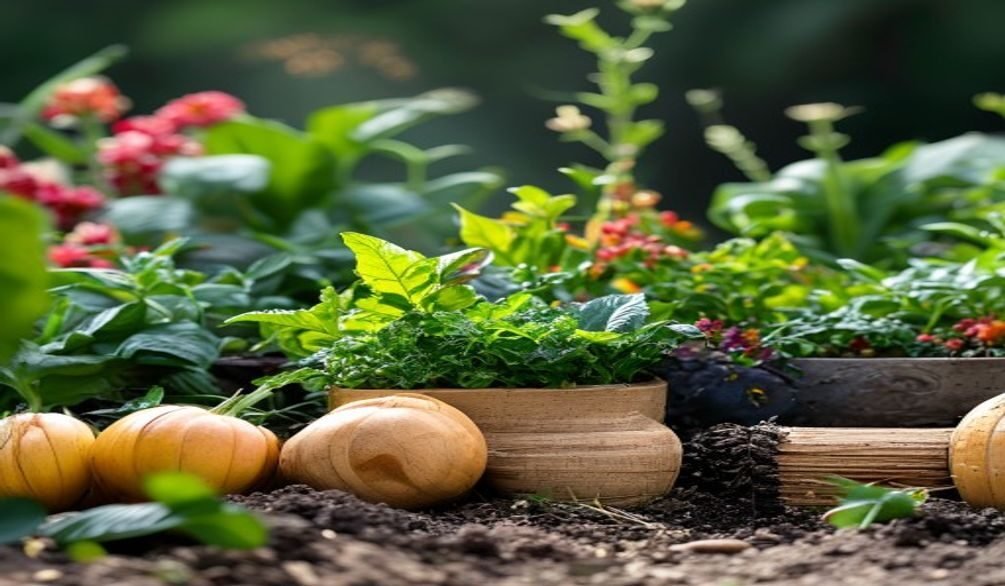
Harvesting Herbs for Optimal Flavor
The journey to perfectly preserved herbs begins with a well-timed harvest. For the most intense flavor and aromatic oils, aim to collect your herbs just before their flowers begin to open, often referred to as the “bursting bud” stage. This is when the plant’s energy is concentrated in its leaves, maximizing their essential oil content.
Timing is everything when it comes to your garden herb harvest. Head out to your garden in the early morning, as soon as the dew has evaporated but before the intense heat of the day sets in. This period ensures the leaves are turgid and their volatile oils are at their peak, minimizing loss due to evaporation.
Handle your freshly cut herbs gently to prevent bruising the delicate leaves, which can lead to flavor degradation. Give them a light rinse in cool water to remove any dirt or small insects, then pat them thoroughly dry with a clean cloth or paper towels. Excess moisture can lead to mold during the drying process, so this step is crucial.
Understanding Different Herb Drying Methods
Once your herbs are harvested and cleaned, selecting the right drying method is key to successful herb preservation techniques. Different herbs respond better to various approaches, depending on their moisture content and leaf structure. The goal across all methods is to remove moisture quickly and efficiently while retaining the herbs’ essential oils, color, and flavor.
There are several effective ways to dry herbs, each with its own advantages. From traditional air drying to more modern dehydrator methods, understanding your options will help you choose the best technique for each type of herb you wish to preserve. This foundational knowledge is critical for achieving high-quality homemade dried herbs.
While some methods are generally more recommended, others are best avoided for culinary herbs due to their potential to degrade flavor and potency. We’ll explore the most popular and effective methods, ensuring your efforts yield the best possible results.
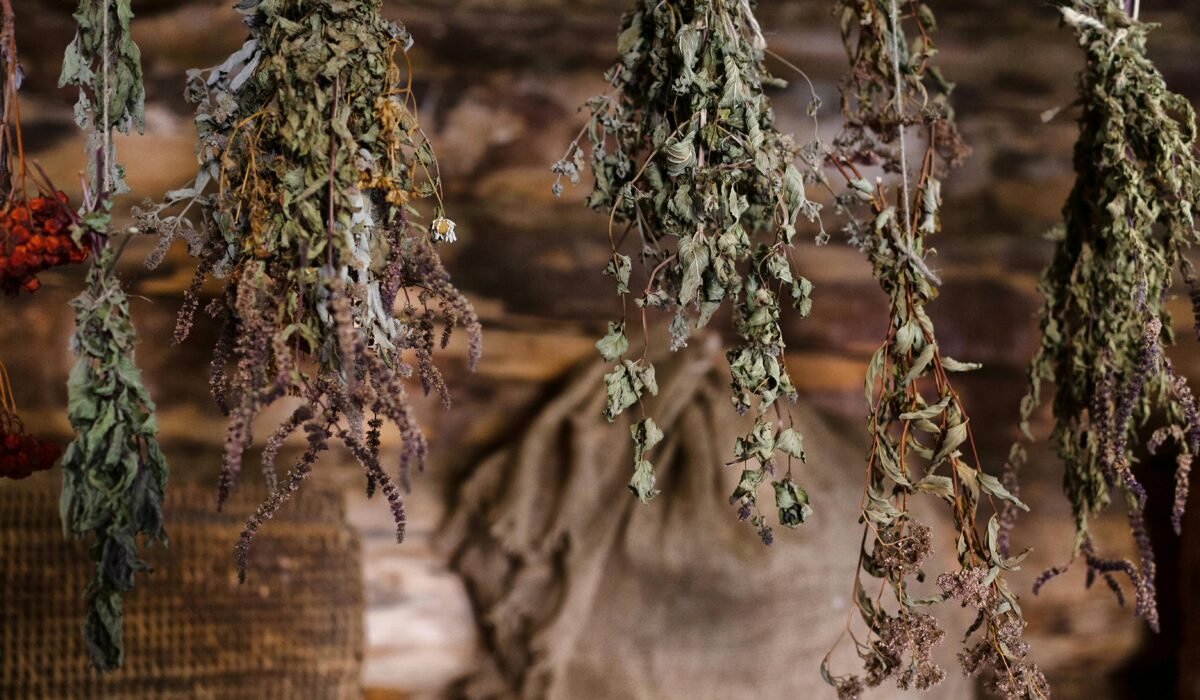
Air Drying Herbs: The Simple, Traditional Way
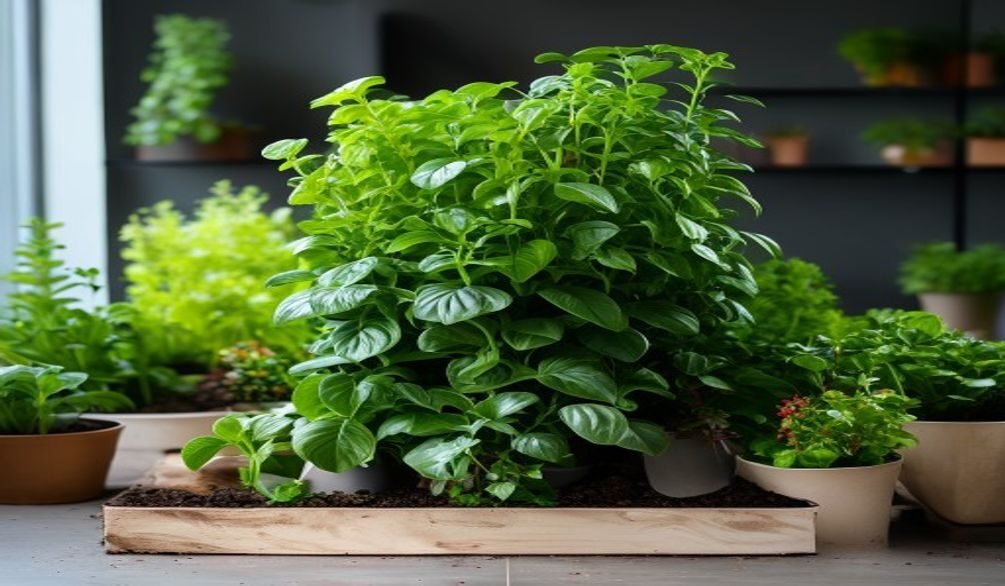
Air drying is a time-honored and energy-efficient method, particularly well-suited for sturdy, low-moisture herbs. Think of herbs like rosemary, sage, thyme, oregano, marjoram, summer savory, and lavender. Their robust structure allows them to dry slowly without succumbing to mold.
The Air Drying Process
To air dry herbs, gather small bundles of 5-6 stems, tying them securely at the base with twine or a rubber band. Ensure the bundles are not too thick, as this can trap moisture and promote mold growth. The smaller the bundle, the better the air circulation.
Hang these bundles upside down in a warm (ideally 70-80°F or 21-27°C), dry, well-ventilated, and dark location. An attic, a spare closet, or even a pantry can work, as long as it’s away from direct sunlight. Direct sunlight can bleach the herbs and cause a significant loss of essential oils, diminishing their flavor and color.
Drying times for air-dried herbs typically range from 1 to 4 weeks, depending on the herb type, humidity, and temperature. You’ll know they’re ready when they are crispy and brittle to the touch. For more detailed guidelines on drying various produce, resources like the National Center for Home Food Preservation offer excellent advice.
Special Considerations for Air Drying
While excellent for many, air drying isn’t ideal for all herbs. Tender, high-moisture herbs such as basil, mints, tarragon, lemon balm, and chives are more prone to molding when air-dried slowly. For these, faster drying methods are often preferred to preserve their delicate qualities. If you must air dry these, consider laying them flat on screens in a very well-ventilated area, turning them frequently.
Dehydrator Drying for Efficiency and Quality
For gardeners seeking a faster, more controlled method for how to dry herbs, a food dehydrator is an excellent investment. Dehydrators offer consistent low heat and continuous air circulation, making them ideal for a wide range of herbs, especially those with higher moisture content that might mold when air-dried.
Setting Up Your Dehydrator
Begin by washing and thoroughly patting your herbs dry. Remove any thick stems or discolored leaves. Arrange the herb leaves or small sprigs in a single layer on the dehydrator trays, ensuring there’s plenty of space around each piece for air to circulate. Overcrowding the trays will prolong drying time and can lead to uneven drying.
Set your dehydrator to a low temperature, typically between 95-115°F (35-46°C). In very humid environments, you might go up to 125°F (52°C). High temperatures can cook the herbs, causing them to lose their volatile oils, color, and flavor. The goal is gentle, consistent dehydration.
Drying Times and Monitoring
Drying times in a dehydrator can vary significantly, from as little as 1-2 hours for delicate leaves like mint or parsley, to 8-12 hours for denser herbs or those with more moisture. Check your herbs frequently, typically every couple of hours, to monitor their progress. Rotate trays if your dehydrator doesn’t have even heat distribution.
Dehydrator drying is particularly effective for herbs like basil, oregano, mint, and tarragon, where quick drying is crucial to prevent mold and retain their vibrant color and potent flavor. This method ensures a high-quality dried product that rivals commercially available herbs.
Testing Herbs for Perfect Dryness
Regardless of the method you choose, knowing when your herbs are perfectly dry is crucial. Under-dried herbs retain too much moisture, making them susceptible to mold and spoilage during storage. Over-drying, on the other hand, can lead to a loss of essential oils, diminishing their flavor and aroma.
Here’s how to test your herbs for optimal dryness:
- Visual Inspection: The herbs should look shriveled and significantly reduced in size compared to their fresh state. Their color should still be relatively vibrant, not faded or brown.
- Tactile Test: Take a leaf or a small sprig between your fingers. It should feel completely brittle and crispy, almost like a potato chip. There should be no pliability or softness.
- Crumble Test: When rubbed between your fingers, the leaves should easily crumble into small flakes. Stems, if present, should snap cleanly rather than bend.
If any moisture remains, continue drying for a few more hours or days, depending on your method, and then retest. Patience at this stage ensures your efforts in drying and storing herbs are not wasted.
Optimal Storage for Long-Lasting Dried Herbs
Once your herbs are perfectly dry, proper storage is paramount for maintaining their quality and extending their shelf life. Storing dried herbs correctly prevents degradation of their essential oils, protecting their flavor, aroma, and even their medicinal properties.
The best containers for storing dried herbs are airtight, vapor-proof jars, preferably made of dark glass. Dark glass helps block out light, which can degrade the herbs over time. If you use clear glass jars, store them in a completely dark place to mitigate light exposure. Mason jars with two-piece lids work exceptionally well, creating a tight seal.
Choose a cool, dry, and dark location for your stored herbs, such as a pantry, cupboard, or basement. Avoid storing them near heat sources like stoves, ovens, or dishwashers, and keep them away from direct sunlight. Fluctuations in temperature and humidity are the enemies of dried herbs, accelerating the loss of flavor and promoting spoilage.
To Crush or Not to Crush?
For optimal flavor retention, it’s generally recommended to store herbs whole or in large pieces rather than crushing or grinding them. The essential oils are protected within the cellular structure of the whole leaves. Crushing or grinding exposes more surface area to air, light, and moisture, causing the volatile oils to dissipate more quickly. Crush or grind your herbs just before use to release their freshest flavor.
Whether you’re starting with seeds or propagating from cuttings, a successful harvest leads to these crucial preservation steps. Learning how to propagate herbs means you’ll have an endless supply for drying and storing herbs.
Maximizing Shelf Life and Potency of Preserved Herbs
Understanding the shelf life and potency of your homemade dried herbs is essential for culinary success and minimizing waste. While dried herbs are incredibly durable, they do gradually lose their potency over time. Knowing how to maximize their longevity ensures you get the most out of your garden’s harvest.
Most dried herbs will maintain excellent quality for 6 months to 1 year when stored correctly. However, many can still be used for 1 to 3 years, though their flavor might be less intense. The key indicators of declining quality are a faded color and a diminished aroma. If they no longer smell fragrant, they’ve likely lost most of their flavor.
Potency Matters
It’s important to remember that dried herbs are significantly more potent than their fresh counterparts. Generally, you’ll need only about 1/4 to 1/3 the amount of dried herbs compared to fresh herbs in a recipe. For example, if a recipe calls for one tablespoon of fresh parsley, use one teaspoon of dried parsley. This concentration of flavor is due to the removal of water, which leaves behind the concentrated essential oils.
Tips for Extending Herb Shelf Life and Potency:
- Store Whole: As mentioned, keep leaves whole until just before use to protect essential oils.
- Avoid Light: Light, especially direct sunlight, can quickly degrade the color and flavor of dried herbs. Use dark glass jars or store in dark cupboards.
- Control Temperature: Cool, consistent temperatures are best. Heat accelerates the loss of volatile compounds.
- Prevent Humidity: Moisture is the enemy. Ensure containers are airtight and stored in a dry environment to prevent mold and clumping.
- Regular Checks: Periodically check your stored herbs for any signs of moisture, mold, or significant loss of aroma. If they smell “off” or have lost all fragrance, it’s time to compost them.
By following these guidelines for drying and storing herbs, you can ensure your pantry is stocked with flavorful, aromatic additions to your cooking for months to come. For more information on maintaining the quality of dried foods, you can refer to resources like the USDA’s standards for herbs and spices.
Preserving your garden’s bounty through careful drying and storage is a rewarding practice that connects you deeply to your food. With these herb preservation techniques, you’re not just saving herbs; you’re saving flavor, aroma, and a piece of your summer garden for those colder months. So, go ahead, harvest your herbs, dry them with care, and savor the taste of your hard work all year long!