If your potted herbs are looking a little sad, stunted, or just plain tired, you’re likely wondering how to repot herbs to revitalize them. Giving your beloved plants fresh soil and more room is essential for their continued health and vigorous growth. This comprehensive guide will walk you through the precise timing, methods, and aftercare needed to successfully repot your herbs, ensuring they thrive for seasons to come.
When Do Herbs Need Repotting? Key Signs to Look For
Identifying the right time to repot your herbs is crucial for their well-being, as waiting too long can lead to stressed plants and diminished yields. One of the most obvious signs herbs need repotting is roots growing out of the drainage holes at the bottom of the pot. This indicates your herb has become root-bound, meaning its root system has completely filled the current container and has nowhere left to expand.
Beyond visible roots, other indicators include water running straight through the pot without soaking into the soil, suggesting a dense root ball has displaced much of the potting mix. Stunted growth, yellowing leaves, or a general lack of vigor despite adequate watering and light are also strong signals that your herb is struggling in its confined space. What most people miss is how quickly fast-growing herbs like mint can become root-bound, demanding more frequent attention.
Choosing the Right Pot & Soil for Your Herbs
Selecting the appropriate container and growing medium is fundamental to successful repotting. For most herbs, the University of Georgia Extension recommends choosing a pot 3 to 4 inches larger in diameter than the current one, which accommodates approximately two years of root growth. While it might be tempting to give a small herb a huge pot, slow-growing varieties like rosemary or thyme can suffer from root rot if the pot is excessively large, as the excess soil retains too much moisture.
Best Pot Size for Herbs & Material Considerations
The best pot size for herbs often depends on their growth habit; a shallow, wide pot suits spreading herbs, while deeper pots are better for those with taproots. Terracotta pots are excellent for herbs that prefer drier soil, like oregano or rosemary, because their porous nature allows for better breathability and evaporation. Plastic pots retain moisture more effectively and are lighter, making them ideal for moisture-loving herbs like cilantro or mint, or for moving plants indoors for overwintering. Innovative “Smart Pots” made from geo-textile fabric are also gaining popularity; horticulture expert Marty Gottlieb notes they promote healthier root systems through “air-root pruning” and offer superior drainage.
Best Soil for Repotting Herbs
When it comes to the best soil for repotting herbs, a high-quality, well-draining organic potting mix is non-negotiable. Look for blends that include beneficial microbes and fungi, such as FoxFarm Happy Frog Potting Soil or Back to the Roots Organic All-Purpose Potting Mix, which often contain mycorrhizae and coconut coir. These ingredients improve nutrient uptake and moisture retention without becoming waterlogged. For herbs requiring excellent drainage, like rosemary or lavender, you might amend your potting mix with extra perlite or sand. Conversely, moisture-loving herbs benefit from a mix with higher coconut coir content, which helps maintain consistent moisture levels.
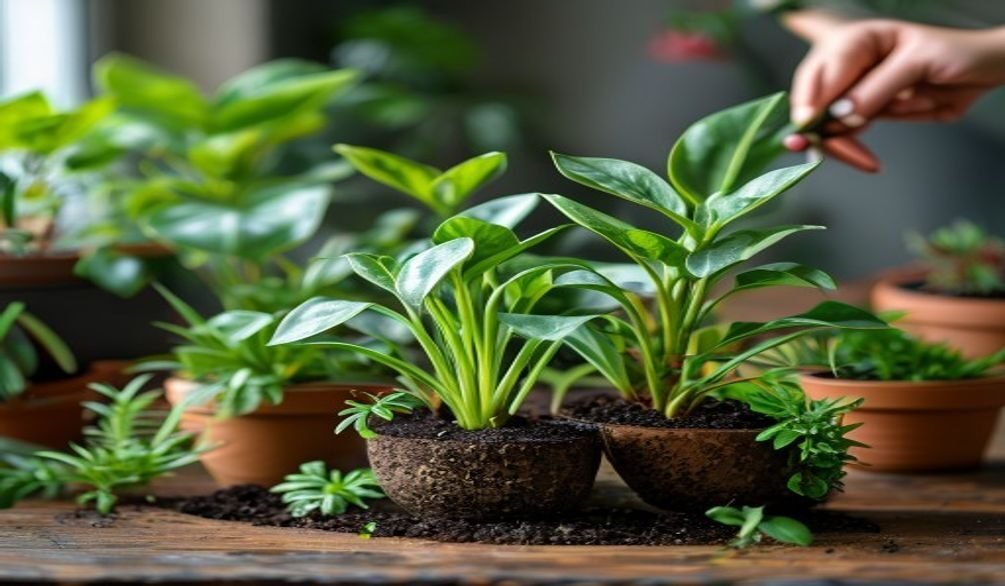
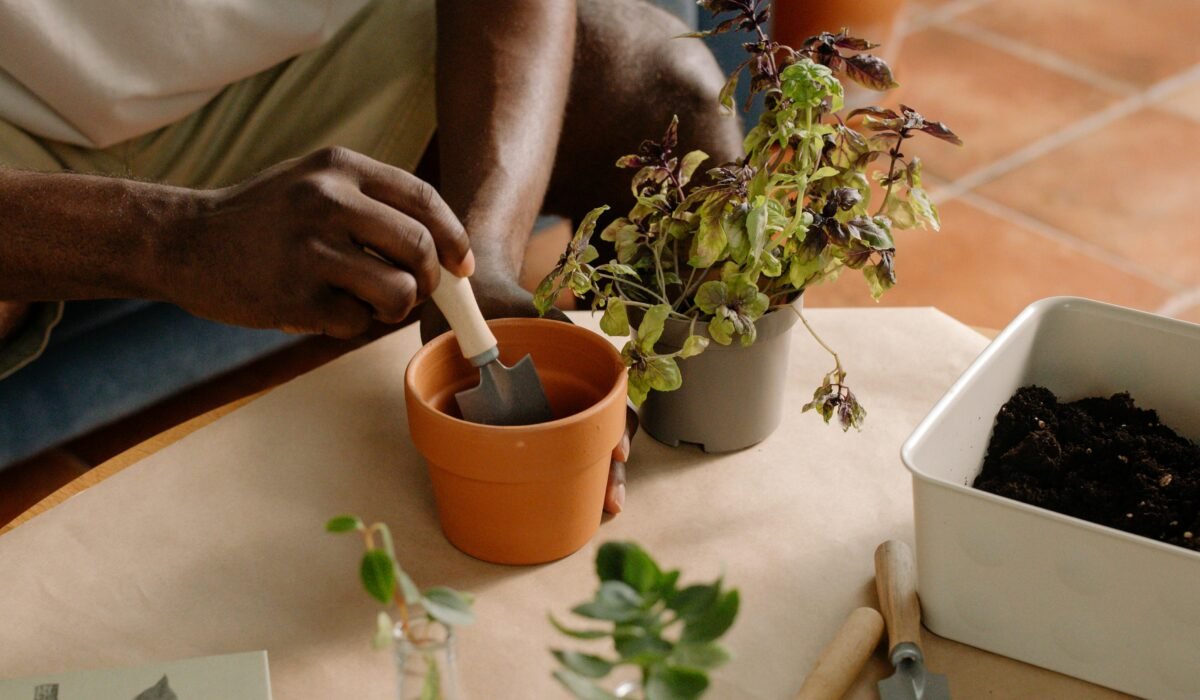
Step-by-Step Guide: How to Repot Herbs Successfully
Repotting can be a stressor for plants, but following these steps for how to repot herbs will minimize shock and encourage rapid recovery. Remember, according to Urban Harvest Lab, repotting is “massive surgery for a plant,” so a gentle approach is key.
- Prepare Your Materials: Gather your new pot, fresh potting mix, a small trowel or hand spade, pruning shears (if needed), and a watering can. Ensure your new pot has drainage holes.
- Hydrate the Herb: Water your herb thoroughly the day before repotting. A well-hydrated plant will be more resilient to transplant shock.
- Gently Remove the Herb: Turn the potted herb on its side, support the base of the plant with one hand, and gently slide the plant out of its old pot. If it’s stuck, you may need to tap the pot or carefully run a knife around the inside edge.
- Inspect the Root Ball: Once out, gently loosen any circling or matted roots at the bottom of the root ball. If the roots are very dense, you can gently massage them or make a few shallow vertical cuts to encourage new growth.
- Add Fresh Soil: Place a layer of fresh potting mix at the bottom of the new, larger pot. The depth should allow the top of the herb’s root ball to sit about an inch below the rim of the new pot.
- Position the Herb: Center your herb in the new pot and begin filling around the root ball with fresh potting mix, gently patting it down to remove large air pockets. Ensure the soil level is consistent with the original plant, avoiding burying the stem too deeply.
- Water Thoroughly: After repotting, water the herb deeply until water drains from the bottom. This helps settle the soil and provides immediate hydration to the roots.
Special Cases: Repotting Supermarket Herbs & Root-Bound Plants
Some herbs require a little extra consideration during the repotting process due to their initial condition or growth habits. Understanding these special cases ensures better success and longevity for your plants.
Repotting Supermarket Herbs
Often, repotting supermarket herbs is the first thing you should do after bringing them home. These herbs, such as basil or parsley, are typically grown in crowded conditions with minimal soil, designed for quick sale rather than long-term health. Carefully remove the plant from its container and you’ll likely find a dense tangle of roots. Gently tease apart the individual plants or sections if possible, as they are often multiple seedlings crammed together. Repot these smaller clumps into individual, slightly larger pots with fresh, rich potting mix to give them the space they desperately need to flourish.
Repotting Root-Bound Herbs
For severely repotting root-bound herbs, more aggressive root preparation may be necessary. After removing the plant from its pot, you might see a solid mass of roots in the shape of the container. Instead of just teasing, you may need to use clean pruning shears or a sharp knife to make several vertical cuts (about 1 inch deep) around the sides of the root ball and an “X” cut across the bottom. This encourages new root growth outwards into the fresh soil. Marty Gottlieb of Urban Harvest Lab emphasizes gently massaging roots rather than tearing them to minimize damage. Always be gentle, but don’t be afraid to prune a small amount of the outer root mass if it’s extremely matted.
Post-Repotting Care: Minimizing Transplant Shock
The period immediately following repotting is critical for your herb’s recovery and long-term success. Properly managing post-repotting care herbs can significantly reduce the risk of transplant shock, which manifests as wilting, yellowing leaves, or slow growth. Urban Harvest Lab reminds us that root damage temporarily impairs the plant’s ability to absorb water, making careful post-repotting care paramount.
Immediately after repotting, place your herb in a location with bright, indirect light, away from direct sunlight or harsh winds for about a week. This allows the roots to recover without the added stress of intense light or rapid moisture loss. Maintain consistent soil moisture, but avoid overwatering, as the roots are still vulnerable. Mist the leaves regularly, especially for humidity-loving herbs, to provide foliar hydration. Resist the urge to fertilize for at least 2-4 weeks; the fresh potting mix provides ample nutrients, and adding more can burn delicate new roots. The short answer is: give your herb a quiet, comfortable recovery period.
Repotting Annual vs. Perennial Herbs: Key Differences
The approach to repotting varies depending on whether your herb is an annual or a perennial, reflecting their different life cycles and growth habits. Understanding these distinctions helps you tailor your care for optimal results.
Annual Herbs
Annual herbs like basil, cilantro, or dill complete their life cycle within one growing season. While you can repot them to a larger container to encourage more growth, they generally don’t require repotting for overwintering or long-term maintenance. Their primary need is ample space and nutrients to reach their full potential before they naturally expire. If you’re growing them from seed or small starts, a single up-potting to their final container is usually sufficient.
Perennial Herbs & Division
Perennial herbs, such as mint, chives, rosemary, tarragon, oregano, and sage, live for multiple years and often benefit greatly from regular repotting. For fast-growing, clumping perennials like mint or chives, repotting annually or every two years provides an excellent opportunity for dividing herbs repotting. Division involves carefully separating the root ball into smaller sections, each with its own roots and foliage, which can then be planted into new pots. This rejuvenates the parent plant and gives you new plants to share or expand your garden. Slow-growing woody perennials like rosemary might only need repotting every 2-3 years, or when they show clear signs of being root-bound.
Sustainable Repotting Practices for Eco-Conscious Gardeners
As gardeners, our choices have an environmental impact, and repotting presents opportunities to be more sustainable. The Royal Horticultural Society highlights the importance of considering the environmental impact of potting media, especially regarding peat extraction. Opting for peat-free potting mixes is a significant step; many brands now offer excellent alternatives made from coir, composted bark, or wood fiber. Brands like Rosy Soil, known for biochar and mycorrhizae, or Back to the Roots Organic All-Purpose Potting Mix, are great sustainable choices.
Beyond soil, consider reusing plastic pots after thoroughly cleaning and sterilizing them, or invest in durable, long-lasting containers made from recycled materials. Incorporating amendments like biochar not only benefits your plants by improving soil structure and nutrient retention but also helps sequester carbon. What most people miss is that even small actions, like choosing sustainable products, contribute to a healthier planet, aligning with the growing trend of eco-conscious gardening—a sentiment shared by a record 63.6% of gardeners planning to expand their gardens in 2026.
Can You Repot Herbs in the Fall? Seasonal Considerations
The question of “Can you repot herbs in the fall?” often arises when gardeners plan to bring their outdoor plants indoors for the colder months. The short answer is yes, but with specific considerations to ensure success. Fall repotting is an excellent strategy for overwintering potted herbs like basil, parsley, or rosemary, allowing them to continue producing indoors. The ideal time is typically late summer to early fall, giving the plant a few weeks to recover from the transplant shock before moving indoors.
When repotting in the fall, follow the standard repotting steps but pay extra attention to post-repotting care, keeping the plant in a sheltered, indirect light location for a week or two. Once indoors, ensure your herbs receive adequate light, possibly supplemented with grow lights, as natural light levels are lower. Reduce watering frequency compared to summer, as plants grow more slowly in cooler, lower-light conditions. This careful approach ensures your herbs transition smoothly and remain productive through the winter.
Frequently Asked Questions
What are the signs that herbs need repotting?
The primary signs that herbs need repotting include roots growing out of the drainage holes, water running quickly through the pot without soaking in, stunted growth, or a general lack of vigor despite proper care. If you gently lift the plant from its pot and see a dense, circling mass of roots, it’s definitely time to repot.
What size pot should I repot my herbs into?
As a general rule, choose a pot that is 3 to 4 inches larger in diameter than the current one for most herbs. This provides enough space for new root growth for about two years without being so large that the soil stays excessively wet, which can lead to root rot.
What is the best soil for repotting herbs?
The best soil for repotting herbs is a high-quality, well-draining organic potting mix. Look for mixes that contain beneficial microbes, fungi, and moisture-retaining ingredients like coconut coir or composted bark, ensuring good aeration while still holding adequate moisture.
How do you repot herbs from the grocery store?
When repotting supermarket herbs, gently remove the plant from its small container, and you’ll often find multiple crowded seedlings. Carefully tease apart these individual plants or small clumps and repot them into separate, slightly larger pots with fresh potting mix to give each plant adequate room to grow and thrive.
Mastering the art of repotting herbs is a skill that will significantly enhance your gardening success, leading to more robust and flavorful harvests. By understanding the key signs, choosing the right materials, and providing attentive post-repotting care, you empower your herbs to reach their full potential. Don’t wait until your herbs are struggling; give them the space and nourishment they need to flourish by implementing these repotting techniques today.