Tired of spending hours watering your vegetable garden, only to see uneven growth or thirsty plants? Building a DIY drip irrigation system for your vegetable garden is the ultimate solution, promising healthier plants and significant savings on water and time.
Why Build a DIY Drip Irrigation System for Your Vegetable Garden?
The decision to build a DIY drip irrigation system for your vegetable garden isn’t just about convenience; it’s a strategic move for plant health and resource conservation. Drip irrigation delivers water directly to the root zone, minimizing waste and maximizing effectiveness.
Here’s the thing: traditional watering methods, like overhead sprinklers or hand watering, often lead to significant water loss through evaporation, runoff, and wind drift. Clint Shock, director and professor at Oregon State University’s Malheur Experiment Station, emphasizes that drip irrigation provides “slow, even application of low-pressure water to soil and plants using plastic tubing placed in or near the plants’ root zone.”
Unlocking Drip Irrigation Benefits for Healthier Plants
One of the most compelling `drip irrigation benefits` is its incredible `water efficiency`. Drip systems can achieve an impressive 80% to 90% water efficiency, dramatically outperforming sprinkler systems which typically range from 50-70% efficiency. This means your plants get more of the water you supply, leading to stronger growth and higher yields.
Home gardeners report `water savings of up to 75%` and `time savings of up to 90%` compared to conventional watering. Colorado State University Extension notes that drip irrigation “exceeds 90 percent efficiency… It is so efficient that many water utilities exempt landscapes irrigated with drip from restrictions during drought.” This efficiency also reduces the conditions for fungal diseases, as foliage remains dry.
Saving Water, Time, and Money
Beyond plant health, a `DIY drip irrigation system for vegetable garden` saves you precious resources. You’ll use 30% to 50% less water than with sprinklers, a significant saving on your utility bills. This water conservation is crucial, especially in drought-prone areas.
What most people miss is the hidden time saving. An `irrigation timer` can automate your `vegetable garden watering`, freeing you from daily chores. Plus, precise watering discourages weed growth between rows, reducing the time you spend weeding. This leads to a truly low-cost drip irrigation for vegetables over the long term.
Essential Components for Your DIY Drip Irrigation System
Building your own system requires understanding the core parts that make it function effectively. Each component plays a vital role in delivering water efficiently and preventing system failures.
The Core System Elements
At the heart of any drip system is the connection to your water source. You’ll need a backflow preventer, which is critical for protecting your household water supply from contamination. This is often followed by a filter to prevent clogs and a `pressure regulator` to maintain consistent water flow, typically reducing household pressure to 10-30 PSI, ideal for `drip tubing` and emitters.
The main distribution line, usually a larger diameter `drip tubing` (1/2″ or 3/4″), carries water from the source to your garden beds. From there, smaller lateral lines (1/4″ tubing) or integrated driplines branch off to individual plants or rows. Fittings like tees, elbows, and end caps are necessary to connect and terminate these lines.
Emitters, Drippers, and Tubing Options
The devices that actually deliver water to your plants are called emitters or drippers. These come in various flow rates (e.g., 0.5 GPH, 1 GPH), and some are pressure-compensating, ensuring even water distribution regardless of elevation changes. For a `DIY drip irrigation kit for raised beds` or a `drip irrigation for container vegetable garden`, individual drippers are excellent.
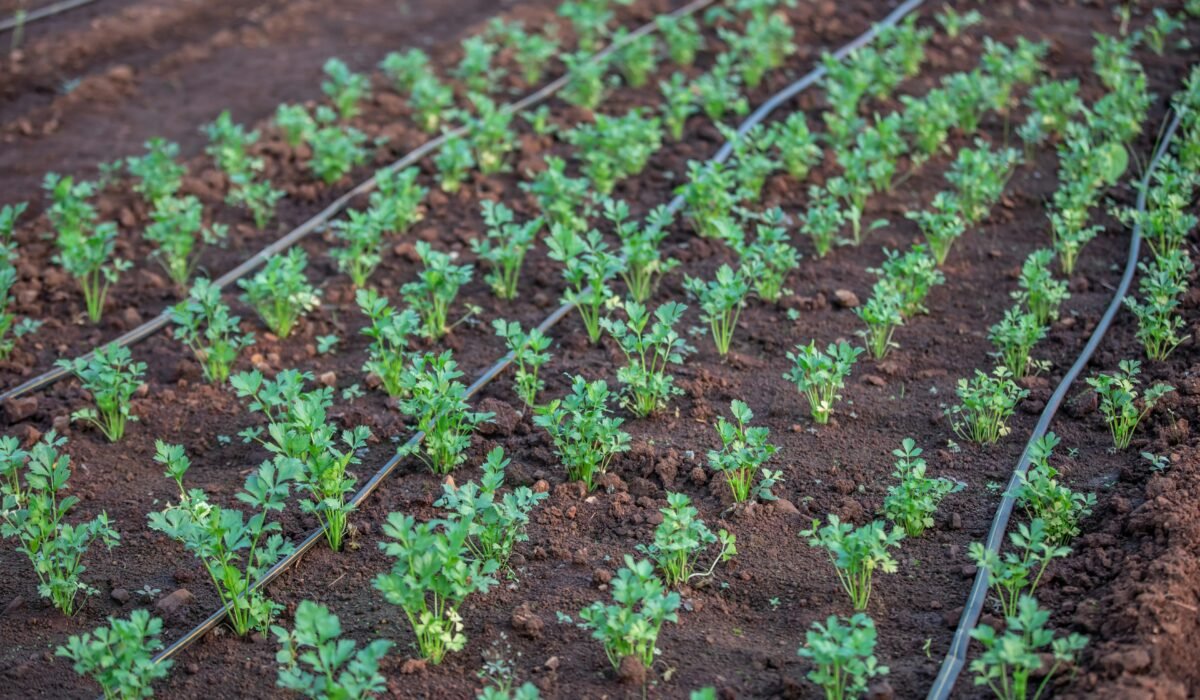
Alternatively, integrated dripline (like Netafim Techline Dripline) has emitters pre-installed at set `emitter spacing`. This is perfect for uniform rows in a traditional `row garden`. Brands like Rain Bird and DIG offer a wide array of emitters, tubing, and fittings to suit any garden design.
Planning Your Drip Irrigation System: Design & Layout
Effective planning is the foundation of a successful `homemade drip irrigation system for small garden` or a large one. A well-designed layout ensures every plant receives adequate water without waste or oversaturation.
Mapping Your Garden and Water Needs
Start by sketching your vegetable garden layout, noting the location of different plant types. Consider the water requirements of your vegetables; tomatoes and peppers, for example, are high-water-demand plants, while carrots and radishes might need less frequent, but consistent, moisture. This will influence your emitter choices and `emitter spacing`.
For raised beds, you might run a loop of 1/2″ drip tubing around the perimeter, with 1/4″ lines branching off to each plant. In a traditional row garden, running parallel lines of integrated dripline down each row makes sense. Remember to account for the total flow rate of all your emitters to ensure your water source can handle the demand.
Zoning for Optimal Plant Health
What most people miss in their DIY setup is the power of zoning. Grouping plants with similar water needs together allows for precise control. For instance, creating a separate zone for thirsty tomatoes versus drought-tolerant herbs can optimize water usage and prevent over or under-watering. This also allows for targeted `fertigation`, where nutrients are delivered directly to the root zone, reducing fertilizer costs by up to 95% according to some university field tests.
Consider using multiple valves or an advanced `irrigation timer` that can manage different zones. This customization is key to the “advanced customization & plant-specific needs” content gap we identified, ensuring your garden thrives.
Step-by-Step Guide: How to Install a DIY Drip Irrigation System
Installing your `DIY drip irrigation system for vegetable garden` is a rewarding project. With careful attention to each step, you’ll have a reliable watering system in no time.
- Connect to Your Water Source: Begin by attaching a faucet adapter to your outdoor spigot. Then, connect your `backflow preventer`, followed by a filter, and finally your `pressure regulator`. This sequence is crucial for system protection and performance.
- Lay the Main Line: Unroll your main `drip tubing` (1/2″ or 3/4″) and lay it out according to your design. Use stakes or landscape staples to secure it in place, especially around turns. Allow the tubing to warm in the sun for easier handling and flexibility.
- Install Lateral Lines and Emitters: Using a punch tool, create holes in your main line where you want to attach smaller 1/4″ feeder lines or individual emitters. Insert barbed connectors to attach the smaller lines, or directly insert the emitters. For integrated dripline, simply unroll it down your rows.
- Add Fittings and End Caps: Use tee fittings to split lines, elbow fittings for sharp turns, and secure end caps at the end of all main and lateral lines. This closes the system and directs water flow properly.
- Flush and Test the System: Before adding all the end caps, temporarily remove them and flush the system for a few minutes to clear out any debris. Then, replace the end caps, turn on the water, and thoroughly inspect for leaks. Make sure all emitters are dripping evenly.
- Set Your Irrigation Timer: Program your `irrigation timer` for appropriate watering durations and frequencies. Initially, monitor your soil moisture to fine-tune the schedule, ensuring deep watering without runoff.
Building a Simple Drip Irrigation System from a Garden Hose
If you’re looking for a truly `low-cost drip irrigation for vegetables` or a quick setup for a small area, converting a standard garden hose can be an excellent starting point. This method is often called a `homemade drip irrigation system for small garden` and is surprisingly effective.
The short answer is yes, you can build a drip irrigation system from a hose. You’ll need an old garden hose, a hose-to-drip adapter (often found in `DIY drip irrigation kit for raised beds`), a `pressure regulator` if your water pressure is high, and a simple punch tool. Cut the hose to the desired lengths for your garden beds.
Punch holes into the hose at your desired `emitter spacing` (e.g., every 6-12 inches for closely spaced vegetables). Insert small drip emitters directly into these holes. Cap the end of the hose with a standard hose end cap or fold and tie it off. This simple approach, exemplified by the “Juab County Drip System,” provides targeted watering without complex components.
Cost of a DIY Drip Irrigation System vs. Kits: What to Expect
When considering a `DIY drip irrigation system for vegetable garden`, understanding the financial investment is key. You have two main paths: sourcing individual components or purchasing a pre-made kit. Both have their advantages in terms of cost and time.
Breaking Down DIY Costs
Building a system from scratch allows for maximum customization but requires more time for research and component selection. For smaller home gardens, a DIY system can be built for approximately $60 to $85 per unit, depending on garden bed length and material quality. This cost includes items like `drip tubing`, emitters, `pressure regulator`, `backflow preventer`, and various fittings.
In practice, the cost often depends on the size of your garden and the complexity of your design. For example, a `homemade drip irrigation system for small garden` will naturally be cheaper than one for a large `row garden`. Remember to factor in the cost of an `irrigation timer` if you want automation.
The Value of Pre-Made Kits
Pre-made kits, such as the Drip Depot Drip Irrigation Kit for Vegetable Gardens or the Rain Bird Raised Bed Garden Kit (ideal for gardens up to 4×8 feet), offer convenience and often come with all necessary parts. While the upfront cost might seem higher for a kit, they save you significant time in component sourcing and ensure compatibility.
For example, a `DIY drip irrigation kit for raised beds` simplifies the process dramatically. While a drip system for an annual vegetable crop can cost approximately $1,200 per acre for large-scale operations, home garden kits are far more accessible, often ranging from $40-$150 depending on coverage area and features. The `Mister Landscaper 0-50 GPH Vegetable Garden Drip Kit` is another popular option for easy setup.
Troubleshooting & Maintaining Your Drip Irrigation System
Even the best `DIY drip irrigation system for vegetable garden` needs occasional attention. Proactive `troubleshooting & maintaining` ensures longevity and consistent performance, preventing common issues like uneven `vegetable garden watering`.
Common Problems and Quick Fixes
One of the most frequent issues is clogged emitters. This often happens due to sediment in the water, which is why a filter is crucial. If an emitter clogs, try cleaning it with a small brush or replacing it. Uneven pressure can lead to some plants getting too much water and others too little; ensure your `pressure regulator` is correctly installed and functioning.
Leaks are another common problem, often occurring at connections. Check all fittings for tightness and replace any cracked or worn components. Animals sometimes chew through `drip tubing`; repair these sections using barbed connectors and a short piece of new tubing. What most people miss is that small leaks can significantly reduce overall system pressure.
Seasonal Maintenance and Winterization
Regular maintenance extends the life of your system. Periodically flush your lines by removing end caps to clear out any accumulated sediment. Clean your filter regularly. For optimal `drip irrigation benefits`, inspect emitters for consistent flow throughout the growing season.
In colder climates, winterization is essential to prevent freezing damage. Disconnect your system from the water source, open all end caps, and drain all water from the lines. You can use an air compressor (at low pressure, around 30 PSI) to blow out any remaining water. Store any `irrigation timer` or backflow preventer indoors to protect them from frost.
Advanced Tips for Optimizing Your Vegetable Garden Drip System
Once you’ve mastered the basics of your `DIY drip irrigation system for vegetable garden`, you can implement advanced strategies to truly maximize your yields and efficiency. These tips cater to specific plant needs and enhance overall system performance.
Customizing for Plant-Specific Needs
To really dial in your `vegetable garden watering`, consider using different types of emitters for different plants. For heavy feeders like tomatoes or squash, use higher flow rate emitters (e.g., 1 GPH) or multiple emitters per plant. For moderate drinkers like beans or leafy greens, 0.5 GPH emitters might suffice. This fine-tuning addresses the “advanced customization & plant-specific needs” content gap.
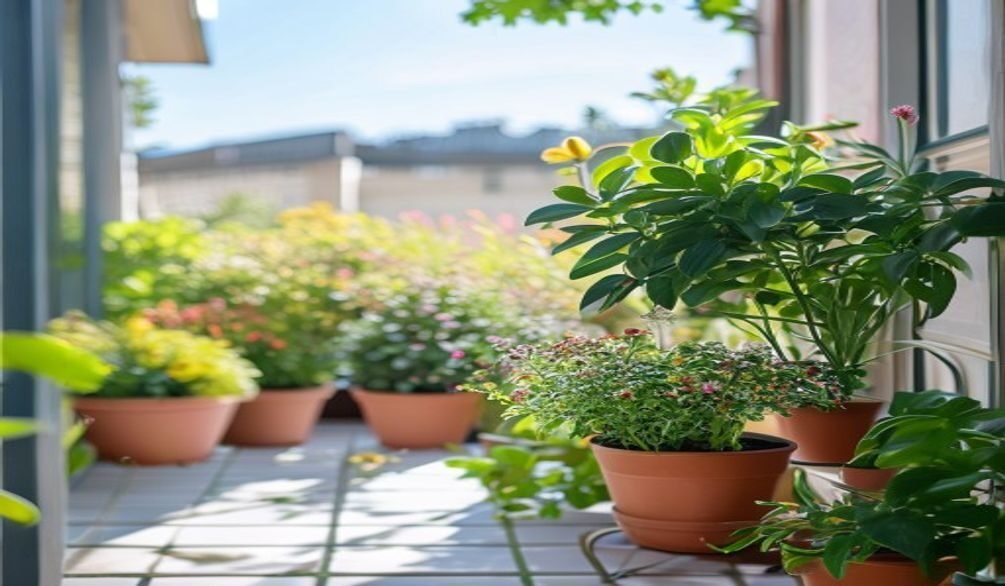
For `raised bed irrigation`, you might use adjustable drippers that allow you to vary the flow rate for individual plants as they grow or as weather conditions change. For a `drip irrigation for container vegetable garden`, a simple ring of 1/4″ tubing with a few emitters around the base of each plant works wonders.
Implementing Fertigation and Soil Moisture Monitoring
`Fertigation` is the practice of injecting water-soluble fertilizers directly into your drip system. This delivers nutrients precisely to the root zone, reducing waste and improving nutrient uptake. You’ll need a simple fertilizer injector, often available from brands like Rain Bird or DIG, which connects to your main line.
Another powerful optimization is incorporating soil moisture sensors. These devices can communicate with smart `irrigation timer` systems, automatically adjusting watering schedules based on real-time soil moisture levels. This prevents overwatering and ensures plants receive exactly what they need, further boosting `water efficiency` and crop health.
Frequently Asked Questions
How do you make a simple drip irrigation system for a garden?
To make a simple drip irrigation system, connect a `backflow preventer` and `pressure regulator` to your outdoor faucet, then run a main line of 1/2″ `drip tubing` through your garden. Punch holes in the tubing at appropriate `emitter spacing` for your plants and insert individual drippers, capping the end of the line. This creates a basic, effective watering setup.
What materials are needed for a DIY drip irrigation system?
Essential materials include a backflow preventer, a filter, a pressure regulator, main `drip tubing` (1/2″ or 3/4″), smaller lateral tubing (1/4″), various emitters or dripline, fittings (tees, elbows, couplings), end caps, a punch tool, and an optional `irrigation timer`. Brands like Rain Bird and DIG offer these components individually or in comprehensive kits.
How do I build a drip irrigation system from a hose?
Building a drip irrigation system from a garden hose involves cutting an old hose to length, connecting it to your water source (ideally with a `pressure regulator`), and then punching holes along its length. Insert small drip emitters into these holes and cap the end of the hose. This offers a quick and `low-cost drip irrigation for vegetables` in smaller areas.
How much does it cost to install a drip irrigation system for a vegetable garden?
The cost to install a `DIY drip irrigation system for vegetable garden` can range from approximately $60 to $85 for a smaller home garden unit, if you source individual components. Pre-made kits designed for raised beds or small gardens typically fall between $40 and $150, offering convenience and saving time on component selection.
Building a `DIY drip irrigation system for vegetable garden` is an investment that pays dividends in water savings, time, and healthier plants. By understanding the components, planning your layout, and following our detailed steps, you can create an efficient watering solution tailored to your specific needs.
Don’t let another growing season pass with inefficient watering methods. Start planning your custom drip system today and watch your vegetable garden thrive with consistent, targeted hydration.