Embarking on the journey of growing flowers from seed for beginners can seem daunting, but it’s a deeply rewarding experience that transforms tiny seeds into vibrant blooms. Many aspiring gardeners wonder if they have the green thumb required, often facing initial uncertainty about where to start. This ultimate guide will demystify the entire process, providing clear, actionable steps and expert insights to help you cultivate a stunning flower garden with confidence.
Is Growing Flowers From Seed Hard for Beginners?
The short answer is no, it’s not hard to grow flowers from seeds, especially when you know the right techniques and choose the right varieties. Many new gardeners find the idea intimidating, but with a little guidance, it’s surprisingly accessible.
What most people miss is that successful seed starting relies on consistency and understanding a few basic needs of tiny seedlings. In fact, 83.1% of new and novice gardeners reported high satisfaction with their flowers in 2023, according to an Axiom Marketing study, proving success is well within reach.
This process offers immense satisfaction and allows you to cultivate unique varieties not typically found in garden centers. Plus, it’s a fantastic way to stretch your gardening budget, as a packet of seeds costs far less than individual plants.
Essential Supplies for Starting Flower Seeds Indoors
Before you dive into planting, gathering the right seed starting supplies for flowers is crucial for success. Having everything ready streamlines the process and ensures your young plants get the best possible start.
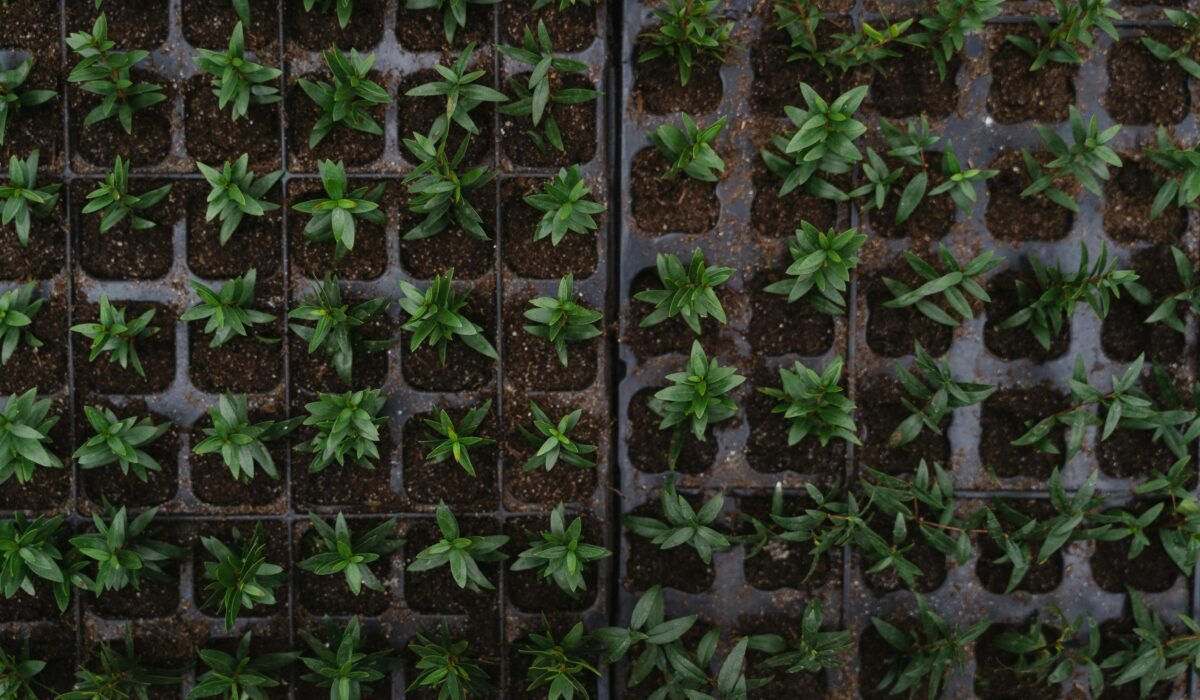
Seed Starting Trays and Containers
You’ll need containers designed for seedlings, which typically have drainage holes and are shallow. Options include plastic trays with individual cells, peat pots, or even repurposed household items like yogurt cups or egg cartons (just remember to add drainage holes).
Many beginners opt for comprehensive kits like the Burpee Seed Starting Kits, which are noted for being user-friendly and often include trays, a water reservoir, and a humidity dome. For those serious about indoor seed starting, the Super Sprouter Premium Heated Propagation Kit is a “Best Overall Seed Starter Kit,” even including a miniature grow light and heating mat.
The Right Growing Medium
Never use garden soil for indoor seed starting; it’s too heavy, can compact, and often contains weed seeds and pathogens. Instead, opt for a sterile, fine-textured seed-starting mix. This specialized mix provides the ideal balance of drainage and moisture retention that delicate seedlings need to thrive.
We’ll delve deeper into the best seed starting mix for flowers and DIY options later in this guide, but for now, know that a quality commercial mix is a great starting point.
Light Source
Natural light from a windowsill is often insufficient, leading to leggy, weak seedlings. A dedicated grow light is one of the most important seed starting supplies for flowers, ensuring strong, healthy growth. Fluorescent shop lights (T5 or T8) or LED grow lights positioned just a few inches above your seedlings work wonders.
Warmth for Germination
Many flower seeds benefit from warmth to germinate quickly from seed. A heating mat placed under your seed trays can significantly improve germination rates and speed. Jeff from The Ripe Tomato Farms notes that “we’re looking at a preferred temperature range of 75 to 85° F for optimal germination rates” for most starter seedlings.
Other Handy Tools
A spray bottle for gentle watering, plant labels to keep track of varieties, and small hand tools for transplanting are also incredibly useful. These small additions make a big difference in managing your indoor seed starting setup.
Step-by-Step: How to Start Growing Flower Seeds
Learning how to start flower seeds is a methodical process that, once mastered, becomes second nature. Follow these steps for a successful indoor seed starting experience.
1. Prepare Your Containers and Mix
Fill your clean seed starting trays or pots with your chosen seed-starting mix. Lightly moisten the mix before planting; it should feel damp, like a wrung-out sponge, but not soggy. This pre-moistening helps ensure even moisture distribution.
2. Plant Your Seeds Correctly
Refer to your seed packets for specific planting depth and spacing. A good general rule of thumb, as Homegrown Garden advises, is to “plant them to a depth of about twice their diameter.” Tiny seeds, like petunias, often need light to germinate and should barely be covered or simply pressed onto the surface. For larger seeds, create a small indentation, place the seed, and gently cover it with mix.
3. Water Gently and Label
After planting, lightly mist the surface with water from a spray bottle to settle the soil around the seeds. Clearly label each tray or cell with the flower variety and planting date. This simple step prevents confusion later on, especially when you have multiple types of flower seeds for pots.
4. Provide Warmth and Humidity
Place your trays on a heating mat if recommended for your seeds. Cover the trays with a clear humidity dome or plastic wrap to create a mini-greenhouse effect. This helps maintain consistent moisture and warmth, crucial for germination.
5. Ensure Adequate Light (After Germination)
Once you see sprouts emerge, immediately remove the humidity dome and place your seedlings under grow lights. Position the lights just 2-4 inches above the plant tops and keep them on for 14-16 hours a day. This intense light prevents leggy seedlings and promotes strong, compact growth. Remember, some seeds like petunia require light to germinate, while others like calendula prefer darkness, so always check the packet.
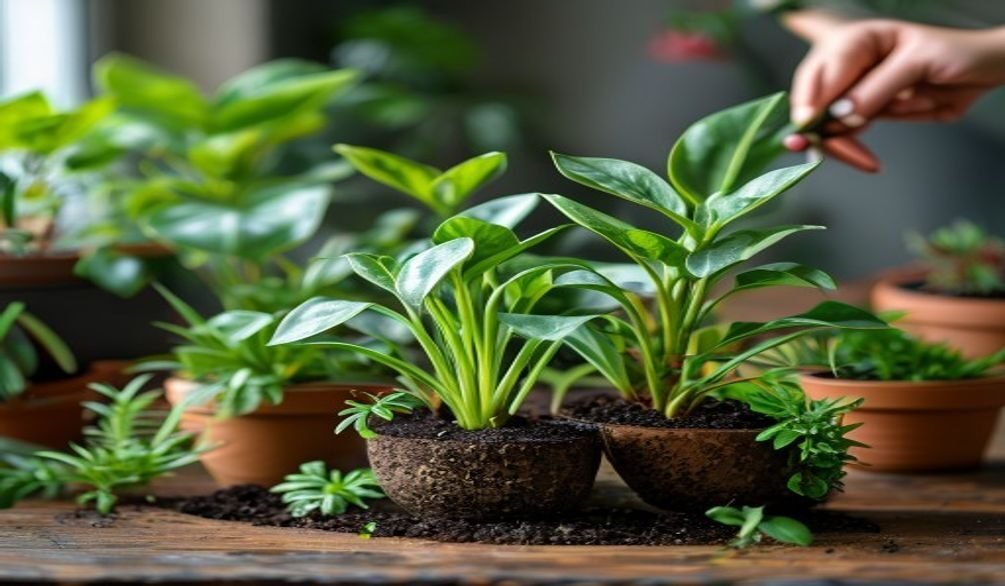
6. Water and Fertilize Mindfully
Water from the bottom whenever possible by placing trays in a shallow pan of water until the top of the mix feels damp. This encourages root growth downwards and avoids disturbing fragile seedlings. Once your seedlings develop their first true leaves (the second set of leaves), you can begin feeding them with a diluted liquid fertilizer, typically at ¼ to ½ strength, every other watering. For more on feeding, see our guide on How to Fertilize Indoor Plants.
When is the Best Time to Plant Flower Seeds?
Timing is everything when it comes to successful flower gardening tips. Knowing when to start flower seeds indoors depends largely on your local climate, specifically your last expected frost date, and the specific needs of the flower variety.
Most seed packets will tell you to “start indoors 6-8 weeks before the last frost date.” This allows seedlings enough time to grow to a robust size suitable for transplanting outdoors, but not so long that they become root-bound or overgrown.
For those in warmer climates, or with flowers that prefer direct sowing, you might find yourself planting later. Perennial seeds, which are gaining popularity with a 7.5% CAGR, often have different starting requirements, sometimes needing a period of cold stratification before germination.
Keep a gardening journal to track your last frost date and planting times, which will improve your accuracy year after year. Understanding your USDA Hardiness Zone is also key to knowing when to direct sow flower seeds or transplant seedlings.
Easiest Flowers to Grow From Seed for Beginners
Choosing the right varieties can make all the difference in your first experience with growing flowers from seed for beginners. Some flowers are incredibly forgiving and germinate quickly, offering fast rewards and boosting your confidence.
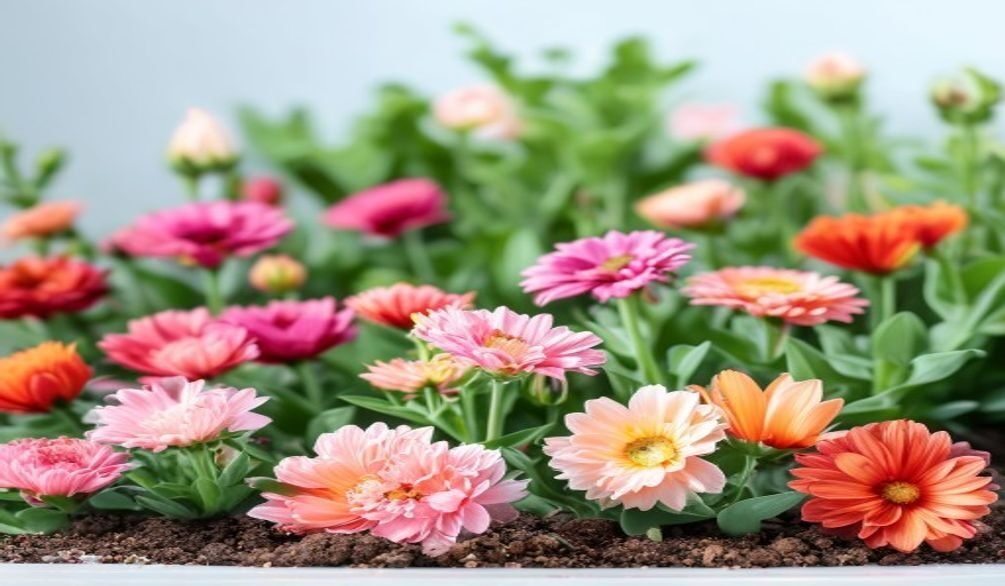
Annual flower seeds accounted for 46% of the flower seeds market revenue in 2024, partly due to their fast cultivation cycles that perfectly align with beginner gardener preferences. Here are some of the easiest flowers to grow from seed for beginners:
- Zinnias: These cheerful flowers are a top choice. They sprout quickly, tolerate a range of conditions, and produce an abundance of colorful blooms that are excellent for cutting. They are definitely an easy flower to grow from seed.
- Marigolds: Dependable and vibrant, marigolds are known for their pest-repelling qualities and continuous flowering until frost. They are also very forgiving of beginner mistakes.
- Sunflowers: For impressive results with minimal effort, sunflowers are fantastic. They grow rapidly and offer a dramatic display, making them popular for children’s gardens.
- Cosmos: With their airy, delicate blooms, cosmos are surprisingly easy to grow. They sprout readily, grow steadily, and provide a continuous show from early summer until frost.
- Calendula: One of the quickest-growing flowers to bloom from seed, often within two months. Calendula thrives in heat and continues blooming generously with regular deadheading.
- Nasturtiums: These edible flowers are excellent for direct sowing. They grow quickly and offer vibrant blooms and peppery leaves, perfect for adding to salads.
These varieties are known for being resilient and providing a high success rate, making them ideal flower seeds for pots or garden beds.
Troubleshooting Common Seed Starting Problems
Even the most experienced gardeners encounter issues, and growing flowers from seed for beginners is no exception. Knowing how to identify and address common problems can save your seedlings and your sanity.
Leggy Seedlings
This is perhaps the most frequent complaint: tall, thin, weak stems reaching for light. The cause is almost always insufficient light. Solution: Lower your grow lights so they are just 2-4 inches above the plant tops, and ensure they are on for 14-16 hours daily. You can also gently brush your hand over the tops of the seedlings daily to simulate wind, which encourages stronger stems.
Damping-Off Disease
A fungal disease that causes seedlings to suddenly collapse at the soil line. It’s often caused by overly wet conditions, poor air circulation, or non-sterile soil. Solution: As Homegrown Garden advises, “Always use a fresh, sterile seed-starting mix.” Remove humidity domes once sprouts appear, ensure good air circulation with a small fan, and “Let the top of the soil dry out a little bit between waterings.”
Uneven Germination
Some seeds sprout quickly, while others lag or don’t appear at all. This can be due to inconsistent temperature, old seeds, or seeds requiring specific conditions like cold stratification or light exposure. Solution: Ensure consistent warmth with a heating mat. For stubborn seeds, research their specific germination requirements. Some seeds simply need more time.
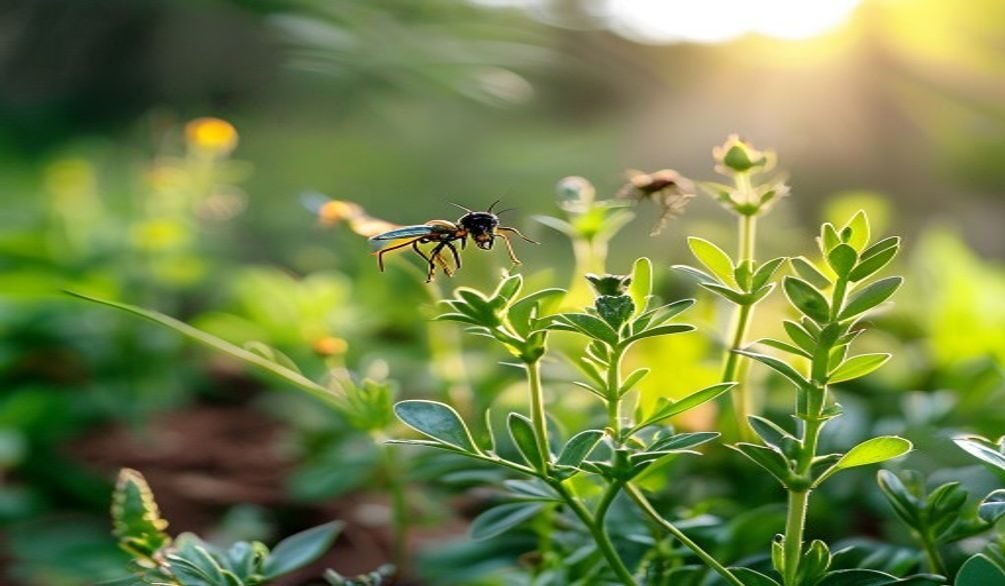
Pests in Seed Trays
Fungus gnats are common, attracted to moist soil. They are usually harmless to established plants but can damage delicate seedlings. Solution: Allow the top inch of soil to dry out between waterings. Yellow sticky traps can catch adults, and a diluted neem oil spray can deter them. For more on pest control, check out our guide on Organic Pest Control for Gardens.
Nutrient Deficiencies
Yellowing leaves or stunted growth can indicate a lack of nutrients, especially after true leaves appear. Solution: Begin feeding with a diluted, balanced liquid fertilizer (e.g., ¼ strength) every other watering. Remember, seed starting mixes have very few nutrients, so supplementation is essential for growing annuals from seed and other varieties.
Harden Off & Transplant Your Seedlings for Success
You’ve successfully nurtured your seedlings indoors, but simply moving them outside can be a shock. The crucial step of hardening off gradually acclimates them to outdoor conditions, ensuring a smooth transition and continued growth.
What is Hardening Off?
Hardening off is the process of slowly exposing your indoor-grown seedlings to outdoor elements like direct sunlight, wind, and fluctuating temperatures. This strengthens their cell walls and prepares them for the harsher environment of your garden bed or flower seeds for pots.
How to Harden Off Flower Seedlings
- Start Gradually: About 7-10 days before your intended transplant date, begin the hardening-off process. Choose a sheltered, shady spot outdoors.
- Short Exposures: On the first day, place your seedlings outside for just 1-2 hours.
- Increase Time and Exposure: Over the next week, gradually increase the time they spend outdoors each day. Slowly move them to brighter, more exposed locations.
- Reduce Water: As Colorado State University Extension advises, “reduce watering to a minimum as long as plants do not wilt” during this period. This encourages root development.
- Protect from Extremes: Bring seedlings indoors if temperatures drop below 50°F (10°C) or if severe weather is expected.
After about a week to ten days of this gradual exposure, your seedlings will be ready for their permanent outdoor home.
Transplanting Your Seedlings
Once hardened off, transplant your seedlings into your garden or larger containers. Choose a cloudy day or late afternoon to minimize transplant shock. Dig a hole slightly larger than the seedling’s root ball, gently remove the seedling from its tray, and place it in the hole.
Backfill with soil, gently firming around the base. Water immediately after transplanting to help settle the soil and reduce stress. Continue to monitor them closely for a few days, ensuring they stay adequately watered as they establish themselves.
DIY Seed Starting Mixes & Cost-Saving Tips
While commercial seed starting mixes are convenient, making your own can be a significant cost-saving tip and allows for customization. This is especially useful if you’re growing a large quantity of flowers from seed for beginners.
Components of a Good Seed Starting Mix
A quality mix needs excellent drainage, good aeration, and sufficient moisture retention without becoming waterlogged. Common ingredients include:
- Sphagnum Peat Moss or Coco Coir: Provides structure and moisture retention. Coco coir is a more sustainable alternative to peat moss.
- Perlite: White, lightweight volcanic rock that improves drainage and aeration.
- Vermiculite: A mineral that retains water and nutrients while providing aeration.
Simple DIY Seed Starting Mix Recipe
A popular and effective recipe for the best seed starting mix for flowers is:
- 2 parts sphagnum peat moss or coco coir
- 1 part perlite
- 1 part vermiculite
Mix these components thoroughly, adding a little water to moisten the blend. This creates a light, fluffy, and sterile medium perfect for tiny roots. Remember, this mix contains very few nutrients, so plan to fertilize your seedlings once they develop true leaves.
Repurposing Containers for Seed Starting
Don’t rush to buy expensive seed starting kits when many household items can be repurposed. Yogurt cups, plastic take-out containers (with drainage holes added), toilet paper rolls, or even egg cartons can serve as excellent, free seed starting containers.
Just ensure they are clean and have adequate drainage. This simple act of repurposing not only saves money but also reduces waste, aligning with sustainable flower gardening tips.
Frequently Asked Questions
Is it hard to grow flowers from seeds?
No, growing flowers from seeds is generally not hard, especially for beginners who choose easy-to-grow varieties like zinnias or marigolds. The key is understanding basic needs like light, moisture, and temperature, and following a few simple steps. Many find it a very rewarding and accessible gardening activity.
What is the easiest flower to grow from seed?
The easiest flowers to grow from seed for beginners typically include Zinnias, Marigolds, Sunflowers, and Cosmos. These varieties germinate quickly, grow vigorously, and are forgiving of minor gardening errors, providing beautiful blooms with minimal fuss. They offer a high success rate and are fantastic for building confidence.
How do you start flower seeds for beginners?
To start flower seeds for beginners, begin with sterile seed starting mix in containers with drainage. Plant seeds at the depth recommended on the packet, provide consistent moisture, and ensure adequate warmth for germination. Once sprouted, give them plenty of light from a grow lamp to prevent legginess, and gradually acclimate them to outdoor conditions before transplanting.
What month do you plant flower seeds?
The best month to plant flower seeds depends on your local climate and whether you are starting them indoors or direct sowing. For indoor starting, many annual flowers are planted 6-8 weeks before your last expected spring frost date. Direct sowing occurs after all danger of frost has passed and the soil has warmed. Always check your specific seed packet for precise timing based on your region.
Embarking on the journey of growing flowers from seed for beginners is an incredibly satisfying way to connect with nature and beautify your surroundings. By following these expert tips, from selecting the easiest flower to grow from seed to mastering how to harden off flower seedlings, you’re well-equipped for success. Don’t hesitate to experiment with different flower seeds for pots or garden beds, and watch your confidence, and your garden, bloom.