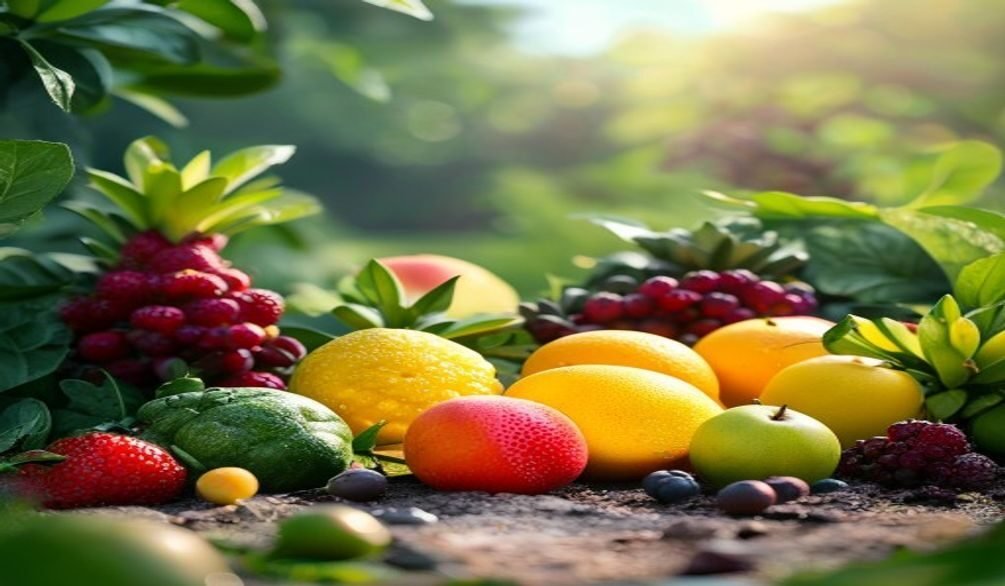
Are you dreaming of a bountiful vegetable garden, but your local climate or short growing season seems to stand in the way? The secret to getting a major head start on your gardening year is successful seed starting for vegetables indoors. This practice empowers you to cultivate robust, healthy plants long before the last frost, giving your garden a significant advantage and allowing you to grow unique varieties not found in garden centers.
Why Start Vegetable Seeds Indoors?
Starting vegetable seeds indoors offers numerous compelling benefits that can transform your gardening success. The most immediate advantage is gaining a crucial head start on the growing season, especially in regions with short summers or unpredictable spring weather. As Aaron Steil, consumer horticulture specialist with Iowa State University Extension and Outreach, aptly puts it, “It’s fun to get a head start on the upcoming garden season by starting seedlings indoors.”
Beyond extending your season, indoor seed starting provides greater control over your plants’ early development. You can protect delicate young seedlings from harsh outdoor elements, pests, and diseases during their most vulnerable stage. This controlled environment leads to stronger, healthier plants ready for transplanting.
Another significant benefit is the expanded choice of varieties. Garden centers typically stock only a limited selection of common transplants. By starting from seed, you gain access to thousands of unique and heirloom varieties that might be better suited to your local conditions or personal taste. Carri Jagger, Ohio State Extension agriculture and natural resources educator, highlights this, stating, “One of the benefits of starting your own seeds is you can pick varieties that you like or that they might not carry at the garden center.”
Finally, there’s the potential for cost savings. While there’s an initial investment in supplies, growing your own plants from seed can be significantly cheaper than buying individual transplants, especially if you’re planting a large garden. We’ll delve into the cost-effectiveness later, but the ability to produce dozens of plants for the price of a few store-bought ones is a strong motivator for many gardeners.
What Vegetables Should You Start Indoors?
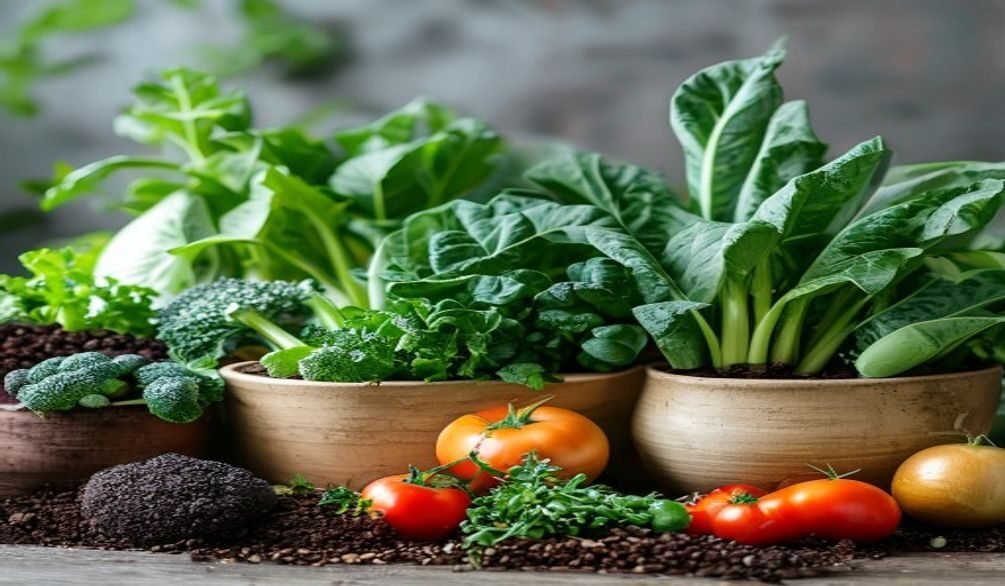
Not all vegetables benefit equally from indoor seed starting. Generally, warm-season crops that require a long growing season or are sensitive to frost are ideal candidates for an indoor head start. Tomatoes, for instance, are the most popular homegrown vegetable, found in 86% of food gardens, and they thrive when started indoors.
Here’s a breakdown of common vegetables that are excellent for indoor seed starting:
- Long-Season Crops: Tomatoes, peppers (sweet and hot), eggplants, and artichokes need many weeks to mature, making indoor starting almost essential in most climates.
- Slow Germinators: Parsley, celery, and onions can take a long time to sprout, so getting them going indoors saves valuable garden time.
- Delicate Transplants: Broccoli, cabbage, cauliflower, and other brassicas benefit from a protected start to develop strong root systems before facing the outdoors.
- Herbs: Basil, oregano, and thyme are often started indoors, especially if you plan to move them to an outdoor herb garden later.
Some vegetables, like corn, beans, peas, and root crops (carrots, radishes, beets), prefer to be direct-sown into the garden. Their root systems are sensitive to disturbance, or they simply grow quickly enough outdoors that an indoor start isn’t necessary.
Step-by-Step Guide: How to Start Vegetable Seeds Indoors
Successfully starting vegetable seeds indoors is a rewarding process that follows a clear sequence. By paying attention to each stage, you’ll maximize your chances of growing strong, healthy seedlings.
Choosing Your Seeds and Seed Starting Mix
The journey begins with quality seeds. Select varieties known to perform well in your climate and consider if you want conventional, organic, or organic heirloom varieties for unique flavors and traits. For your growing medium, always use a specialized seed starting mix, not garden soil. These mixes are sterile, lightweight, and designed for optimal drainage and aeration, preventing diseases like damping off and ensuring tiny roots can easily establish.
Preparing Your Trays and Planting
Fill your clean seed trays or pots with the moistened seed starting mix, gently tamping it down to remove large air pockets. Follow the seed packet instructions for planting depth and spacing. A good rule of thumb is to plant seeds at a depth roughly two to three times their diameter. Smaller seeds can often be surface-sown and lightly covered with a thin layer of mix.
Watering and Providing Warmth for Germination
After planting, lightly water your trays, ideally from the bottom, to avoid disturbing the seeds. Covering the trays with a clear dome or plastic wrap helps maintain consistent humidity, crucial for germination. Many seeds, especially warm-season crops, benefit greatly from bottom heat. Anna Ohler, owner of Bright Lane Gardens, emphasizes, “A heat mat gives gentle bottom heat to your seed trays, which speeds up germination and increases your success rate, especially for warm-season crops like tomatoes, peppers, and basil.”
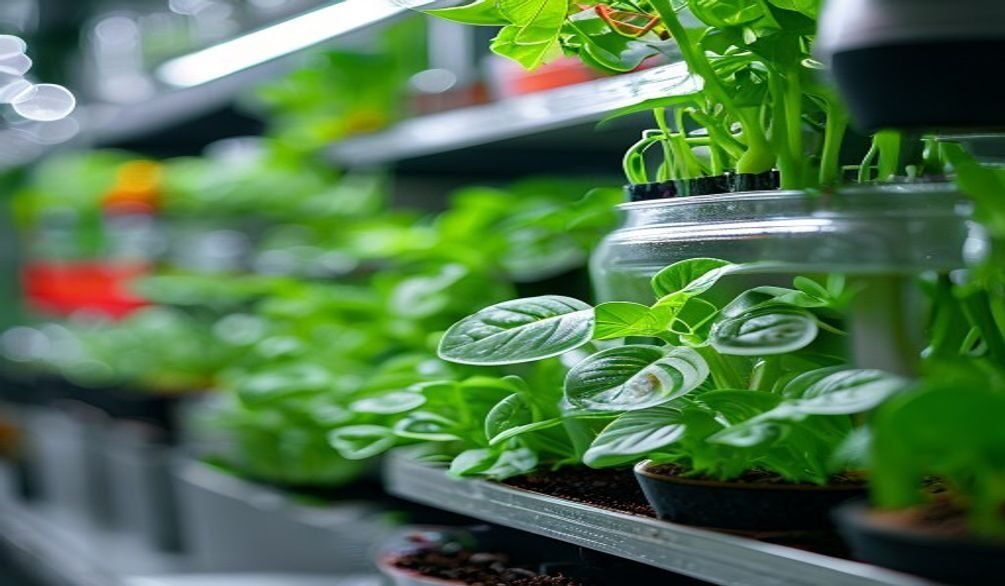
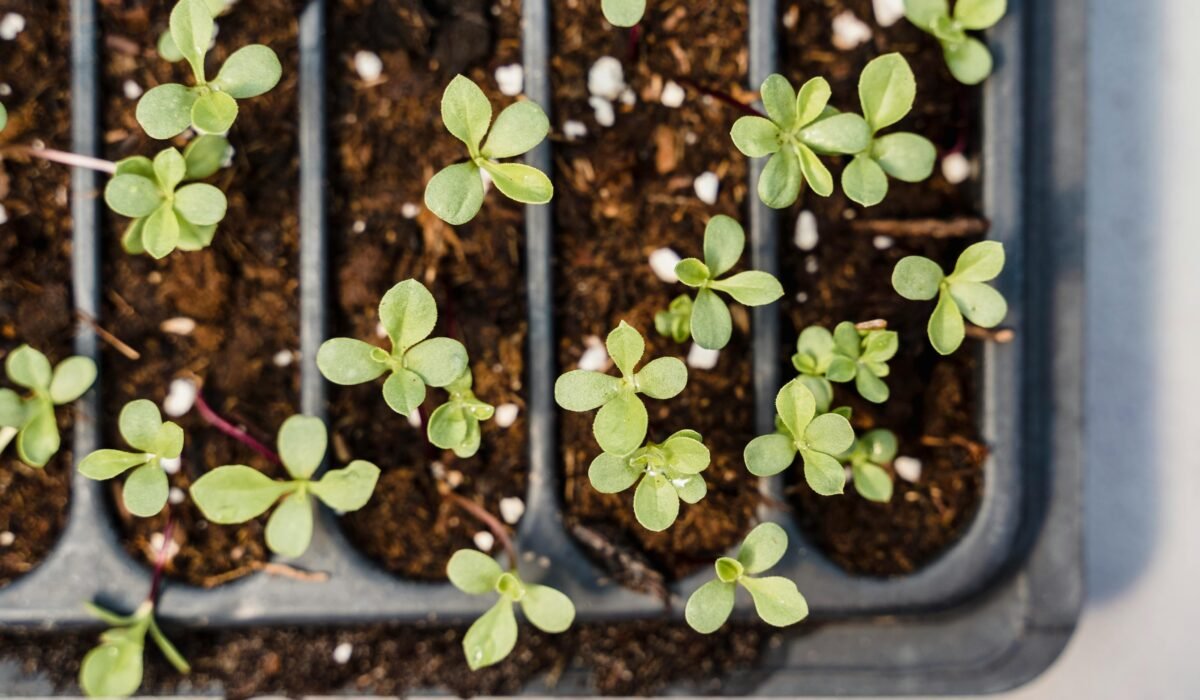
Ensuring Adequate Light After Sprouting
Once your seeds sprout, immediately remove the humidity dome and provide ample light. This is where grow lights for seedlings become indispensable. Without sufficient light, seedlings will quickly become “leggy”—tall, spindly, and weak. Carri Jagger advises keeping grow lights “almost touching the seedlings” (within 2-4 inches) to prevent this issue. Aim for 12-16 hours of light per day.
Essential Supplies for Successful Indoor Seed Starting
Equipping yourself with the right tools is key to a smooth and successful indoor seed starting experience. While you can certainly start with a DIY seed starting setup, investing in quality supplies will pay off in healthier seedlings.
- Seed Trays and Pots: Look for durable, reusable trays like those from Bootstrap Farmer (e.g., 1020 Extra Strength Trays) or biodegradable options such as peat pots from Jiffy. Consider trays with drainage holes and a corresponding drip tray.
- Seed Starting Mix: As mentioned, a sterile, fine-textured mix is crucial. Brands like Espoma or FoxFarm offer excellent options. This is vital for healthy root development and disease prevention.
- Heat Mats: For consistent bottom heat, a waterproof heat mat is a game-changer, especially for warm-season crops like peppers and tomatoes. VIVOSUN and Super Sprouter offer reliable heated kits.
- Grow Lights: This is arguably the most critical investment. Full-spectrum LED grow lights, T5 high-output light bars, or LED strips work well. Brands like Mars Hydro, Spider Farmer, Feit Electric, and VIVOSUN are popular choices. For more in-depth guidance, check out our guide on Best Grow Lights for Indoor Plants: Expert Guide.
- Humidity Domes: Clear plastic covers that fit over your seed trays help maintain the high humidity needed for germination.
- Watering Can/Spray Bottle: A gentle watering method prevents dislodging tiny seeds or delicate sprouts. A small watering can with a fine rose or a spray bottle is ideal.
- Labels: Don’t underestimate the importance of labeling! Knowing what you’ve planted and when is essential.
- Fan: A small oscillating fan running on low for a few hours daily helps strengthen seedling stems and improves air circulation, which can prevent fungal issues.
You can find many of these items bundled in convenient seed starting kits from brands like Burpee or Gardzen, which can be a good option for beginners.
When to Start Seeds Indoors: Your Seed Starting Calendar
Timing is everything when it comes to indoor seed starting. Starting too early can result in oversized, leggy plants that are difficult to manage, while starting too late can negate the benefits of an indoor head start. Your last average frost date is the single most important piece of information for planning your seed starting calendar.
Using Your Last Frost Date
Most seed packets provide guidance on when to start seeds indoors relative to your last frost date (e.g., “6-8 weeks before last frost”). You’ll need to know your specific USDA Plant Hardiness Zone and find your local last frost date. Many online resources and university extension sites (like the University of Minnesota Extension) offer tools to find this information.
Here’s a general guide for when to start seeds indoors chart:
- 10-12 Weeks Before Last Frost: Onions, leeks, parsley, celery, peppers, eggplants. These are often slow to germinate and grow.
- 6-8 Weeks Before Last Frost: Tomatoes, broccoli, cabbage, cauliflower, kale, collards, Swiss chard, most herbs (basil, oregano). This is the busiest starting period for many gardeners.
- 4-6 Weeks Before Last Frost: Lettuce, spinach, marigolds, zinnias (if you want an early bloom).
Remember, these are guidelines. Factors like your specific climate (e.g., very short growing seasons), the variety of seed, and your indoor growing conditions can influence exact timing. Always consult your seed packets for the most accurate information.
Advanced Techniques & Troubleshooting for Indoor Seedlings
Once you’ve mastered the basics, you can refine your indoor seed starting process with advanced techniques and learn to troubleshoot common issues. This extra knowledge helps you grow truly robust seedlings.
Boosting Germination: Scarification and Stratification
Some seeds, particularly those with hard coats or that mimic winter dormancy, benefit from special treatments to encourage germination. Scarification involves physically nicking or scratching the seed coat to allow water penetration. Stratification mimics a cold, moist period, often achieved by placing seeds in a damp paper towel in the refrigerator for several weeks. These techniques are less common for standard vegetables but are invaluable for certain herbs or native plants.
Addressing Common Seedling Problems
Even with the best intentions, you might encounter issues. Here’s how to tackle them:
- Leggy Seedlings: This is the most common problem and indicates insufficient light. The solution is to move your grow lights closer to the seedlings (2-4 inches above the plant tops) and ensure they run for 12-16 hours daily. A small fan can also help strengthen stems.
- Damping Off: A fungal disease where young seedlings suddenly collapse at the soil line. It’s caused by overly wet conditions, poor air circulation, or non-sterile soil. Prevent it by using sterile seed starting mix, avoiding overwatering, ensuring good airflow (use a fan!), and cleaning all equipment.
- Yellowing Leaves: Often a sign of nutrient deficiency (if true leaves are affected) or overwatering. Ensure your seedlings are getting appropriate light and consider a very dilute, balanced liquid fertilizer once they develop their first true leaves. Check soil moisture levels carefully.
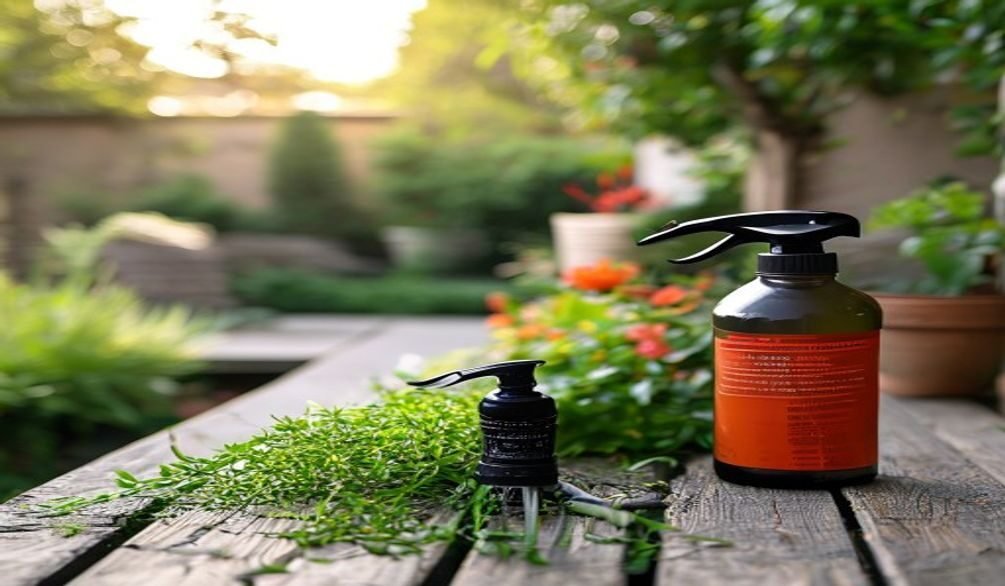
- Fungus Gnats: These tiny, annoying flies are attracted to moist soil and decaying organic matter. While adult gnats are mostly a nuisance, their larvae can feed on delicate roots. Control them by letting the top layer of soil dry out between waterings, using sticky traps for adults, or applying beneficial nematodes or Bacillus thuringiensis israelensis (BTI) if the problem persists. For broader pest control, our guide on How to Stop Aphids Organically: Identify, Treat, Prevent offers useful organic strategies.
Is Starting Your Own Seeds Cost-Effective?
Many gardeners are drawn to indoor seed starting with the promise of significant savings, and for the most part, this holds true. The short answer is, yes, starting your own seeds can be very cost-effective, especially over multiple growing seasons.
Consider the initial investment: seed trays, a good quality seed starting mix, a heat mat, and especially grow lights. These can add up. For example, a quality full-spectrum LED grow light might cost $50-$200. However, these are largely one-time purchases that will last for many years. Once you have the equipment, the annual cost of seeds is minimal. A packet of 20-50 tomato seeds costs a few dollars, whereas a single tomato transplant from a nursery can cost $3-$5.
If you plan to grow a dozen tomato plants, a dozen pepper plants, and several brassicas, buying those transplants individually could easily cost $50-$100 or more each season. With your indoor setup, you could produce hundreds of plants for a fraction of that cost, year after year. This cost-benefit analysis particularly appeals to budget-conscious gardeners, aligning with the trend of more households engaging in food gardening, which grew from 36 million to 42 million in five years.
Furthermore, the ability to grow specific heirloom varieties or organic seeds that might not be available as transplants adds immeasurable value beyond just monetary savings. It truly allows you to maximize your indoor garden head start.
Hardening Off & Transplanting Your Healthy Seedlings
The transition from the protected indoor environment to the harsh realities of the garden is a critical step that often determines the success of your seedlings. This process is called hardening off, and it’s essential for preventing transplant shock.
The Hardening Off Process
Hardening off involves gradually exposing your seedlings to outdoor conditions over 7-14 days. Start by placing them in a sheltered, shady spot outdoors for just a few hours on the first day. Each day, increase their exposure time and gradually introduce them to more sunlight and wind. Bring them indoors at night, especially if temperatures are still cool. This slow acclimation toughens their cell walls, making them more resilient to sun, wind, and temperature fluctuations. Without proper hardening off, even the healthiest indoor seedlings can wilt, burn, or die shortly after transplanting.
Transplanting Seedlings to the Garden
Once your seedlings are hardened off and all danger of frost has passed, it’s time for transplanting seedlings to their permanent home in the garden. Water your seedlings thoroughly a few hours before transplanting. Dig a hole slightly larger than the seedling’s root ball. Gently remove the seedling from its tray, being careful not to damage the roots. Place it in the hole, ensuring the soil line is at the same level as it was in the pot (or slightly deeper for tomatoes). Backfill the hole, gently firming the soil around the plant, and water immediately to help settle the soil and reduce transplant shock. UGA Cooperative Extension horticulture specialists, including Bodie Pennisi and Sheri Dorn, consistently provide expert advice on these crucial final steps for getting a head start.
Frequently Asked Questions
Is it worth starting vegetable seeds indoors?
Yes, it is definitely worth starting vegetable seeds indoors for many gardeners, especially for warm-season crops like tomatoes and peppers. This practice gives you a significant head start on the growing season, allows you to cultivate unique or heirloom varieties, and can be more cost-effective than buying individual transplants from a nursery, particularly for large gardens.
What vegetables should I start indoors?
You should start vegetables indoors that have a long growing season, are slow to germinate, or are sensitive to frost. Excellent choices include tomatoes, peppers, eggplants, broccoli, cabbage, and many herbs like basil. Crops like carrots, beans, and corn are generally better direct-sown into the garden.
How do you start seeds indoors for beginners?
For beginners, start by choosing a good quality seed starting mix and clean trays, then plant seeds according to packet instructions. Provide warmth with a heat mat for germination, then immediately move sprouted seedlings under bright grow lights for 12-16 hours daily to prevent legginess. Water gently and consistently, and ensure good air circulation to prevent diseases like damping off.
What month do you start seeds indoors?
The month you start seeds indoors depends primarily on your local last frost date and the specific vegetable you’re growing. Most warm-season vegetables like tomatoes and peppers are started 6-8 weeks before the last expected frost. Slower-growing crops like onions might be started 10-12 weeks out, while faster growers like lettuce might only need 4-6 weeks.
Embracing the practice of seed starting for vegetables indoors is a powerful way to take control of your garden and enjoy a longer, more abundant harvest. By following these expert tips, equipping yourself with the right supplies, and understanding the needs of your young plants, you’ll grow strong, healthy seedlings ready to thrive in your outdoor garden. Start your indoor garden journey today and experience the immense satisfaction of nurturing your vegetables from tiny seed to robust plant!