Are you tired of constantly hauling watering cans, only to find your precious terrace plants still thirsty or, worse, overwatered? Imagine a system that delivers the perfect amount of water directly to each plant, saving you time, effort, and precious water. That’s the magic of a **DIY Drip Irrigation Terrace Garden** system, and it’s far easier to set up than you might think!
Why DIY Drip Irrigation is Ideal for Terrace Gardens
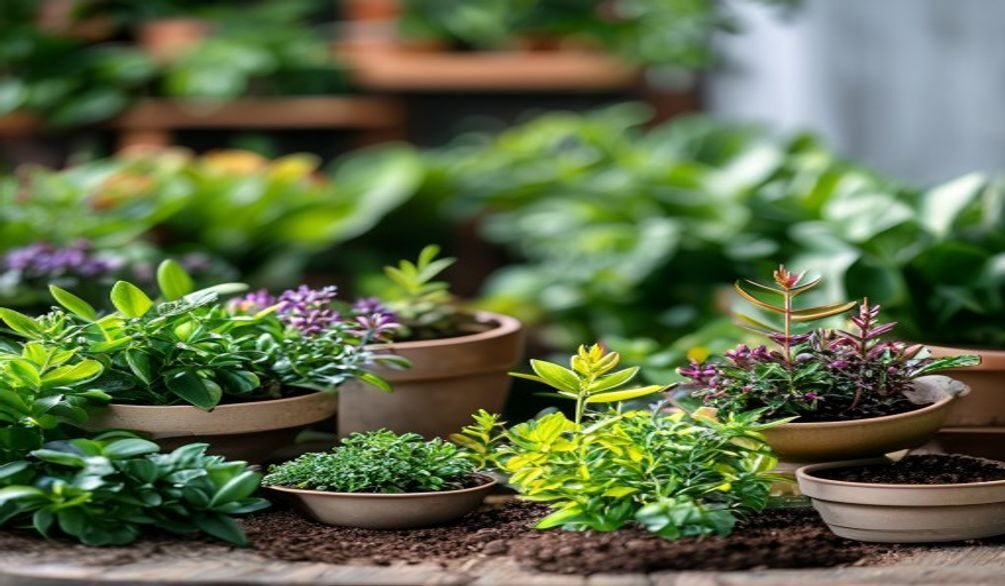
Terrace gardens, with their diverse array of container plants, raised beds, and sometimes even vertical setups, present unique watering challenges. Traditional methods often lead to wasted water, uneven distribution, and increased risk of plant diseases. This is where **DIY drip irrigation** shines, offering a remarkably efficient and sustainable solution.
Unmatched Water Efficiency
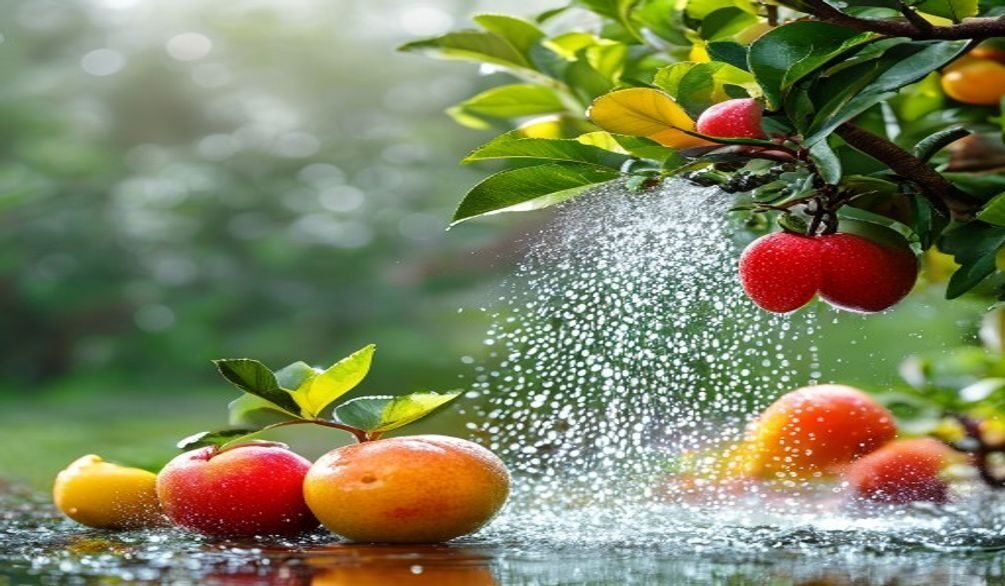
Drip irrigation is a game-changer for `water efficient gardening`, especially in urban settings where every drop counts. It delivers water slowly and directly to the plant’s root zone, minimizing evaporation, runoff, and overspray. This precision can slash your water usage by 30-70% compared to traditional watering methods, and in some cases, even up to 90%. Think of the savings on your water bill!
Healthier Plants, Bigger Harvests
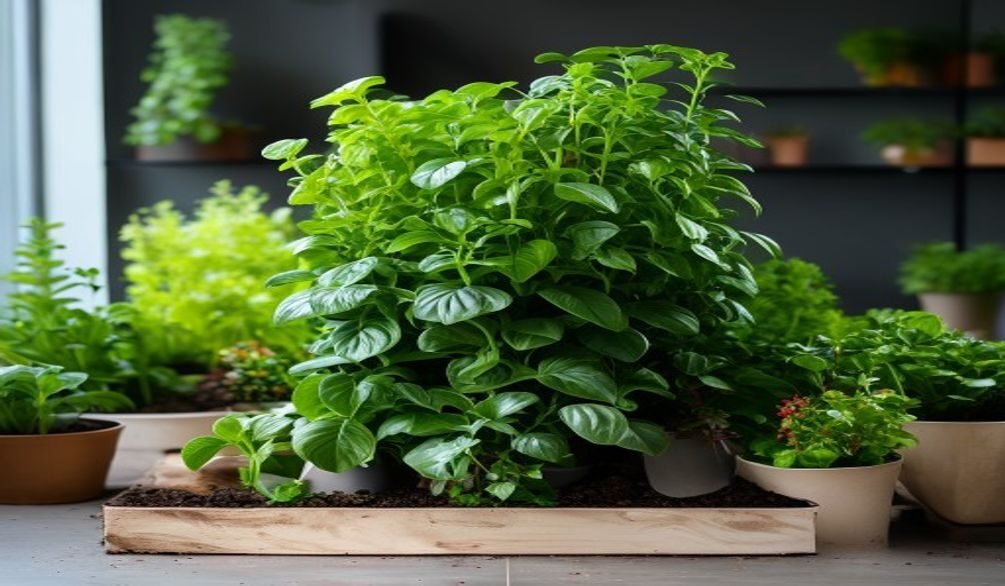
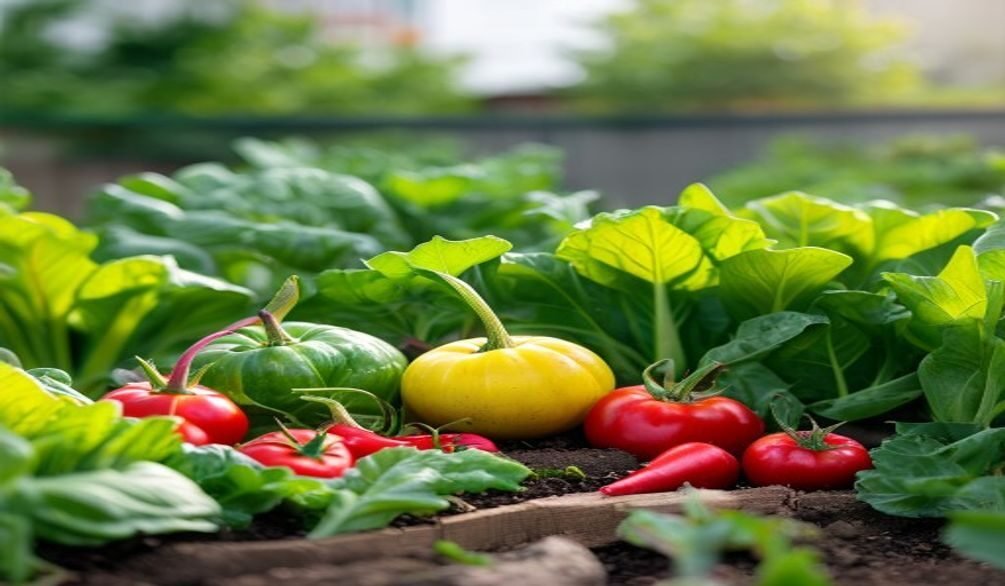
One of the biggest benefits of `container garden irrigation` with a drip system is the boost to `plant health watering`. By keeping foliage dry, you drastically reduce the risk of common fungal diseases like powdery mildew and blight, which thrive in wet leaf conditions. Direct root watering also helps plants absorb nutrients more effectively, leading to stronger growth and potentially higher yields, especially for vegetables and herbs.
Cost-Effective and Sustainable
Many people mistakenly believe drip irrigation is only for large farms or requires expensive professional installation. The truth is, a basic `DIY irrigation kit` for a terrace garden is incredibly affordable, often costing between $30 and $300. The initial investment is quickly offset by significant water savings, making it a highly sustainable terrace garden practice. Plus, quality components are built to last, often providing 10-15 years of reliable service.
Essential Components for Your Terrace Drip System
Building your own **DIY Drip Irrigation Terrace Garden** system involves a few key parts. Don’t be intimidated; these components are readily available and designed for easy assembly. Understanding each piece will help you tailor the perfect system for your `balcony plant watering` needs.
The Core Components You’ll Need
Here’s a breakdown of what you’ll typically find in a `diy irrigation kit` or buy individually:
- Water Source Connection: This is where your system begins. It could be a garden hose spigot or an outdoor faucet.
- Backflow Preventer: An essential safety device that stops irrigation water from flowing back into your drinking water supply.
- Pressure Regulator: Drip systems operate best at low pressures (usually 15-30 PSI). This component reduces your household water pressure to the ideal range, preventing blowouts and ensuring consistent flow.
- Filter: Small particles in your water can clog emitters. A filter (mesh or screen) prevents this, keeping your system running smoothly.
- Mainline Tubing (½” or ¾”): This is the backbone of your system, carrying water from the source to different areas of your terrace. It’s typically black, UV-resistant poly tubing.
- Micro Tubing (¼”): Smaller, more flexible tubing that branches off the mainline to individual plants.
- Emitters: These are the heart of the drip system, delivering water directly to the plant’s root zone. They come in various flow rates (e.g., ½ GPH, 1 GPH, 2 GPH) and types (e.g., pressure-compensating for even flow).
- Fittings: Connectors like tees, elbows, and couplings are used to run tubing around corners, split lines, and extend your system.
- End Caps/Flush Valves: Used to close off the ends of tubing lines and allow for periodic flushing to remove sediment.
- Stakes/Clamps: To secure tubing and emitters in place, especially for `container garden irrigation`.
My personal experience tells me that investing in quality UV-resistant tubing upfront really pays off, preventing brittle lines and leaks down the line.
Step-by-Step DIY Drip Installation for Beginners
Setting up your own **DIY Drip Irrigation Terrace Garden** system might seem daunting at first, but it’s surprisingly straightforward. You don’t need special skills or a garage full of tools. With a little planning and patience, you’ll have your `urban gardening tips` in action in no time.
Planning Your Layout
Before you start, take a moment to plan. Sketch out your terrace garden, noting where each plant and container is located. Think about your water source and how the mainline tubing will run. Consider the types of plants you have; thirsty plants might need more emitters or higher flow rates. This step is crucial for efficient `plant health watering`.
Installation Process: A Numbered Guide
- Connect to Water Source: Attach your backflow preventer, pressure regulator, and filter directly to your outdoor faucet or hose bib. Hand-tighten or use a wrench gently, avoiding overtightening.
- Lay Out Mainline Tubing: Roll out your ½” or ¾” mainline tubing according to your plan. You can use a utility knife or tubing cutter to cut it to length. Try to keep it as straight as possible, securing it with stakes if needed. Warm the tubing in the sun for a few minutes if it’s stiff; this makes it much easier to work with.
- Install Micro Tubing and Emitters: This is where the magic happens! Use a specialized tube punch (often the only specialized tool you’ll need) to create small holes in the mainline tubing where you want to branch off to individual plants. Insert a ¼” barbed connector into the hole, then run ¼” micro tubing from the connector to your plant. Attach an emitter to the end of the micro tubing and secure it near the plant’s root zone with a stake. For larger containers, you might use two emitters per plant or a drip ring.
- Connect All Fittings: Use barbed fittings (tees, elbows, couplings) to connect sections of mainline tubing, create branches, or navigate corners. For `balcony plant watering`, you might need more elbows to hug walls or railings.
- Flush the System: Before capping the ends, turn on the water briefly to flush out any debris that might have entered the lines during installation. This helps prevent clogged emitters down the line.
- Cap the Ends: Install end caps or flush valves at the end of each mainline tubing run.
- Test and Adjust: Turn on the water and carefully inspect your entire system. Check for leaks, ensure all emitters are dripping, and observe if plants are getting adequate water. Adjust emitter placement or add more if necessary.
What surprised me when I first installed my system was how quickly I got the hang of punching holes and inserting fittings. It’s very intuitive!
Automating Your Terrace Drip with Smart Technology
Once your basic **DIY Drip Irrigation Terrace Garden** is in place, the next logical step for many `urban gardening tips` enthusiasts is automation. Integrating smart technology can take your system from efficient to effortless, ensuring your plants get exactly what they need, even when you’re away.
The Power of Smart Controllers
Modern advancements have made `smart drip system` technology incredibly accessible. Smart irrigation controllers, also known as weather-based controllers, are a fantastic addition. These devices connect to your Wi-Fi and can automatically adjust watering schedules based on real-time weather data, historical patterns, and even local evapotranspiration rates. This means your system won’t water if it just rained, or if rain is expected, potentially reducing water usage by up to 30%. Many can be controlled directly from your smartphone, offering unparalleled convenience.
Integrating Sensors for Precision
For even greater precision, consider adding soil moisture sensors to your `container garden irrigation` setup. These sensors measure the moisture level in the soil and communicate with your smart controller, telling it to water only when the plants truly need it. This prevents both under-watering and wasteful over-watering, promoting optimal `plant health watering`. Some advanced systems, like those integrating AI-based monitoring, can even factor in specific crop needs.
Choosing the Right Smart Tech
When selecting a smart controller for your terrace, look for models that are easy to install, have a user-friendly app, and are compatible with the number of zones you need (even if it’s just one for a small terrace). Brands like Rachio, Orbit B-hyve, and Rain Bird offer excellent options for residential use. Remember, the goal is to make your `sustainable terrace garden` even more hands-off and water-wise.
Troubleshooting & Maintaining Your Drip System
Even the most well-designed **DIY Drip Irrigation Terrace Garden** system needs a little love and attention to keep running smoothly. Regular maintenance and knowing how to troubleshoot common issues will ensure your `water efficient gardening` efforts continue to pay off for years.
Common Issues and Quick Fixes
- Clogged Emitters: This is the most frequent problem. Sediment, mineral buildup, or algae can block the tiny openings.
- Fix: Regularly flush your system by opening the end caps. If an emitter is completely blocked, try cleaning it with a small brush or replacing it. Using a good filter at the start of your system is your best defense.
- Leaks: Small leaks can occur at connections or where tubing has been punctured.
- Fix: Check all connections and fittings. For small punctures in mainline tubing, you can use a repair coupling. Ensure all connections are snug but not overtightened.
- Uneven Water Distribution: Some plants get too much, others too little.
- Fix: This often relates to water pressure or emitter choice. Ensure your pressure regulator is working correctly. Consider using pressure-compensating emitters, especially if you have a long run of tubing or significant elevation changes between containers. For example, Irritec’s Armonia line offers excellent pressure-compensating dripline.
- Algae Growth in Exposed Tubing: While less common in black UV-resistant tubing, clear or lighter colored tubing can develop algae.
- Fix: Use opaque, UV-resistant tubing. If algae is present, flush the system thoroughly.
Seasonal Maintenance for Longevity
Regular checks are crucial. Inspect your system monthly during the growing season for any visible issues. Clean your filter regularly – a clogged filter is a common culprit for pressure drops.
Winterizing Your Terrace Drip System
For colder climates, proper winterization is key to the durability of your `DIY Drip Irrigation Terrace Garden`. Drain all water from the lines to prevent freezing and cracking. Disconnect the backflow preventer, pressure regulator, and filter, storing them indoors. For terrace gardens, you might move smaller containers indoors, or protect larger ones. If your system is modular, you can even disassemble and store sections of tubing. Colorado State University Extension provides excellent resources on proper drip system maintenance.
Advanced Tips for Unique Terrace & Container Setups
Your terrace garden is unique, and your **DIY Drip Irrigation Terrace Garden** system can be too! Let’s explore how to customize your setup for those challenging spaces and specific plant needs, going beyond the basic `balcony plant watering`.
Micro-Scale and Vertical Garden Solutions
For very small balconies or intricate `DIY Vertical Garden Systems`, routing tubing can be tricky. Consider using very thin ¼” micro tubing as your main line, or even running multiple ¼” lines directly from a multi-outlet manifold connected to your faucet. For vertical gardens, use small stakes or adhesive clips to secure tubing discreetly along the structure. If you’re growing different plants with varying water needs, such as a mix of herbs and flowers, consider creating separate zones with small shut-off valves for more precise control. For inspiration on space-saving, check out our guide on Best Space-Saving Plants for Urban Terrace Gardens.
Aesthetic Integration: Making it Blend In
Functionality doesn’t have to sacrifice beauty, especially in a visible `urban gardening tips` space.
- Color Coordination: While black tubing is standard, some manufacturers offer brown or even green options that might blend better with your pots or decking.
- Discreet Routing: Run tubing along the back edges of planters, under railings, or along the base of walls. Use tubing clips or small ties to keep lines tidy and out of sight.
- Concealed Emitters: Position emitters so they are hidden by foliage or tucked just under the rim of pots.
Fertigation for Container Plants
Integrating liquid fertilizers into your `container garden irrigation` system, known as fertigation, is a powerful way to deliver nutrients directly to your plants. For a DIY terrace system, a simple siphon mixer or a small, inexpensive inline fertilizer injector (often called a “fertigation injector”) can be added after your backflow preventer and filter. Always use water-soluble fertilizers designed for drip systems to prevent clogging, and follow product instructions carefully. This method ensures consistent feeding for robust `plant health watering`. For growing culinary herbs in pots, which often benefit from regular feeding, this can be particularly effective. Learn more about optimal growth in our guide on Growing Culinary Herbs in Pots: Your Guide to Container Success.
Frequently Asked Questions
How much water can I realistically save by installing a DIY drip irrigation system on my terrace?
You can expect significant savings, typically between 30% and 70% compared to traditional hand watering or sprinklers. Some highly efficient systems can even achieve up to 90% water reduction. This is because drip irrigation delivers water precisely to the plant’s root zone, minimizing evaporation and runoff.
What are the essential components needed for a basic DIY drip irrigation setup for a terrace garden, and how difficult is the installation process for a beginner?
For a basic setup, you’ll need a water source connection, backflow preventer, pressure regulator, filter, mainline tubing, micro tubing, emitters, and various fittings. Installation is surprisingly easy for beginners. Most `DIY irrigation kit`s come with clear instructions, and the only specialized tool often required is a simple tube punch. It’s more about careful planning and simple assembly than complex skills.
How do I prevent common issues like clogged emitters or uneven water distribution in a terrace garden drip system?
To prevent clogs, always install a filter at the beginning of your system and clean it regularly. Periodically flush your lines by opening the end caps to remove sediment. For uneven distribution, ensure your pressure regulator is set correctly (typically 15-30 PSI) and consider using pressure-compensating emitters, which deliver a consistent flow regardless of pressure variations in the line.
Can I automate my DIY drip irrigation system for hands-free watering, and what smart controller options are best for small-scale terrace gardens?
Absolutely! Automating your `DIY Drip Irrigation Terrace Garden` is one of its biggest advantages. You can use a simple battery-operated timer or upgrade to a `smart drip system` controller. For small-scale terrace gardens, look for Wi-Fi-enabled smart controllers like those from Rachio, Orbit B-hyve, or Rain Bird. These often connect to weather data, adjusting watering schedules automatically, and can be controlled via your smartphone. Utah State University Extension offers more insights into efficient irrigation practices.
Embracing a **DIY Drip Irrigation Terrace Garden** is a smart move for any urban gardener. It’s an investment in `water efficient gardening`, healthier plants, and more leisure time for you. Whether you start with a simple kit or dive into smart automation, you’ll quickly discover the profound benefits of this sustainable approach. So, gather your components, follow these steps, and watch your terrace garden thrive with minimal effort!