Have you ever diligently nurtured herb seedlings indoors, only to watch them wilt, wither, or even die shortly after moving them outside? It’s a heartbreaking experience many gardeners face, and the culprit is often a missed but crucial step: hardening off herb seedlings. This vital transition period prepares your tender young plants for the harsh realities of the outdoor world, ensuring they thrive instead of merely survive.
Why Hardening Off is Essential for Herb Seedlings
Imagine living in a cozy, climate-controlled home your entire life, then suddenly being dropped into a wilderness with scorching sun, strong winds, and fluctuating temperatures. That’s essentially what happens to your indoor-grown herb seedlings if you skip hardening off.
Indoor environments are stable: consistent temperatures, gentle light, high humidity, and no wind. Outdoors, it’s a completely different story. Direct sunlight is far more intense, winds can physically damage delicate stems, and humidity levels are much lower. Without proper preparation, your plants suffer from what gardeners call “transplant shock.”
This shock isn’t just a temporary wilt. It can manifest as sunburned leaves, stunted growth, or even outright death. Hardening off is your primary transplant shock prevention strategy, building your seedlings’ resilience before they face the elements.
The process causes crucial physiological changes in the plants. Their cell walls thicken, leaf cuticles become tougher, and they develop stronger root systems. They even reduce the amount of freeze-prone water in their tissues, making them more robust. It’s truly amazing how plants adapt when given the chance!
When and How Long to Harden Off Your Herbs
Timing is everything when it comes to acclimating seedlings to outdoors. Generally, you want to start the hardening off process about 7 to 14 days before your region’s last expected frost date. This gives your herbs enough time to adjust without being rushed.
The ideal time to begin is when outdoor daytime temperatures consistently stay above 50°F (10°C). However, don’t just look at the daytime high; nighttime temperatures are equally important, especially for tender herbs.
While 7-14 days is the standard, some gardeners, myself included, have found that flexibility is key. If you have particularly tender herbs or live in an area with unpredictable spring weather, extending the process to two or even three weeks can be beneficial. On the flip side, some experienced growers advocate for an expedited 5-7 day process, especially if you can start on a cloudy, mild day.
Ultimately, your local weather conditions should dictate your exact schedule. Keep an eye on the forecast – it’s your best friend for successful herb garden preparation.
A Step-by-Step Hardening Off Schedule
This gradual introduction is the core of successful seedling care outdoor. Here’s a typical 7-10 day schedule to guide you, but remember to adjust based on your specific herbs and weather:
- Day 1-2: Shade & Shelter. Choose a sheltered spot outdoors, like under a porch, a large tree, or even a patio table, where your seedlings will be protected from direct sun and strong winds. Place them out for 1-3 hours on the first day, then bring them back inside. On Day 2, increase this to 2-4 hours.
- Day 3-4: Partial Sun. Move your seedlings to a location that receives 2-3 hours of morning sun, still sheltered from harsh winds. Increase their outdoor time to 4-6 hours. Gradually expose them to a bit more light, but avoid intense afternoon sun.
- Day 5-6: Increased Sun & Time. Your herbs are getting tougher! Increase their direct sun exposure to 4-6 hours, still aiming for morning sun if possible. Keep them out for 6-8 hours.
- Day 7-8: All Day Outdoors. If temperatures are consistently above your herbs’ minimum threshold (we’ll cover this next!), you can leave them out all day in their final planting location. Continue to bring them in at night.
- Day 9-10: Overnight Exposure. This is the final test! If there’s no risk of frost, leave your herbs out overnight. Check on them in the morning to ensure they handled the temperature drop well. If they look good, they’re ready for permanent transplanting.
Watering and Fertilizing During Hardening Off
During this period, gradually reduce your watering frequency. You want to slightly stress the plants to encourage deeper root growth, but never let them completely wilt. I usually aim for the soil to dry out a bit more between waterings than I would indoors.
Avoid fertilizing your herbs during hardening off. The goal is to toughen them up, not encourage lush, tender new growth that will be more susceptible to shock. You can resume a regular feeding schedule once they are established in their permanent outdoor home.
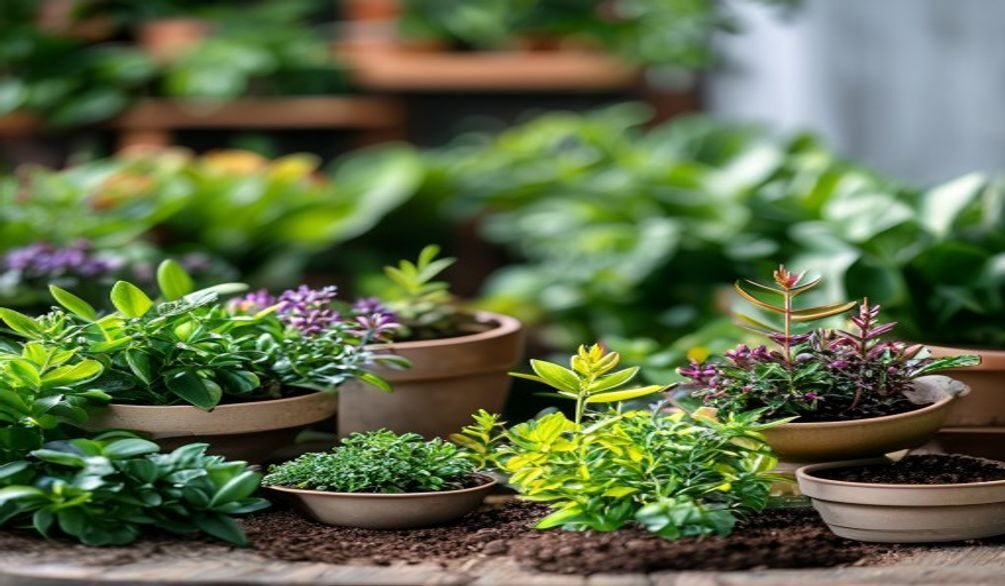
Temperature Guidelines for Different Herb Types
Not all herbs are created equal when it comes to cold tolerance. Understanding these differences is crucial for successful outdoor plant preparation. What surprised me when I first started was how varied the needs could be!
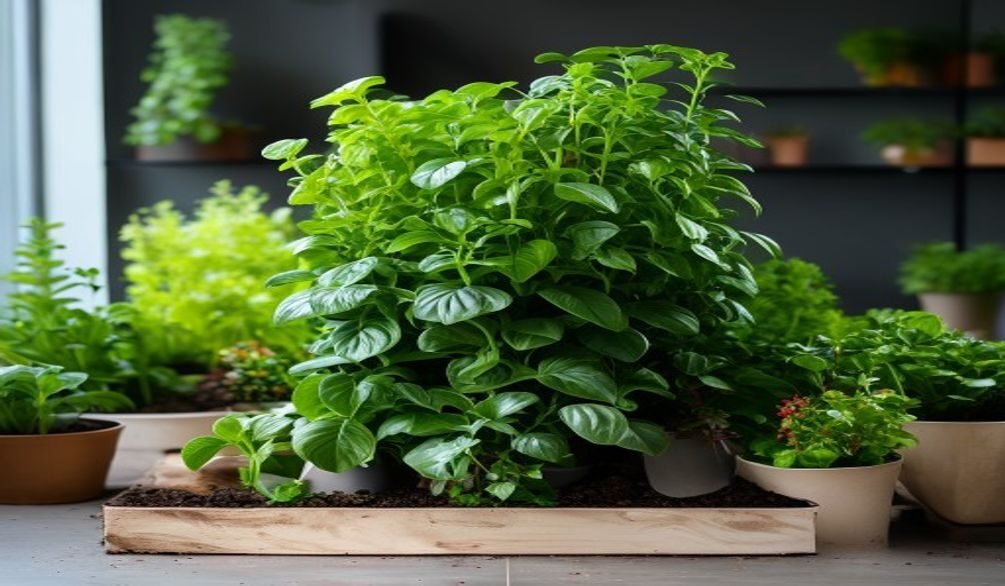
- Warm-Season Herbs (Very Tender): These are your sun-loving, heat-seeking herbs that absolutely despise cold. Think basil hardening off, along with cilantro, dill, and stevia. For these, ensure nighttime temperatures consistently stay above 50°F (10°C), ideally closer to 60°F (15°C), before you even start the hardening off process, and especially before leaving them out overnight.
- Cool-Season Herbs (Moderately Hardy): This group includes many popular herbs like parsley, chives, mint, and most varieties of sage and thyme. They can tolerate slightly cooler conditions. You can generally start hardening them off when daytime temperatures are above 50°F (10°C) and nighttime temperatures remain above 45°F (7°C).
- Hardy Herbs (Tolerant): Herbs like rosemary, lavender, oregano, and chives (once established) are more robust. They can often handle temperatures dipping into the low 40s°F (4-9°C) during hardening off, and even a light frost once fully acclimated.
Always check the specific needs of your herb varieties. A quick search for “[herb name] cold tolerance” will give you valuable information. If in doubt, err on the side of caution and keep tender herbs protected.
Common Hardening Off Mistakes & Troubleshooting
Even with the best intentions, things can go wrong. Recognizing common missteps and knowing how to troubleshoot can save your precious herbs. We’ve all been there, pushing our plants a little too fast!
Mistakes to Avoid:
- Skipping Hardening Off Entirely: This is the biggest mistake and almost guarantees severe transplant shock. Your plants will likely wilt dramatically, leaves will scorch, and growth will stall.
- Too Much, Too Soon: Don’t place seedlings directly into full, intense sun for hours on day one. This sudden exposure can cause irreversible sunburn, leaving white or brown patches on leaves.
- Ignoring Temperature Swings: Unexpected cold snaps or sudden heatwaves can be detrimental. Always check the forecast and bring tender plants indoors if extreme weather is predicted.
- Over or Under Watering: While you’re reducing watering frequency, don’t let the soil become bone dry, causing wilting. Conversely, constantly soggy soil can lead to root rot.
- Fertilizing During Hardening Off: As mentioned, this encourages tender growth that will only be more susceptible to outdoor stress.
Troubleshooting Stress Symptoms:
- Wilting: If your plants wilt, it’s often a sign of too much sun, wind, or insufficient water. Move them back to a shadier, more sheltered spot and water thoroughly if the soil is dry.
- Sunburn (White/Brown Patches): This means too much direct sun too quickly. Move to a shadier spot. The damaged leaves won’t recover, but new growth should be healthy.
- Purple Leaves: This usually indicates cold stress, especially in warm-season herbs like basil. Bring them indoors or protect them with a cloche or cold frame hardening off setup until temperatures rise.
- Yellowing Leaves: While sometimes a sign of nutrient deficiency, during hardening off, it can indicate general stress or overwatering. Check soil moisture and ensure proper drainage.
If your seedlings show signs of stress, don’t panic. Simply backtrack a step or two in your hardening off schedule and give them more time to recover before pushing forward again.
Beyond Hardening: Post-Transplant Care for Herbs
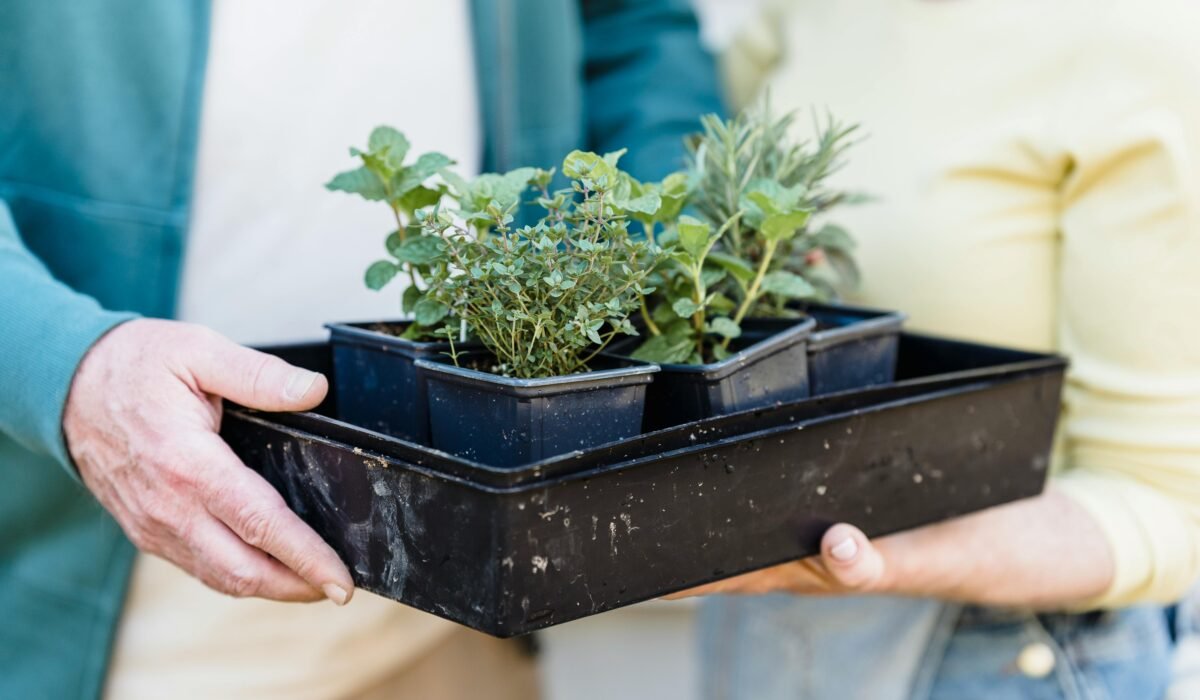
Congratulations! Your herbs have successfully completed their hardening off journey and are ready for their permanent outdoor home. But the care doesn’t stop there. The first few days after transplanting are still critical for long-term success.
When you transplant, try to do so on a cloudy day or in the late afternoon. This reduces immediate stress from intense sun. Gently remove your herbs from their containers, disturbing the roots as little as possible. Plant them at the same depth they were growing in their pots.
Immediately after transplanting, give your herbs a good, thorough watering. This helps settle the soil around the roots and provides much-needed moisture. For the first week or so, keep a close eye on their moisture levels; they might need more frequent watering as they adjust to their new environment, especially if it’s warm and sunny.
If, despite your best efforts, some transplant shock still occurs (a little wilting is normal initially), provide temporary shade for a few days. You can use an old bedsheet, an umbrella, or even a piece of cardboard to shield them from the harshest afternoon sun. Once they perk up, you can remove the shade.
After a week or two, once your herbs show signs of new growth, you can begin a regular feeding schedule. Consider using a balanced, organic fertilizer, or enrich your soil with compost. For more specific advice on nurturing your herbs, check out our guide on Growing Culinary Herbs in Pots.
Frequently Asked Questions
How long does it take to harden off seedlings?
Most sources recommend a period of 7 to 14 days for hardening off seedlings. However, this can vary based on the tenderness of the plant and your local weather conditions, with some gardeners opting for a quicker 5-day process or a longer 2-3 week transition for very sensitive plants or unpredictable climates.
What happens if I don’t harden off my seedlings?
Skipping the hardening off process can lead to severe transplant shock. Your seedlings, accustomed to stable indoor conditions, will be overwhelmed by direct sunlight, wind, and temperature fluctuations. This often results in sunburned leaves, wilting, stunted growth, and in many cases, the death of the plant.
When is the best time to start hardening off my herb seedlings?
It’s generally best to start hardening off your herb seedlings 1 to 2 weeks before your area’s last expected frost date. Crucially, outdoor daytime temperatures should be consistently above 50°F (10°C), and for warm-season herbs like basil, nighttime temperatures should also be above 50-60°F (10-15°C).
Do all seedlings, including those bought from a nursery, need to be hardened off?
Yes, almost all seedlings, even those purchased from a nursery, benefit from hardening off. Nursery plants are typically grown in protected greenhouse environments and haven’t been exposed to the full range of outdoor elements. Always assume a plant needs acclimation unless you know it was grown outdoors in similar conditions to your garden.
Mastering the art of hardening off herb seedlings is a game-changer for any gardener. It transforms your delicate indoor starts into robust, outdoor-ready plants, ready to provide you with fresh flavors all season long. By taking a little extra time and patience with this crucial step, you’re not just moving plants; you’re building their strength and setting them up for a lifetime of success in your garden. So go ahead, give your herbs the gentle transition they deserve, and watch them flourish!