Are you dreaming of fresh basil on your pasta, fragrant mint in your tea, or homegrown dill for your pickles, but feel overwhelmed by the idea of starting from scratch? You’re not alone, and this comprehensive guide on growing herbs from seed for beginners will equip you with everything you need to transform tiny seeds into a thriving herb garden, even if you’ve never gardled a day in your life.
Why Grow Herbs from Seed? Your Beginner’s Advantage
Starting herbs from seed might seem like an extra step, but it offers significant benefits for the home gardener. It’s not just about saving money; it’s about control, variety, and the immense satisfaction of nurturing life from a tiny speck. With 55% of American households engaging in gardening, according to recent data, there’s a widespread desire to connect with nature and grow food.
When you grow from seed, you gain access to a far wider selection of varieties than you’d ever find as established plants at a nursery. This means you can experiment with unique flavors and find herbs perfectly suited to your local climate or specific culinary needs. Plus, you have complete control over their environment from day one, allowing you to choose `organic herb seeds` and avoid pesticides, ensuring your kitchen herbs are as pure as possible. This aligns with the growing trend of 43% of Americans now growing some kind of food at home.
Choosing the Easiest Herbs to Grow from Seed for Beginners
For those just starting their journey of growing herbs from seed for beginners, selecting the right varieties is key to building confidence. Some herbs are incredibly forgiving and sprout readily, making them ideal candidates for your first planting. Focus on these `easiest herbs to grow from seed` to ensure a rewarding experience.
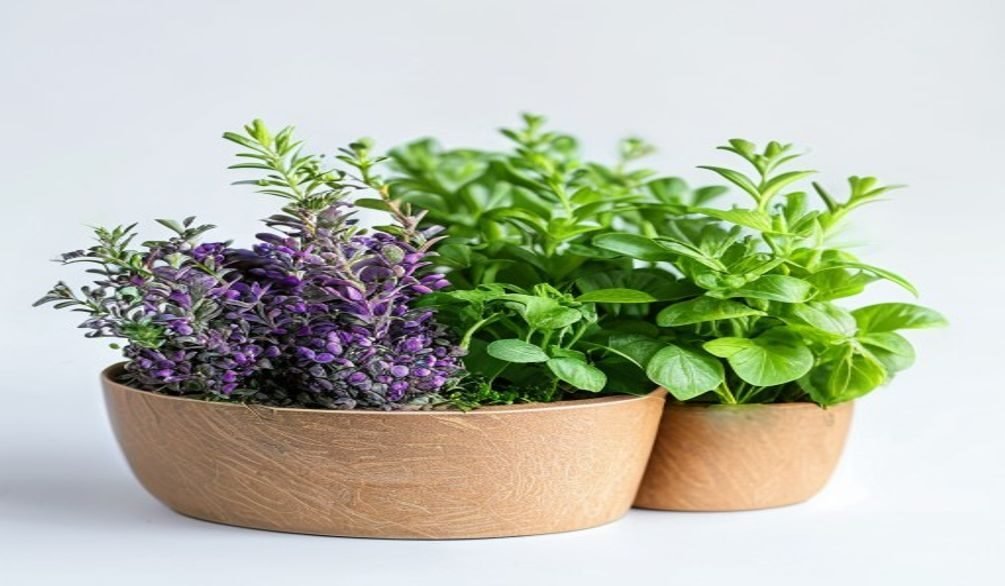
Here are some top picks for `culinary herbs from seed` that are known for their beginner-friendliness:
- Basil: Fast-growing and loves warmth. Varieties like Genovese, Thai, and Dwarf Greek are popular. To learn `how to start basil from seed`, remember it needs consistent warmth (around 70°F) and good light.
- Cilantro: Quick to sprout, though it can bolt (go to seed) in hot weather. Plant successions for a continuous harvest.
- Chives: These oniony herbs are robust and relatively fuss-free once established.
- Dill: Another quick grower, perfect for pickling and garnishes.
- Parsley: Can take a bit longer to germinate, but once it gets going, it’s a prolific producer.
- Mint: While easy from seed, be aware mint can be aggressive; consider growing it in containers to prevent it from taking over your garden.
What most people miss is that starting with these reliable varieties allows you to master the basics of seed starting before moving on to more temperamental herbs.
Essential Supplies for Starting Herb Seeds Successfully
Setting yourself up for success begins with gathering the right tools. You don’t need a professional greenhouse, but a few key items will make a world of difference for your `indoor herb garden setup`. Think of these as your basic toolkit for growing herbs from seed for beginners.
Here’s what you’ll need:
- Seed-Starting Trays or Pots: Clean containers with drainage holes are crucial. Reusable food-grade containers, specialized seed-starting flats, or peat pots all work well.
- High-Quality `Herb Seed Starting Mix`: This is not regular garden soil. As Nancy Kreith, Horticulture educator at Illinois Extension, recommends, use a “soil-less seed-starting mix that is peat or coir-based.” This fine, sterile mix provides the perfect balance of drainage and moisture retention without heavy nutrients that can harm delicate seedlings. Look for brands like Espoma or a similar fine-textured option.
- Grow Lights: Natural window light often isn’t enough, especially during shorter winter days. Michael, a horticulturist at UrbanGardenSeed.com, suggests that “a small $20 LED grow light will make a world of difference” if your kitchen is dark. LED grow lights are energy-efficient and provide the full spectrum of light your seedlings crave.
- Heat Mat (Optional but Recommended): Many herb seeds germinate faster and more consistently with bottom heat. This is particularly useful for herbs like basil that prefer warmer temperatures.
- Watering Can or Mister: A gentle watering method prevents dislodging tiny seeds or delicate seedlings.
- Labels: Essential for remembering what you planted where!
Choosing the `best seed starting mix for herbs` is paramount; a sterile, fine-textured medium prevents disease and allows tiny roots to establish easily.
Step-by-Step: Planting and Caring for Your Herb Seeds
With your supplies ready, it’s time to get your hands dirty! This section walks you through the practical steps of sowing and nurturing your herb seeds.
Preparing Your Seed-Starting Environment
First, consider `when to plant herb seeds indoors`. Most herbs benefit from an indoor start 4-6 weeks before your region’s last expected frost date, allowing them to establish robust root systems before transplanting. Fill your clean seed trays or pots with your chosen `herb seed starting mix`, moistening it thoroughly until it’s uniformly damp but not waterlogged.
Ensure your growing area maintains a consistent temperature. Jekka from Jekka’s Herbs stresses the importance of water, oxygen, light, temperature, and suitable soil. For many herbs, a room temperature of 65-75°F (18-24°C) is ideal, with some preferring slightly warmer conditions for `germination time herbs`.
Sowing Your Seeds
This is where the magic begins. Follow these steps for successful sowing:
- Read Seed Packets: Always check your seed packets for specific instructions on planting depth and spacing, as these can vary.
- Sow Thinly: Jekka advises sowing seeds thinly on the surface of damp compost. This prevents overcrowding, which can lead to weak seedlings and disease.
- Cover Lightly (or not at all): Most herb seeds need only a very thin layer of soil or perlite to cover them – usually 1/8 to 1/4 inch. Some, like lettuce or celery, even require light to germinate and should be left uncovered or just lightly pressed onto the surface.
- Gentle Watering: After sowing, gently mist the surface to settle the seeds. Avoid heavy watering, which can wash them away.
- Label Everything: Immediately label each tray or pot with the herb name and date planted.
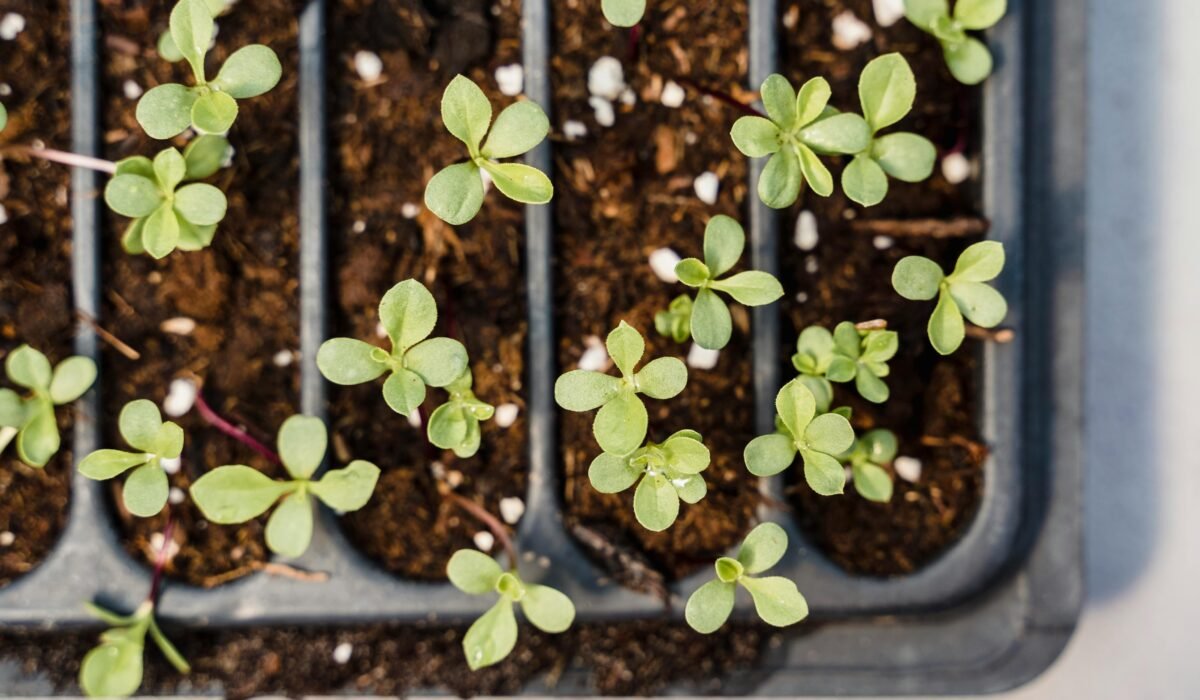
Initial Care for Germination and Growth
Once your seeds are sown, consistent care is vital. The short answer is, don’t let them dry out, but don’t drown them either. For `watering herb seedlings`, bottom watering is often recommended; place your trays in a shallow pan of water and let the mix absorb moisture from below. Alternatively, use a fine mister to keep the surface damp. Michael suggests the “Finger Test”: “Only water when the top inch of soil feels dry to the touch.” For more in-depth watering advice, consult our guide on How to Water Herbs: A Thriving Plant Guide.
Crucially, provide adequate light as soon as the first sprouts appear. Nancy Kreith emphasizes, “If using fluorescent lights, keep them on for a minimum of 10 hours per day and place them as close to the seedlings as possible, adjusting the height as seedlings grow taller.” For LEDs, aim for 12-16 hours daily. This intense light prevents seedlings from becoming weak and leggy.
Solving Common Problems: Troubleshooting Herb Seedlings
Even with the best intentions, new growers often encounter a few bumps in the road. Knowing how to diagnose and solve `common herb seedling problems` is a hallmark of a resilient gardener.
Leggy Seedlings
Leggy seedlings are tall, thin, and stretched, often with small, pale leaves. This is the most common issue for beginners, and a classic sign of insufficient light. The `leggy seedlings fix` involves a multi-pronged approach beyond just adding more light.
- Increase Light Intensity: Lower your grow lights so they are just a few inches above the seedlings (2-4 inches for LEDs, 4-6 inches for fluorescents).
- Extend Light Duration: Ensure seedlings receive 12-16 hours of light daily.
- Improve Air Circulation: A gentle fan can strengthen stems.
- Pot Up: If seedlings are very leggy, you can sometimes bury part of the stem when transplanting them into a larger pot, allowing new roots to form along the buried stem. This is a practical `troubleshooting leggy seedlings` technique.
Damping-Off Disease
This frustrating fungal disease causes healthy seedlings to suddenly collapse at the soil line. It’s often due to overly wet conditions, poor air circulation, or non-sterile `herb seed starting mix`.
To prevent it, always use sterile mix and clean containers. Ensure good air circulation and avoid overwatering, letting the surface dry slightly between waterings. If you spot it, remove affected seedlings immediately to prevent spread.
Yellowing Leaves & Slow Growth
If your seedlings are growing slowly or their leaves are turning yellow, it could be several issues. Often, it’s a sign of nutrient deficiency if they’ve been in seed-starting mix (which has few nutrients) for too long, or it could be over/underwatering or incorrect temperature. If they’ve developed their first true leaves, consider a very dilute, balanced liquid fertilizer.
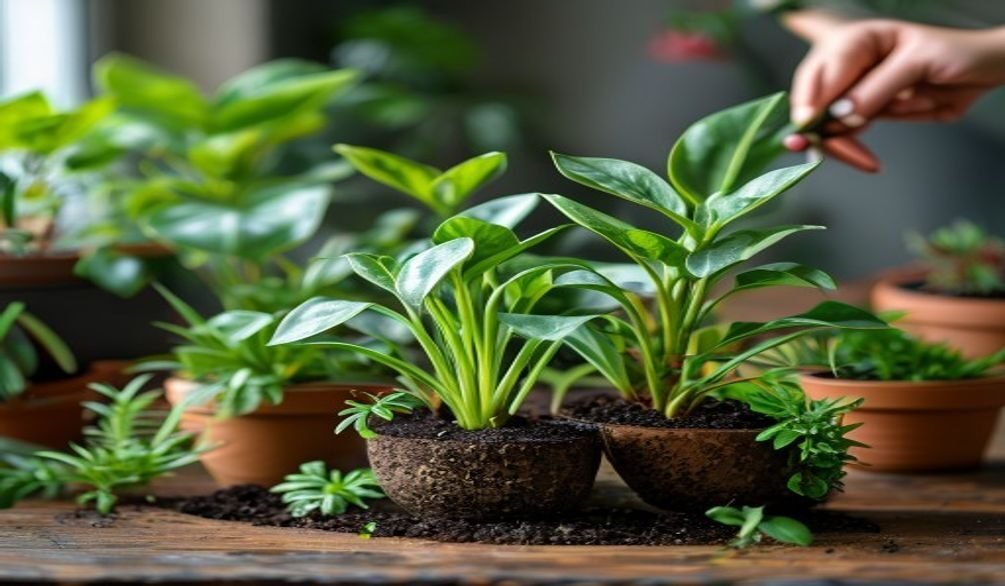
From Seedling to Garden: Hardening Off and Transplanting Herbs
Once your herb seedlings have developed several sets of true leaves and outdoor conditions are favorable (after the last frost date for your region), they’re ready for the great outdoors or their permanent containers. However, they can’t go straight from your cozy indoor `indoor herb garden setup` to the harsh elements. This transition requires a process called `hardening off seedlings`.
Nancy Kreith advises gradually exposing plants to outdoor conditions for five to seven days before transplanting. This acclimates them to wind, direct sunlight, and fluctuating temperatures.
- Day 1-2: Place seedlings in a shaded, sheltered spot outdoors for 2-3 hours.
- Day 3-4: Move them to a slightly brighter spot for 4-6 hours.
- Day 5-6: Give them 6-8 hours of morning sun, gradually increasing exposure to direct sun.
- Day 7: They should be ready for a full day outdoors, and then for transplanting.
After hardening off, transplant your herbs into your garden beds or larger pots. If you’re building a new garden, our guide on Build & Fill Organic Raised Garden Beds: Sustainable Guide offers excellent advice on preparing the perfect home for your new herbs. Water thoroughly after transplanting to help them settle in.
Maximizing Success: Seed Viability & Regional Adaptations
Beyond the initial planting, understanding seed quality and local climate conditions will significantly boost your long-term success. This is where you move from just planting to truly becoming an expert in growing herbs from seed for beginners.
Ensuring Seed Viability
Old seeds can be a source of frustration, leading to poor `germination time herbs` or no germination at all. To avoid this, consider a simple `seed viability test`. Place 10 seeds on a damp paper towel, fold it, put it in a plastic bag, and keep it warm. Check daily for sprouts. If 7 out of 10 sprout, your seed viability is 70%, which is generally acceptable. Proper storage is also key: keep seeds in a cool, dark, dry place in airtight containers to maintain their vitality for longer.
Adapting to Your Climate Zone
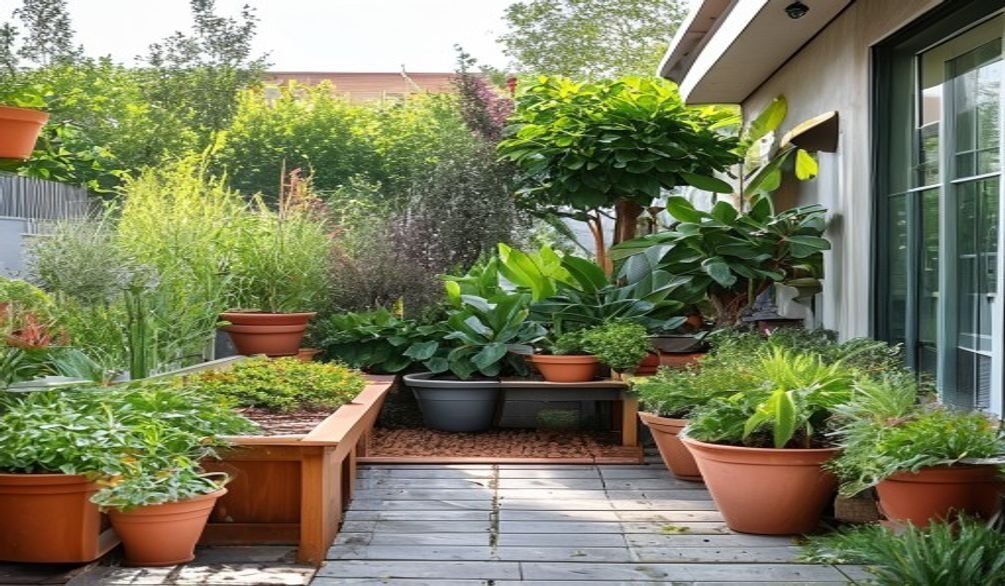
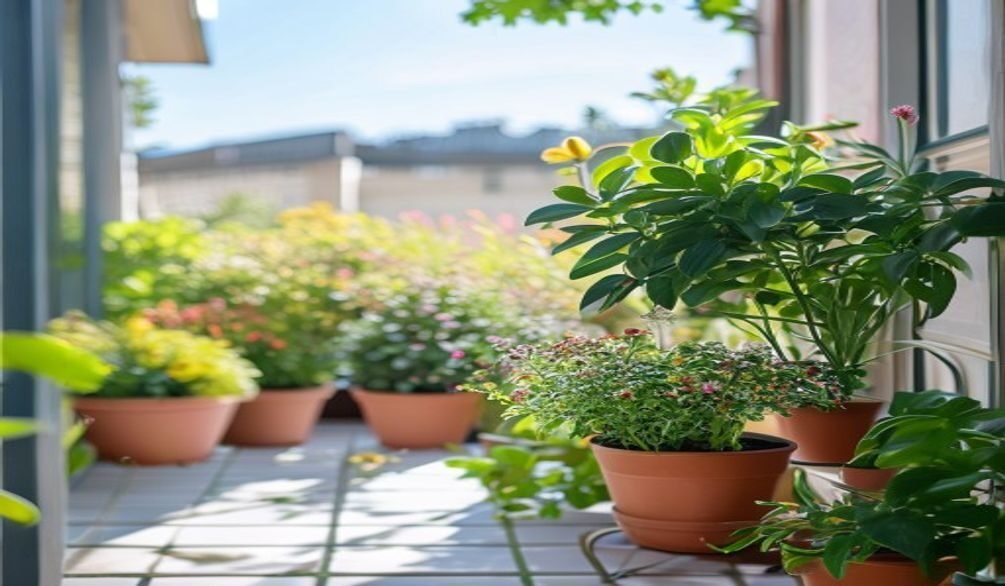
Gardening is inherently regional. While many guides offer general advice, adapting your `indoor herb garden setup` schedule to your specific USDA Hardiness Zone is critical. For example, if you have a short growing season, you might need to start seeds indoors earlier. In contrast, those in warmer climates might direct-sow earlier or even grow certain herbs year-round. For extended harvests, consider succession planting every few weeks. Interestingly, herb gardening has grown 200% among apartment dwellers since 2018, highlighting the adaptability of herbs to various conditions, including container growing. For advice on preparing your herbs for colder weather, check out our Winterizing Outdoor Herb Garden: Essential Survival Tips.
For further expert advice on growing herbs, the Royal Horticultural Society offers extensive resources.
Frequently Asked Questions
Which herbs are easiest to grow from seed for beginners?
Basil, Cilantro, Chives, Dill, and Parsley are generally considered the easiest herbs to grow from seed for beginners due to their reliable germination and relatively straightforward care requirements. They quickly provide rewarding results, encouraging new gardeners to continue their journey.
How long does it take for herb seeds to germinate?
The `germination time herbs` varies significantly by species, but many common herbs like basil, dill, and cilantro can sprout within 7-14 days under ideal conditions. Parsley and rosemary, however, can take up to 3-4 weeks or even longer, so patience is key.
What kind of soil should I use for starting herb seeds?
You should always use a sterile, fine-textured `herb seed starting mix` that is specifically designed for seedlings, rather than garden soil or potting mix. These mixes are typically peat or coir-based, providing excellent drainage and aeration while being free of weed seeds and pathogens. This specialized mix is crucial for preventing diseases like damping-off.
When should I start herb seeds indoors?
Generally, you should start most herb seeds indoors 4-6 weeks before your region’s average last frost date. This timing allows seedlings to develop strong root systems and sufficient foliage before they are transplanted outdoors. For specific herbs or regions, always consult your seed packet for precise guidance on `when to plant herb seeds indoors`.
Successfully growing herbs from seed for beginners is a deeply rewarding endeavor that brings fresh flavors and natural beauty into your life. By following these steps and understanding the nuances of seed viability and regional adaptations, you’re not just planting seeds; you’re cultivating a resilient system for fresh herbs all season long. Take the first step today and watch your garden dreams sprout into reality!