Are you wondering how to transform a single houseplant into many, expanding your indoor jungle without breaking the bank? Successfully propagating indoor plants cuttings is a rewarding skill that allows you to multiply your favorite greenery, share with friends, and cultivate a deeper connection with your plant collection. This masterclass guide will walk you through every essential step, from snip to thriving new plant, ensuring your propagation efforts are met with consistent success.
What is the Best Way to Propagate Indoor Plants from Cuttings?
The “best” way to propagate indoor plants from cuttings often depends on the specific plant species and your personal preference. Generally, the most reliable methods involve either **water propagation** or **soil propagation**, both of which leverage the plant’s natural ability to form new roots from stem or leaf sections. The key to successful propagating indoor plants cuttings lies in providing the right conditions and a little patience.
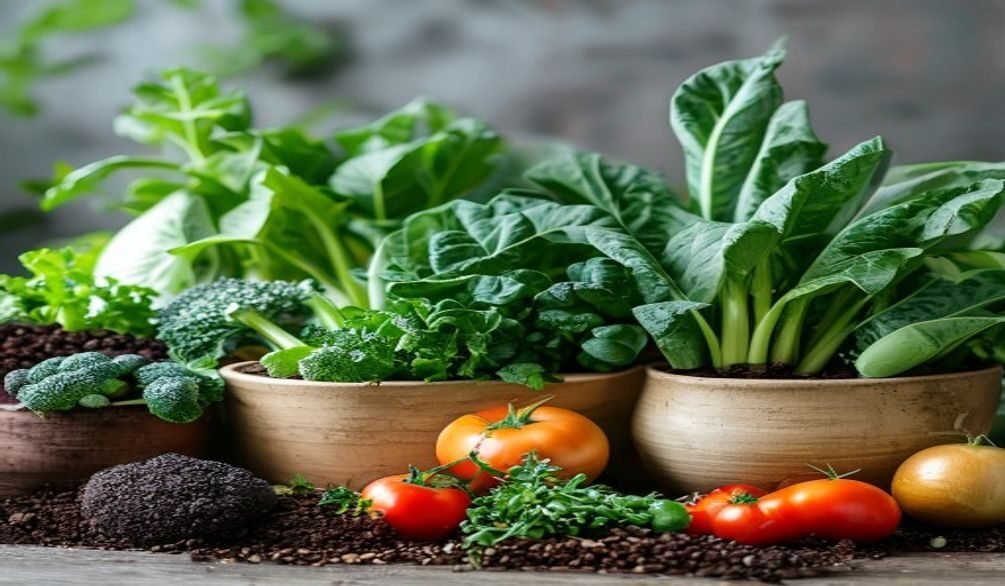
What most people miss is that success starts with the parent plant. Always choose a healthy, vibrant mother plant for your cuttings, free from pests or disease, as this directly impacts the viability of your new plants. According to University Extension services, using sterilized tools is paramount to prevent disease transmission, giving your cuttings the best chance to thrive.
Which Indoor Plants Are Easiest to Propagate from Cuttings?
If you’re new to the world of propagation, starting with easy-to-root varieties will build your confidence and ensure a high success rate. These plants are often chosen for their distinct **plant nodes** or their ability to produce **plant pups**, making the process straightforward. Many popular choices also fall under the category of **best plants to propagate from cuttings** because they adapt well to various propagation mediums.
Here’s a list of indoor plants that are famously simple to propagate:
- Pothos (Epipremnum aureum): Known for their distinct nodes, Pothos varieties root quickly in water or soil.
- Heartleaf Philodendron (Philodendron hederaceum): Similar to Pothos, these vining plants are incredibly forgiving.
- Spider Plants (Chlorophytum comosum): These produce “spiderettes” or **plant pups** that can be snipped off and rooted directly.
- Tradescantia (Inch Plant): Fast-growing and easy to root from almost any section of stem.
- Monstera (e.g., Swiss Cheese Vine, Monstera deliciosa): Their prominent aerial roots and nodes make them excellent candidates for **stem cuttings**.
- Snake Plants (Sansevieria trifasciata): Propagated from **leaf cuttings**, though they take longer to show roots.
- Succulents (e.g., Echeveria, Jade Plant): Many succulents can be propagated from single leaves or stem sections.
Houseplant influencer and author Hilton Carter notes that “Anything variegated will be popular” for propagation, indicating a trend toward unique plant characteristics. This means even trendy, variegated varieties of these easy plants are excellent choices for expanding your collection.
How Do You Root a Cutting from an Indoor Plant?
Successfully rooting a cutting from an indoor plant involves a few precise steps, primarily focused on how you take the cutting and its initial preparation. Whether you’re aiming for **stem cuttings** or **leaf cuttings**, precision and hygiene are your best friends. This foundational process is critical for any successful propagation station setup.
Taking Stem Cuttings
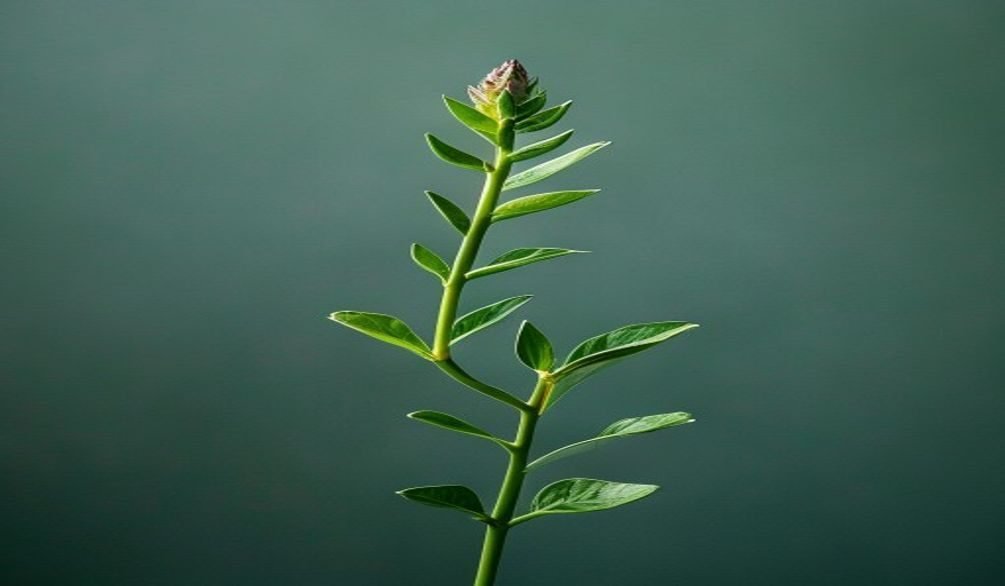
Most vining and bushy plants propagate best from stem cuttings. You’ll want to identify a healthy section of the plant that includes at least one **plant node**, which is where new roots and leaves emerge.
- Select a Healthy Stem: Choose a non-flowering stem that is at least 4-6 inches long and has several leaves. Avoid overly woody or overly soft growth.
- Make a Clean Cut: Using sharp, sterilized pruning shears or a knife, make a diagonal cut about ¼ to ½ inch below a node. A diagonal cut increases the surface area for root growth. For more details on proper pruning, you can refer to our Pruning Basics for Beginners guide.
- Prepare the Cutting: Remove any leaves that would be submerged in water or buried in soil. This prevents rot and directs the plant’s energy towards root development.
Taking Leaf Cuttings (e.g., Snake Plant, Succulents)
Some plants, like Snake Plants or many succulents, can be propagated from just a leaf. The method differs significantly from stem cuttings.
- Choose a Mature Leaf: Select a healthy, mature leaf from the parent plant.
- Cut or Break: For snake plants, cut a 2-4 inch section from a leaf. For succulents, gently twist a whole leaf off the stem, ensuring the “heel” (the part that connects to the stem) remains intact.
- Allow to Callus: This is crucial for leaf cuttings, especially succulents. Let the cut end air dry for a few days to a week until a callus forms. This prevents rot when placed in a propagation medium.
Preparing Your Cuttings for Rooting
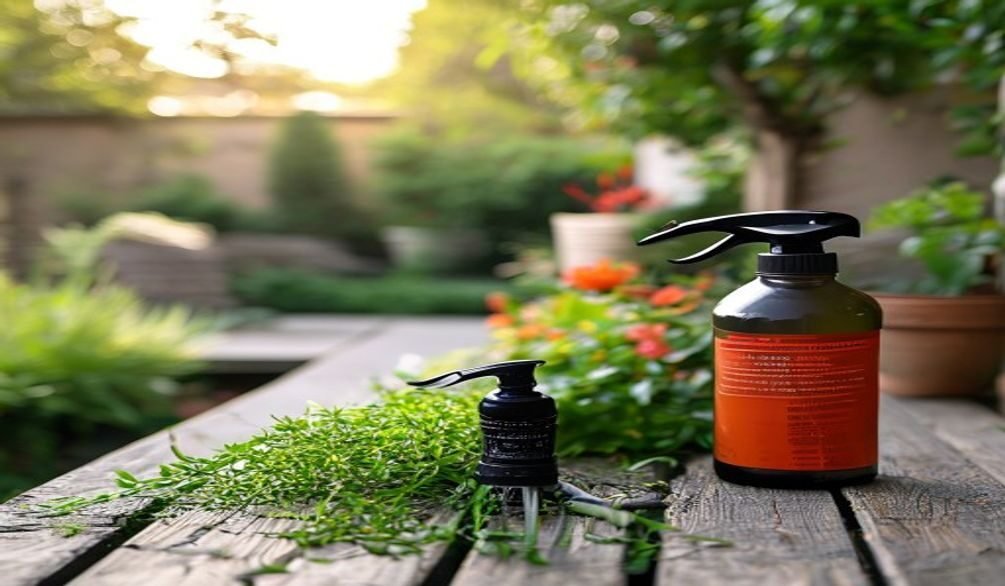
Once you have your cuttings, a little preparation can significantly boost your success rate. This step is where **rooting hormone** often comes into play.
While not always necessary, applying a rooting hormone for plant cuttings can greatly accelerate root development. Products like Clonex Rooting Gel or Garden Safe TakeRoot contain auxins (like Indole-3-butyric acid or IBA) that stimulate cell division and root formation. Simply dip the cut end of your stem or leaf cutting into the hormone powder or gel before placing it in your chosen medium. For those seeking natural alternatives, willow water also contains natural auxins, and cinnamon powder can act as an antifungal.
Comparing Propagation Mediums: Water, Soil, and Beyond
The choice of propagation medium is a critical decision that influences rooting speed, success rates, and the subsequent health of your new plants. Each medium has its unique advantages and disadvantages for **propagating indoor plants cuttings**.
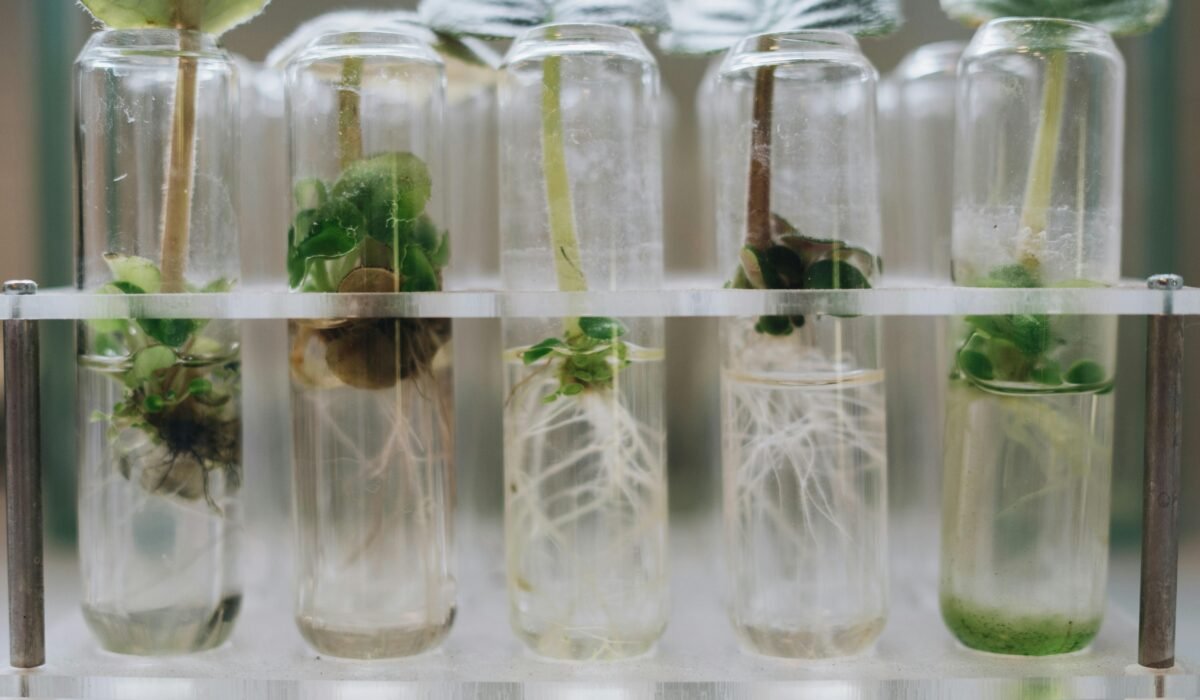
Water Propagation
This is often the go-to method for beginners because it’s visually satisfying to watch roots develop. It’s also excellent for **how to propagate houseplants in water**.
- Pros: Easy to set up, you can observe root growth directly, and it’s generally clean. Many plants, like Pothos and Philodendron, root quickly.
- Cons: Roots developed in water are different from soil roots and can experience “transplant shock” when moved to soil. You’ll need to remember **when to transfer water propagated plants to soil**.
- Best Practices: Place cuttings in clear glass jars or dedicated **propagation stations** filled with clean water. Change the water every few days to prevent bacterial growth and replenish oxygen. Ensure only the node is submerged, not the leaves.
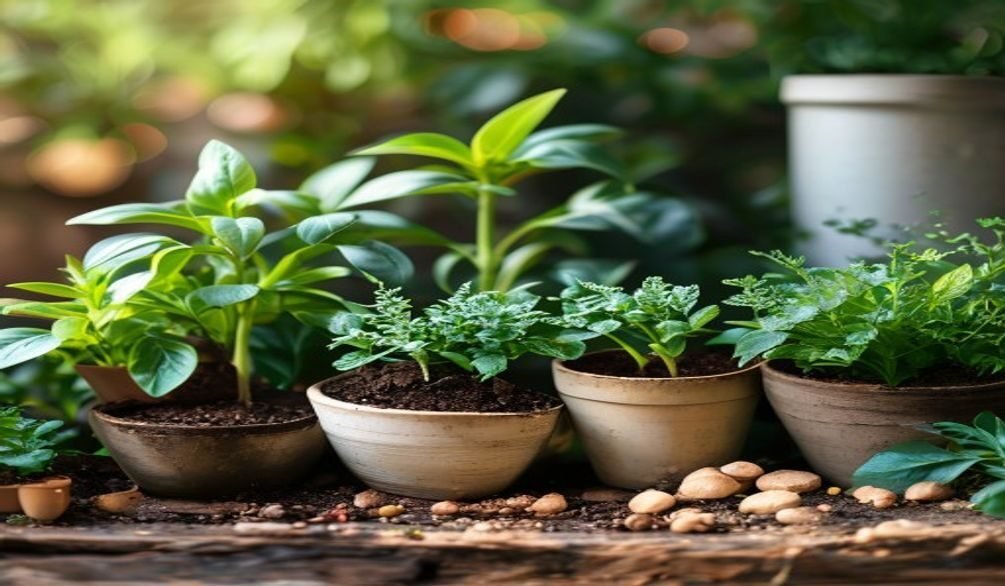
Soil Propagation
Rooting directly in soil can lead to stronger, more adaptable root systems, reducing transplant shock later on. This method is often preferred for plants that are more sensitive to environmental changes.
- Pros: Cuttings develop roots adapted to soil conditions from the start, leading to a smoother transition and often more vigorous growth.
- Cons: You can’t see the roots, making it harder to gauge progress. Overwatering is a common mistake that can lead to rot.
- Best Practices: Use a light, well-draining potting mix. A good blend might include perlite or vermiculite to improve aeration. Plant the cutting deep enough so it stands upright, with at least one node buried. Keep the soil consistently moist but not soggy. Creating a mini-greenhouse effect with a **humidity dome** can significantly help, especially for cuttings that require high humidity.
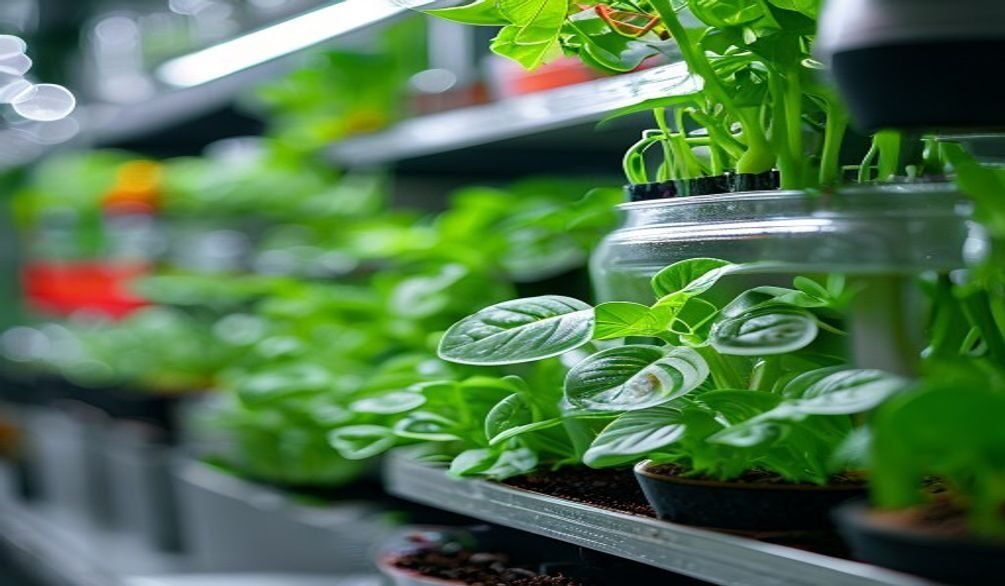
Advanced Mediums and Environments
For the experienced propagator or those seeking faster, more consistent results, other mediums and controlled environments offer exciting possibilities.
- Perlite, Sphagnum Moss, and Coco Coir: These mediums offer excellent aeration and moisture retention. Sphagnum moss, in particular, is fantastic for high humidity and can be used in a **humidity dome for cuttings**. Coco coir is a sustainable alternative to peat moss.
- Aeroponic Systems: Systems like the Seahawk Clone Station 24 mist plant nodes with nutrient-rich water, promoting incredibly fast root development. These are more complex but offer high success rates. You can explore more about these advanced methods in our guide on Vertical Hydroponic Systems for Small Spaces.
- Heat Mats: Providing gentle bottom heat (typically 70-75°F or 21-24°C) can significantly accelerate root growth, especially for tropical plant cuttings.
The choice truly depends on the plant and your comfort level. In practice, I’ve found that combining a good quality rooting hormone with a well-draining medium and consistent humidity gives the most reliable results for a wide range of plants.
Common Propagation Mistakes and How to Troubleshoot Them
Even experienced plant enthusiasts encounter challenges when propagating. Understanding common pitfalls and how to address them can turn a potential failure into a learning opportunity, ensuring your journey in propagating indoor plants cuttings is successful.
Here are frequent issues and their solutions:
- Cuttings Wilting or Drooping:
- Cause: Lack of humidity, cutting too large, or dehydration.
- Solution: Increase humidity using a **humidity dome** or by misting frequently. For very large cuttings, consider trimming some leaves to reduce transpiration. Ensure the medium is adequately moist (for soil) or water is fresh (for water propagation).
- No Roots Developing:
- Cause: Insufficient warmth, lack of light (for photosynthesis), or incorrect cutting technique (no node).
- Solution: Move to a warmer spot, perhaps with a heat mat. Provide bright, indirect light. Double-check that your cutting includes at least one **plant node**. Consider using **rooting hormone**.
- Cuttings Rotting or Turning Mushy:
- Cause: Overwatering, poor air circulation, or non-sterilized tools introducing bacteria/fungi.
- Solution: Reduce watering frequency, ensure good drainage in soil, and change water regularly in water propagation. Improve air circulation around cuttings. Always use sterilized tools when taking cuttings, as emphasized by the Missouri Botanical Garden, to prevent pathogens.
- Mold or Algae Growth:
- Cause: Too much moisture, poor air circulation, or dirty medium/containers.
- Solution: For water propagation, change water more frequently and clean the container. For soil, ensure proper drainage and airflow. Remove affected parts immediately. Cinnamon powder can act as a natural antifungal.
The short answer is, most problems stem from either too much or too little of something essential. Observing your cuttings daily will help you catch issues early.
How Long Do Indoor Plant Cuttings Take to Root?
This is one of the most frequently asked questions, and the answer varies considerably. Generally, you can expect indoor plant cuttings to take anywhere from two weeks to several months to develop a robust root system ready for transplanting.
The timeframe is heavily influenced by several factors:
- Plant Type: Fast propagators like Pothos or Tradescantia might show roots in 1-2 weeks. Slower ones, such as Snake Plants from leaf cuttings, can take 6-8 weeks, or even longer, for significant root development.
- Propagation Medium: Water propagation can sometimes show visible roots faster, but soil roots might be stronger in the long run. Advanced methods like aeroponics can speed up the process considerably.
- Environmental Conditions: Warmth and consistent humidity are crucial. Cuttings in a warm room with a **humidity dome** will typically root faster than those in a cool, dry environment.
- Cutting Health: Healthy, vigorous cuttings from a well-nourished parent plant will root more quickly than weak ones.
Patience is truly a virtue here. Don’t be discouraged if some cuttings take longer than others; consistency in care is what matters most.
Post-Propagation Care: Nurturing Your New Baby Plants
Rooting a cutting is just the first victory; the next crucial step is ensuring your “baby” plants successfully transition and thrive. This post-propagation care is often overlooked but is vital for long-term success. Rebecca Sterling, resident plant expert at Easyplant, notes that “Plant owners are aiming to diversify the greenery within their spaces,” and proper post-propagation care is how you achieve that diversification.
Transplanting Water-Rooted Cuttings
This is a delicate phase, as water roots are accustomed to a liquid environment and can be sensitive to soil.
- Timing is Key: Wait until roots are at least 1-2 inches long and have started to branch. This typically happens a few weeks after initial rooting. This addresses the question of **when to transfer water propagated plants to soil**.
- Prepare the Pot: Choose a small pot (3-4 inches) with drainage holes. Fill it with a light, well-draining potting mix.
- Plant Gently: Create a small hole in the soil, carefully place the cutting, and gently backfill, ensuring the roots are covered. Avoid compacting the soil too much.
- Acclimation: Water immediately after potting. For the first week or two, keep the newly potted plant in a slightly more humid environment than normal, perhaps under a temporary **humidity dome** or in a bathroom, to help it adjust. Gradually expose it to normal room conditions.
Initial Care for New Plants
Whether your cutting rooted in water or soil, the first few weeks after potting (or once it shows significant new growth in soil) are critical for establishing it as a healthy, independent plant.
- Light: Provide bright, indirect light. Avoid direct, harsh sunlight, which can scorch tender new leaves.
- Watering: Keep the soil consistently moist but never soggy. Allow the top inch or two of soil to dry out slightly between waterings. Overwatering is a common killer of young plants. For detailed guidance, consult our How to Water Indoor Plants: Your Complete Guide.
- Humidity: Continue to provide higher humidity if possible, especially for tropical varieties. Misting or placing the pot near a humidifier can help.
- Fertilizing: Hold off on fertilizing for at least 4-6 weeks after potting. The plant needs time to establish its root system. When you do start, use a diluted, balanced liquid fertilizer.
- Observation: Monitor your new plant closely for signs of stress, pests, or nutrient deficiencies. Early detection is key to a quick recovery.
Nurturing these young plants effectively sets the stage for a robust and thriving addition to your plant family.
Frequently Asked Questions
What is the best way to propagate indoor plants?
The best way to propagate indoor plants generally involves taking **stem cuttings** and rooting them in either water or a well-draining soil mix. Water propagation is excellent for observing root growth, while direct soil propagation can lead to stronger root systems with less transplant shock. The method often depends on the specific plant and your preference.
What is the easiest plant to propagate from cuttings?
Some of the easiest plants to propagate from cuttings include Pothos, Heartleaf Philodendron, and Spider Plants. These varieties readily produce roots from **plant nodes** or **plant pups**, making them ideal for beginners and ensuring a high success rate. Many succulents also fall into this easy-to-propagate category.
How do you root a cutting from an indoor plant?
To root a cutting from an indoor plant, first select a healthy stem with at least one **plant node** and make a clean cut below it using **sterilized tools**. Remove lower leaves, and optionally dip the cut end in **rooting hormone**. Then, place the cutting in fresh water or a moist, well-draining soil mix, providing warmth and indirect light.
How long does it take for indoor plant cuttings to root?
The time it takes for indoor plant cuttings to root varies significantly by plant type and environmental conditions, typically ranging from two weeks to several months. Fast-growing plants like Pothos might show roots in a couple of weeks, while others, like Snake Plants from **leaf cuttings**, can take much longer. Consistent warmth and humidity can often accelerate the process.
Successfully propagating indoor plants cuttings is a deeply satisfying aspect of plant care, allowing you to expand your collection and share the joy of greenery. By following these detailed steps, understanding the nuances of different mediums, and providing attentive post-propagation care, you’ll soon be nurturing a thriving family of new plants. Don’t hesitate to experiment with different species and techniques – your next indoor plant masterpiece is just a snip away!