Are you wondering how to start seeds indoors to get a head start on your garden and cultivate a thriving outdoor space? Successfully growing seedlings indoors can seem daunting, but with the right approach, you can cultivate strong, healthy plants ready for transplanting. This comprehensive guide will walk you through every step, transforming you from a beginner into a confident indoor seed starter.
When to Start Seeds Indoors: Timing Your Garden’s Success
Timing is everything when you’re learning when to start seeds indoors, because planting too early or too late can jeopardize your entire crop. The short answer is that it depends on your last expected spring frost date and the specific plant’s growth rate.
Most seed packets will specify the ideal number of weeks to start seeds indoors before the last frost. For instance, tomatoes and peppers often need 6-8 weeks, while cucumbers and squash are typically started closer to 3-4 weeks before transplanting.
Understanding Your Last Frost Date and Seed Starting Calendar
To accurately plan your indoor gardening setup, you first need to identify your area’s average last frost date. This crucial piece of information dictates your entire planting schedule.
Once you know your last frost date, count backward the recommended number of weeks for each plant to create your personalized seed starting calendar. Many online resources offer a when to start seeds indoors chart based on your zip code, making this process much simpler.
Here’s the thing: while these charts are helpful, always cross-reference with your seed packet for the most accurate guidance on optimal seed germination timing. Overly leggy or root-bound seedlings are often a result of starting them too early.
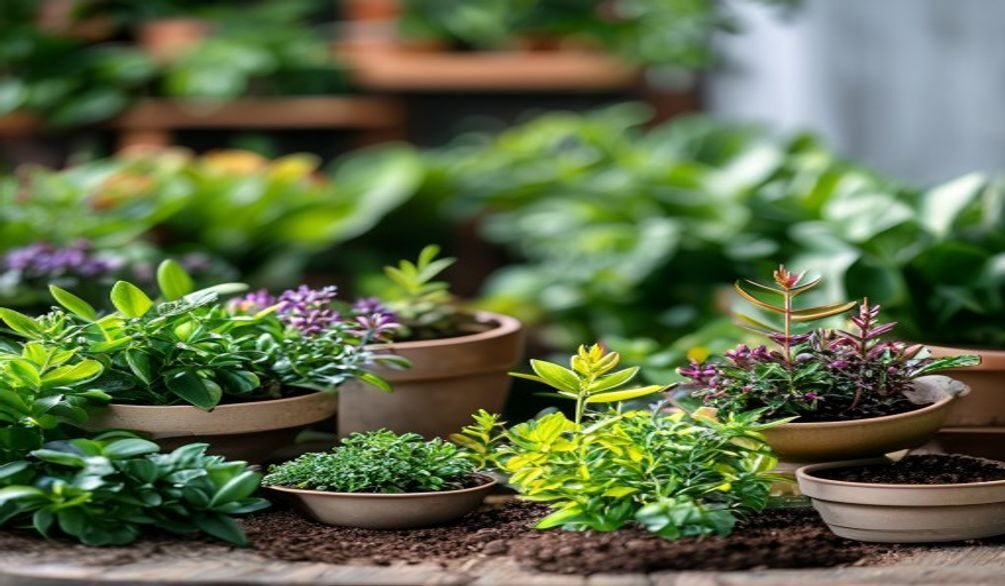
Essential Equipment for Starting Seeds Indoors (and Budget-Friendly DIY Options)
A successful indoor gardening setup doesn’t require a massive investment, but certain tools are essential. Investing in the right equipment from the start can significantly increase your success rate for starting seeds indoors.
Commercial Seed Starting Kits and Tools
For convenience, a comprehensive seed starting kit provides many necessary items in one package. Brands like Super Sprouter and Burpee offer popular kits that include trays, cells, and humidity domes.
Beyond kits, consider individual purchases:
- Seed Starting Trays and Cells: Look for trays with drainage holes and individual cells or larger open flats. Rosie Lerner, retired Purdue University consumer horticulture specialist, advises containers “should be clean and sturdy and should fit into the space available for growing plants.”
- Seed Starting Soil Mix: A quality, sterile, and finely textured seed starting soil mix is crucial. E. E. Janne and Dr. R. E. Roberts from Texas A&M University emphasize that “Use of a loose, fertile, disease-free soil mix is a basic key to success.” This specialized mix provides the ideal environment for delicate seedlings. For a DIY option, see our guide on DIY Terrace Garden Soil Mix.
- Grow Lights for Seedlings: Natural light from a window is rarely sufficient, leading to weak, leggy plants. Grow lights for seedlings, especially LED models like the GooingoTop LED Grow Light Clip, provide the necessary full-spectrum light.
- Heat Mats: Anna Ohler, owner of Bright Lane Gardens, highly recommends heat mats, stating, “A heat mat gives gentle bottom heat to your seed trays, which speeds up germination and increases your success rate.” Brands like Vivosun and AC Infinity are popular choices.
- Humidity Domes: These covers help maintain consistent moisture and warmth, critical for initial seed germination. The AC Infinity Humidity Dome is known for its generous height.
- Watering Tools: A fine mister, like the Vivosun model, is perfect for gently watering delicate seedlings without disturbing the seeds or soil.
Budget-Friendly DIY Seed Starting Setup
You don’t need to break the bank to create an effective DIY seed starting setup. Many everyday items can be repurposed:
- Containers: Recycled milk cartons, plastic jugs, paper cups, or even toilet paper rolls (with drainage holes added) make excellent, free seed starting containers. Just ensure they are clean.
- Homemade Grow Lights: While not as efficient as commercial LEDs, standard shop lights with cool-white fluorescent bulbs can work in a pinch. Position them just a few inches above the seedlings.
- DIY Humidity Domes: Clear plastic wrap or inverted plastic food containers can serve as effective humidity domes over your seed trays.
- DIY Heat Mat: For a temporary solution, placing trays on top of a refrigerator or water heater can provide gentle bottom heat, though consistency is harder to control than with a dedicated heat mat.
What most people miss is that even with a DIY setup, the principles of good light, warmth, and drainage remain paramount for success.
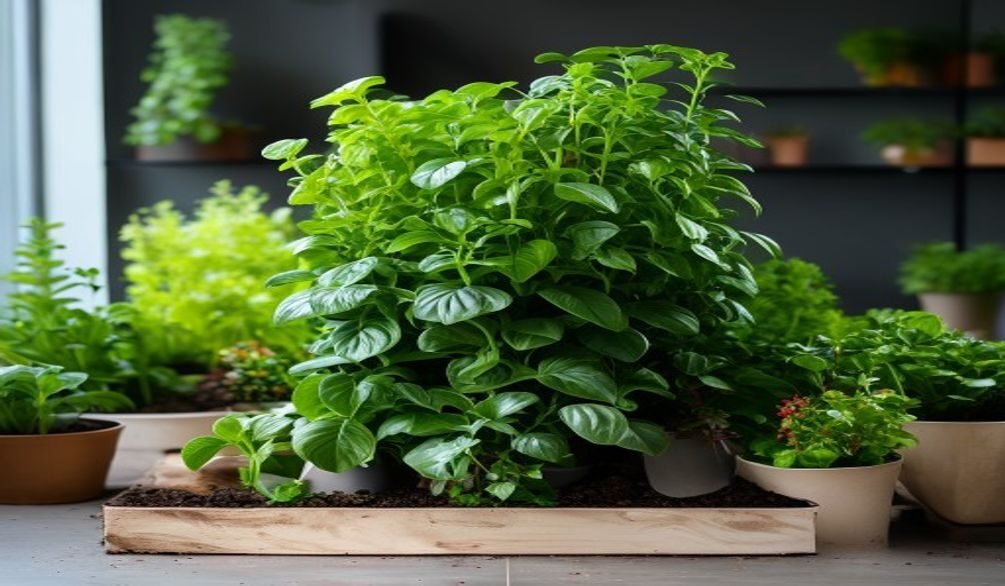
Step-by-Step: How to Start Seeds Indoors (A Beginner’s Guide)
Ready to learn exactly how to start seeds indoors? This step-by-step guide will simplify the process, ensuring you provide the best conditions for your future garden heroes.
- Prepare Your Containers: Ensure all your chosen containers are clean and have adequate drainage holes. Sterilize used containers with a 10% bleach solution to prevent disease.
- Fill with Seed Starting Mix: Moisten your seed starting soil mix thoroughly before filling the containers. It should be damp, like a wrung-out sponge, not soaking wet. Fill containers to about half an inch from the top, gently tamping the soil down.
- Plant Your Seeds: Follow seed packet instructions for planting depth and spacing. A general rule is to plant seeds at a depth equal to two to three times their diameter. Use a dibble or pencil to make small holes.
- Water Gently: After planting, water again gently. A mister works best to avoid dislodging small seeds. Ensure the soil is consistently moist but not waterlogged. For more on proper watering, consult our guide on How to Water Indoor Plants.
- Provide Warmth for Germination: Place your seed trays on a heat mat set to the recommended temperature for your specific seeds (often 70-80°F for many warm-season crops). Cover the trays with a humidity dome to lock in moisture.
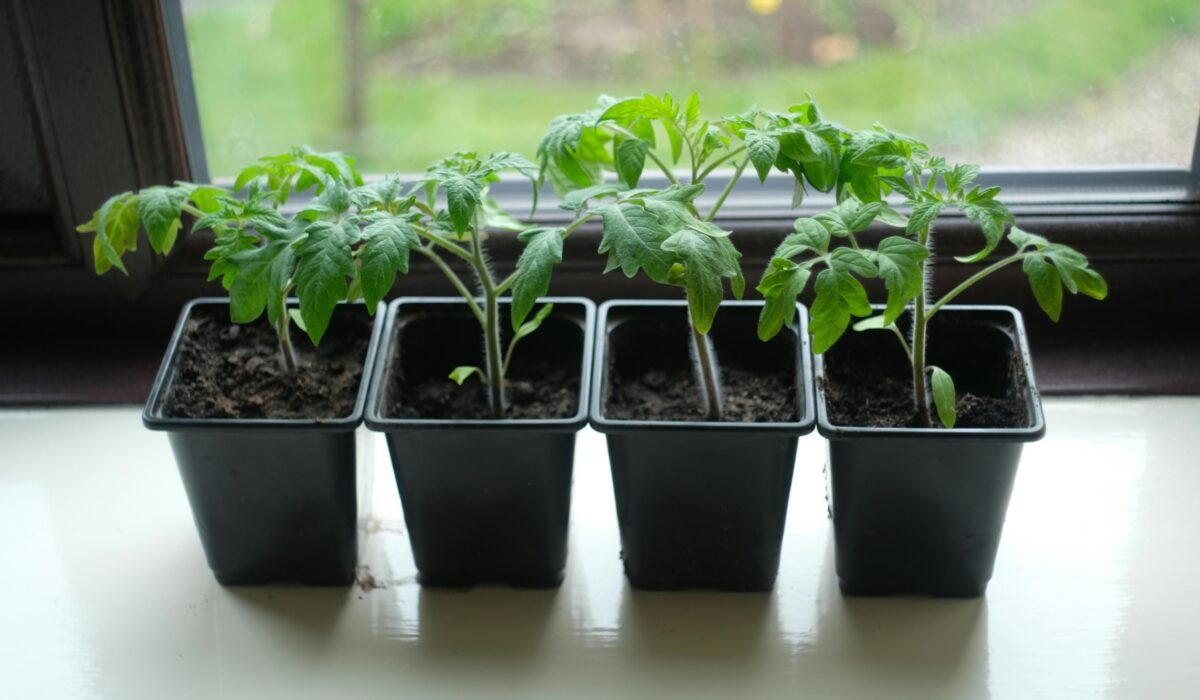
- Ensure Adequate Light (Post-Germination): As soon as the first seedlings emerge, remove the humidity dome and place them under grow lights for seedlings. Position the lights just 2-4 inches above the tops of the seedlings and run them for 12-16 hours daily. This prevents leggy growth.
- Ongoing Care: Continue to water gently when the top of the soil feels dry. Rotate trays periodically to ensure even light exposure.
In practice, consistent monitoring of moisture levels and light exposure during the initial seed germination phase is critical for success.
Mastering Specific Seed Requirements for Diverse Plants
While general guidelines apply, mastering the nuances of specific seed requirements truly elevates your indoor seed starting game. Different plants have unique needs beyond basic planting depth.
Stratification and Scarification
Some seeds require a period of cold (stratification) or a weakening of their hard outer shell (scarification) to germinate. Perennials, many herbs, and some native plants often need stratification, mimicking winter conditions.
Scarification involves physically nicking or scratching the seed coat to allow water absorption. This is common for seeds with tough shells, like some legumes or morning glories.
Light and Dark Germination
Most seeds germinate best in darkness, but some, like lettuce, petunias, and certain herbs, actually require light to germinate. For these, simply press them onto the surface of the soil mix without covering them.
Always check your seed packets; they are the ultimate authority on these specific requirements. What most people miss is that ignoring these details is a common seed starting mistake that leads to frustration.
Common Seedling Problems: Troubleshooting Beyond Damping-Off
Even with the best intentions, you might encounter issues. Understanding common seed starting mistakes and how to fix them ensures resilient seedlings.
Damping-Off Disease
Damping-off disease is a notorious fungal issue where seedlings suddenly collapse at the soil line. It’s often caused by overly wet conditions, poor air circulation, or non-sterile soil. Prevent it by using sterile seed starting mix, ensuring good drainage, and avoiding overwatering.
Leggy Seedlings
If your seedlings are tall, thin, and stretching towards the light, they are “leggy.” This is a clear sign of insufficient light. Move your grow lights for seedlings closer (2-4 inches) and ensure they run for 12-16 hours daily.
Yellowing Leaves and Nutrient Deficiencies
Yellowing leaves can indicate a nutrient deficiency, especially once seedlings have used up the limited nutrients in the seed starting mix. This is usually observed a few weeks after germination. Consider feeding with a very diluted liquid fertilizer (1/4 strength) specifically formulated for seedlings. For a deeper dive, read our guide on Identify & Fix Plant Nutrient Deficiencies.
Pests and Other Fungal Problems
Indoor seedlings can still attract pests like fungus gnats (attracted to moist soil) or aphids. Use sticky traps for gnats and gently wipe off aphids. Ensure good air circulation with a small fan to deter other fungal issues like powdery mildew (though less common indoors). Always address pest issues promptly to prevent widespread damage.
A genuine insight here is that prevention is always easier than cure when it comes to seedling problems; good hygiene and environmental control are your best defenses.
Hardening Off and Transplanting: Ensuring Resilient Seedlings
Once your seedlings are robust and the outdoor temperatures are suitable, the final critical steps are hardening off and transplanting. These processes prepare your plants for the rigors of the outdoor environment.
How to Harden Off Seedlings
Hardening off seedlings is a gradual process of acclimating your indoor-grown plants to outdoor conditions (sun, wind, fluctuating temperatures) before permanent transplanting. Aaron Steil, Consumer Horticulture Specialist with Iowa State University Extension and Outreach, advises, “Start by putting them outside on cloudy days or in a shaded location, then after a few days, move them into more light and exposure.”
Begin by placing seedlings outdoors in a protected, shaded spot for a few hours each day, gradually increasing their exposure to sunlight and wind over 7-14 days. Bring them indoors if night temperatures drop too low or if severe weather is expected.
Transplanting Seedlings to the Garden
After hardening off, your seedlings are ready for their permanent home. Choose a cloudy day or late afternoon to minimize transplant shock. Gently remove each seedling from its container, taking care not to damage the roots. Tools like a widger can be very helpful here.
Plant them in prepared garden beds or larger containers, watering thoroughly after planting. Consistent watering for the first week or two post-transplant is crucial for establishment. This careful process is key to ensuring resilient seedlings that thrive in your outdoor garden.
Frequently Asked Questions
When should I start seeds indoors?
You should start seeds indoors based on your last expected spring frost date and the specific plant’s recommended growing time, usually found on the seed packet. Most cool-season crops are started 4-6 weeks before the last frost, while warm-season crops like tomatoes and peppers need 6-8 weeks.
What is the best way to start seeds indoors?
The best way to start seeds indoors involves using sterile seed starting soil mix, providing adequate light with grow lights for seedlings, maintaining consistent moisture with gentle watering, and ensuring warmth with a heat mat for germination. Following a structured step-by-step process helps avoid common seed starting mistakes.
What is needed to start seeds indoors?
To start seeds indoors, you will need seed starting trays or containers with drainage, a sterile seed starting soil mix, seeds, a gentle watering tool (like a mister), and a light source such as grow lights for seedlings. A heat mat and humidity dome are highly recommended to increase germination success, especially for warm-season crops.
How do you start seeds indoors for beginners?
For beginners, starting seeds indoors involves selecting easy-to-grow varieties, using a quality seed starting kit or DIY setup, and following clear instructions for planting depth and watering. Focus on providing consistent light and moisture, and remember to harden off seedlings gradually before transplanting them outdoors.
Starting seeds indoors is a rewarding process that connects you more deeply with your garden. By understanding the timing, assembling the right tools, and carefully nurturing your young plants, you’ll gain a significant head start on the growing season. Embrace these steps, troubleshoot with confidence, and prepare to enjoy the fruits (and vegetables!) of your labor.