Ever wish you could have a thriving garden, even if your outdoor space is limited to a tiny balcony or a single wall? You’re not alone! The dream of fresh herbs, leafy greens, and vibrant flowers is totally achievable with DIY vertical garden systems. These clever setups transform unused vertical space into lush, productive planters, proving that even the smallest area can become a gardener’s paradise.
Choosing the Best DIY Vertical Garden System & Materials
When diving into vertical gardening ideas, the first step is deciding which system suits your space, budget, and skill level. There’s a fantastic variety of DIY vertical garden systems you can build, each with its own charm and benefits. What surprised me when I first started exploring was how many options there are beyond just stacking pots!
Popular DIY Vertical Garden System Types
- Pallet Planters: These are a classic for upcycled garden projects. Repurposed wooden pallets can be transformed into wall-mounted planters by adding landscape fabric pockets or attaching small pots. They’re usually low-cost if you can find free, safe pallets.
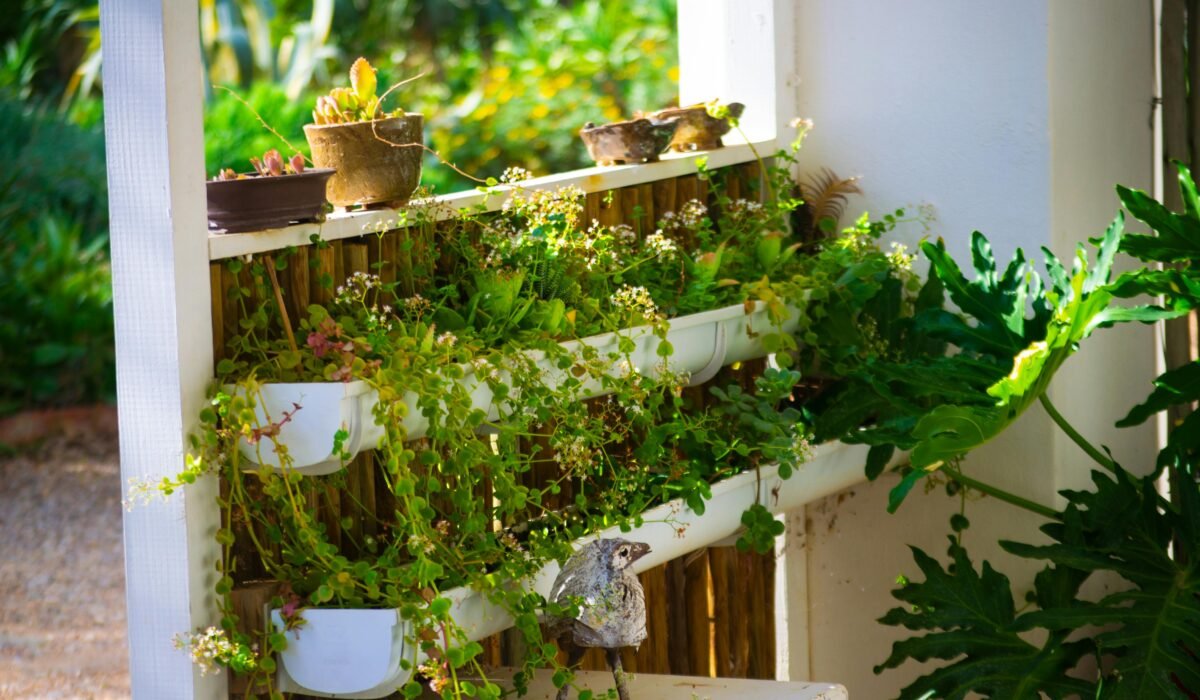
- Gutter Gardens: Old gutters, new PVC gutters, or even bamboo can be mounted horizontally in tiers, creating excellent shallow beds for herbs and greens. This is a brilliant space-saving gardening solution, especially for a narrow balcony.
- Pocket Gardens: Fabric or plastic pockets, often found as shoe organizers, can be hung on a wall or fence. They’re lightweight and perfect for small herbs or flowers, making them great for balcony garden ideas.
- Stackable Planters: While many commercial options exist (like the GreenStalk), you can DIY versions using recycled plastic containers or terracotta pots, creating a tiered tower. The Garden Tower® 2, for example, can grow up to 50 plants in just 4 square feet, showcasing the incredible potential for a home vertical farm.
- PVC Pipe Systems: PVC pipes can be cut, drilled, and mounted to create hydroponic or soil-based planters. These are durable and can be quite customizable.
- Trellises: For climbing plants, a simple wooden or metal trellis provides essential vertical support. Think cucumbers, pole beans, or vining tomatoes.
Material Sourcing and Cost Considerations
The beauty of DIY is the cost savings and the opportunity for sustainable choices. For instance, using fir wood for frames can be a plastic-free option. When sourcing materials, think about what’s readily available and affordable. Old pallets might be free from local businesses, but always check for treatment stamps (HT for heat-treated is safe, MB for methyl bromide is not).
For a basic pallet planter, your costs might include a free pallet, a roll of landscape fabric (around $10-20), and some staples. A gutter garden could use inexpensive PVC gutters (around $15-30 for a 10-foot section), brackets, and screws. Compare these to commercial systems that can run hundreds of dollars. The initial effort often pays off significantly.
Step-by-Step: Building Your Space-Saving Vertical Planter
Let’s walk through building a simple pallet-based DIY vertical planter, a fantastic option for small space gardening. This design is relatively easy, visually appealing, and makes great use of an often-discarded item. It’s one of my favorite diy vertical planters because it feels so rewarding to create something beautiful from reclaimed materials.
- Gather Your Materials: You’ll need one wooden pallet (ensure it’s heat-treated, marked “HT,” not chemically treated “MB”), a sturdy roll of landscape fabric, a staple gun with plenty of staples, heavy-duty scissors, potting mix, and your chosen vertical garden plants. For mounting, you’ll need wall anchors and screws appropriate for your wall type, or a sturdy frame if freestanding.
- Prepare the Pallet: Clean the pallet thoroughly. If needed, sand down any rough edges or splinters. Decide which side will be the front. You’ll essentially be creating pockets between the slats.
- Create the Pockets: Lay the pallet flat with the side you want to be the front facing up. Take your landscape fabric and line the inside of the pallet’s openings, creating deep pockets. Staple the fabric securely to the underside of the slats and the sides, ensuring it forms a trough that will hold soil. Overlap the fabric to prevent soil leakage.
- Add Drainage: While landscape fabric allows some drainage, it’s a good idea to poke a few small holes in the very bottom of each fabric pocket to prevent waterlogging.
- Mount Your Planter: This is crucial for structural stability. Choose a strong wall or fence that can bear significant weight. Pallets filled with wet soil and plants can be very heavy. Use appropriate heavy-duty screws and wall anchors (e.g., masonry anchors for brick, toggle bolts for drywall studs). Ensure it’s level and secure. If you’re putting it on a balcony, consider freestanding options or ensure your balcony can handle the weight.
- Fill with Soil and Plant: Once mounted, fill your new pockets with high-quality potting mix. Then, carefully plant your chosen vertical garden plants.
Mastering Vertical Garden Watering & Smart Irrigation
One of the biggest challenges in vertical gardening is the “hydration gradient” problem: gravity pulls water down, making the top dry out quickly while the bottom can become waterlogged. But don’t worry, there are smart solutions to keep your home vertical farm perfectly hydrated.
Effective Watering Techniques
- Top-Down Drip: The most common method is to water from the top, allowing gravity to distribute moisture downwards. However, this often leads to uneven watering. To combat this, water slowly and consistently, giving the upper plants time to absorb moisture before it drains.
- Adjustable Drip Irrigation: This is a game-changer. A simple DIY drip irrigation kit with adjustable emitters can be installed along the top tier of your vertical garden. Each emitter can be tweaked to deliver the right amount of water to specific plants, ensuring even distribution. You can find these kits relatively cheaply online.
- Timers: Connect your drip system to an affordable smart timer. This automates the watering process, allowing for frequent, short bursts of water throughout the day, which is ideal for the smaller soil volumes in vertical planters. This helps prevent both drying out and waterlogging.
- Wicking Systems: For some systems, especially stackable ones, a wicking system can be effective. A central reservoir or wicking material draws water up to the plants. While more complex to DIY, it’s very water-efficient.
- Moisture Meters: A simple moisture meter can be a lifesaver. Stick it into different pockets to gauge soil moisture levels, helping you understand your garden’s specific watering needs and fine-tune your irrigation.
In practice, I’ve found that a combination of a basic drip system and a timer drastically reduces the daily chore of hand-watering. This setup is particularly beneficial for balcony garden designs where consistent moisture can be tricky.
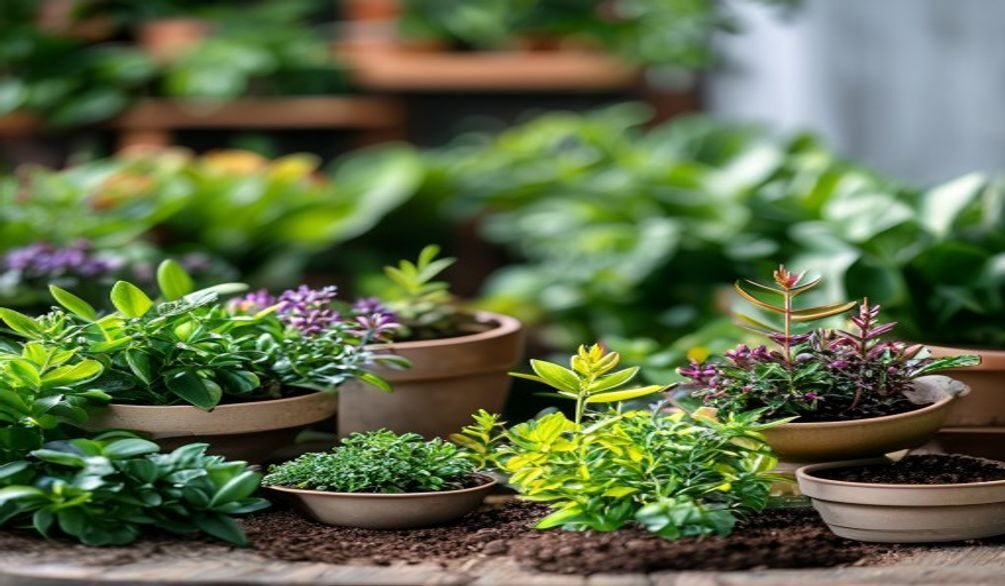
Selecting the Best Plants for Vertical Gardens & Microclimates
Not every plant is a good fit for vertical gardening ideas. The key is to choose vertical garden plants that thrive in confined spaces, have shallow root systems, or naturally grow upwards or cascade. This is where space-saving plants truly shine!
Ideal Plant Choices for Vertical Gardens
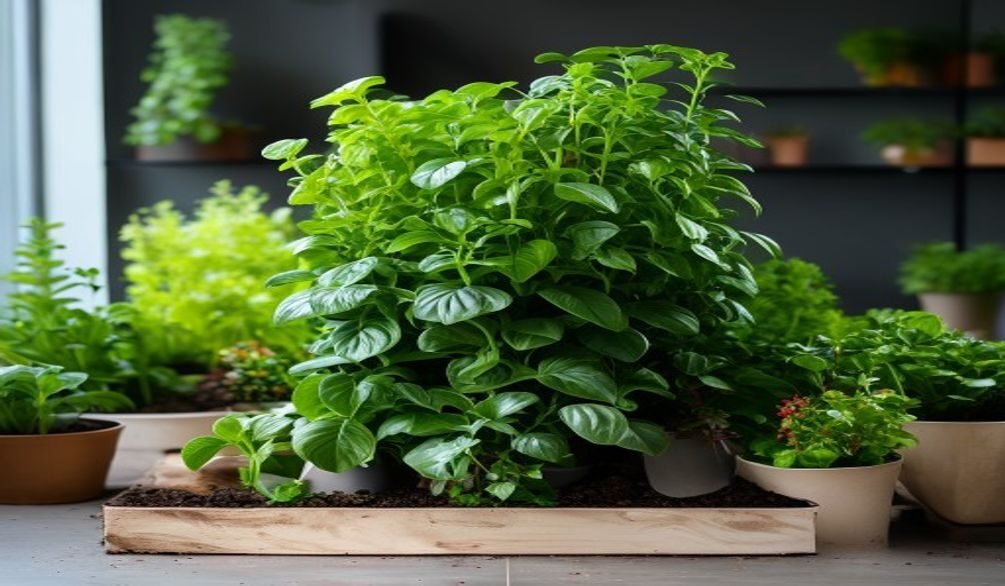
- Herbs: Basil, mint (especially vining varieties), thyme, rosemary, chives, oregano. Most herbs have shallow roots and compact growth.
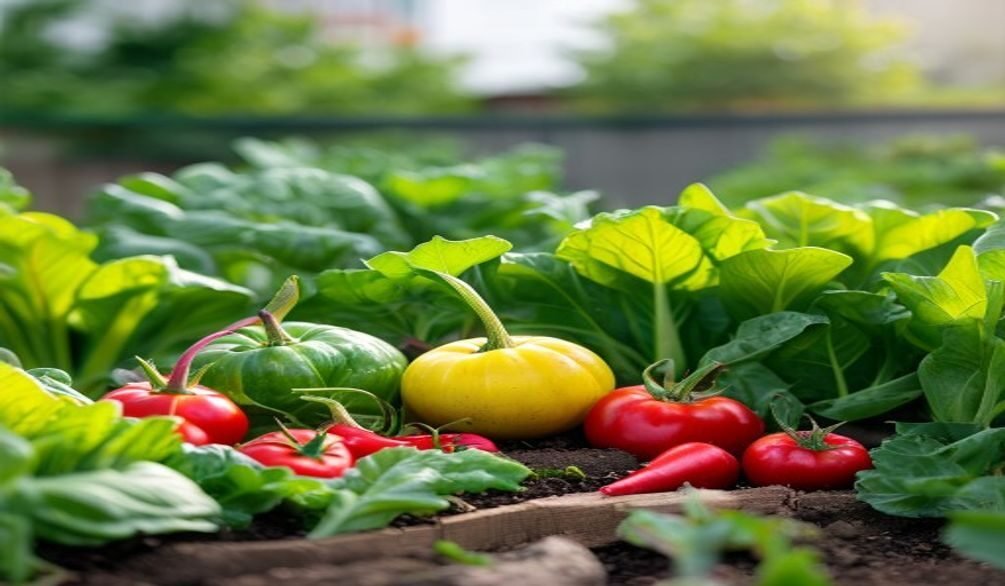
- Leafy Greens: Lettuce, spinach, kale, arugula, Swiss chard. These thrive in smaller soil volumes and can be harvested “cut and come again.”
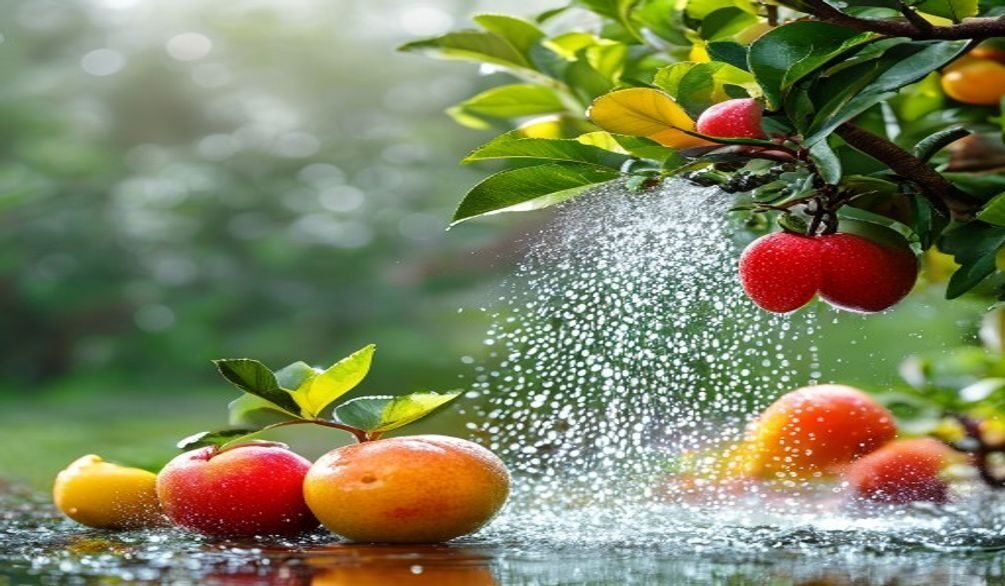
- Small Vegetables: Cherry tomatoes (bush or determinate varieties), strawberries (especially everbearing types), pole beans, climbing peas, small cucumbers. These need some support but can be incredibly productive.
- Flowers: Petunias, marigolds, nasturtiums (edible!), sweet peas, clematis, morning glory. These add beauty and can attract pollinators.
- Succulents & Ferns: For living walls, various succulents and small ferns create stunning, low-maintenance displays.
Understanding Your Garden’s Microclimates
Every vertical garden has its own unique microclimates, influenced by sun exposure, wind patterns, and surrounding structures. The top tiers will likely receive more sun and wind, drying out faster, while lower tiers might be shadier and retain more moisture. Consider your specific wall’s sun exposure throughout the day. For more on this, check out our guide on gardening sunlight.
Place sun-loving plants like basil and rosemary on top, and shade-tolerant greens like spinach or certain herbs (mint, parsley) on lower, shadier tiers. Pay attention to regional climate zones too; some plants prefer cooler climates, others heat. This thoughtful placement is crucial for a thriving small space gardening setup.
Long-Term Maintenance & Troubleshooting for DIY Systems
While DIY vertical garden systems are incredibly rewarding, they are not maintenance-free. In fact, they often require more frequent attention than traditional in-ground gardens due to smaller soil volumes and increased exposure. But don’t let that deter you; with a little know-how, you can keep your vertical oasis flourishing.
Key Maintenance Practices
- Frequent Watering: As discussed, vertical gardens dry out faster. Check soil moisture daily, especially during hot, windy weather. Automated irrigation helps immensely.
- Consistent Fertilization: Nutrients can leach out quickly from smaller containers. Use a balanced liquid fertilizer every 2-4 weeks, or integrate slow-release granular fertilizers into your potting mix. For an organic boost, compost tea can be a fantastic natural option.
- Root Pruning & Repotting: Plants in vertical systems can become root-bound over time. Every 6-12 months, gently remove plants, prune back about one-third of their roots, and replenish with fresh potting mix. This revitalizes the plant and prevents stunting.
- Pest and Disease Management: Elevating plants can reduce ground-dwelling pests, but vertical systems can still attract aphids, spider mites, or powdery mildew. Inspect plants regularly and treat with organic solutions like neem oil or insecticidal soap at the first sign of trouble.
- Flushing Drip Lines: If you use a drip irrigation system, flush the lines periodically (e.g., once a month) by running plain water through them for a few minutes. This prevents mineral buildup and clogging, ensuring consistent water delivery.
Troubleshooting Common Issues
If your plants aren’t thriving, look for common culprits. Yellowing leaves might indicate nutrient deficiency (add fertilizer) or overwatering (check drainage). Wilting could be underwatering or, less commonly, root rot. Brown, crispy edges often point to insufficient humidity or too much direct sun for sensitive plants. Don’t be afraid to adjust plant placement or watering schedules. The commitment to a home vertical farm truly pays off with delicious harvests and vibrant greenery.
Safety First: Ensuring Stability & Avoiding Material Leaching
Building a DIY vertical garden system isn’t just about aesthetics and plant growth; safety is paramount. The weight of soil, water, and plants can be substantial, so structural integrity and material choices are critical.
Ensuring Structural Stability
- Secure Mounting: Whether it’s a wall-mounted pallet or a tiered gutter system, ensure your structure is firmly anchored. Use appropriate hardware for your wall type (e.g., studs, masonry, fence posts). Don’t rely on flimsy nails or light-duty screws.
- Weight Distribution: Distribute the weight evenly. If you have a very heavy system, consider adding support legs or bracing. For balcony garden ideas, always check your balcony’s weight capacity. A cubic foot of wet soil can weigh over 100 pounds!
- Regular Checks: Periodically inspect your vertical garden for loose connections, cracks, or signs of wear. Wind, rain, and the constant weight can take their toll over time.
Avoiding Material Leaching
This is a crucial consideration, especially if you’re growing edible plants. Some materials can leach harmful chemicals into your soil and, consequently, your food.
- Treated Wood: As mentioned, avoid pallets marked “MB” (methyl bromide) as this is a toxic pesticide. Opt for “HT” (heat-treated) pallets or untreated wood like cedar or fir. If using any treated wood, line planters thoroughly with heavy-duty pond liner or landscape fabric to create a barrier. For more information on identifying safe pallets, consult resources like EPA Safer Choice.
- Plastics: Not all plastics are created equal. Look for food-grade plastics if possible, often marked with recycling codes #2 (HDPE), #4 (LDPE), or #5 (PP). Avoid plastics with unknown origins or those that have been exposed to harsh chemicals. PVC pipes are generally considered safe for water transport, but for growing edible plants directly in them, some gardeners prefer to use liners or opt for other materials.
- Old Gutters/Containers: If repurposing old gutters or other containers, ensure they weren’t previously used for chemicals, paint, or other toxic substances. Old paint, especially pre-1978, might contain lead, which is definitely not something you want near your edibles.
Always err on the side of caution. If in doubt about a material, it’s better to choose an alternative, especially for your home vertical farm where you’ll be harvesting food.
Frequently Asked Questions
How often do I need to water a vertical garden?
Vertical gardens typically need more frequent watering than traditional ground gardens, often daily or even twice a day during hot, windy weather. This is because smaller soil volumes dry out quickly. Using a drip irrigation system with a timer can automate this process and ensure consistent moisture, preventing both drying out at the top and waterlogging at the bottom.
What are the best types of plants for a DIY vertical garden?
The best plants are those with shallow root systems, compact growth, or vining habits. Excellent choices include herbs (basil, mint, thyme), leafy greens (lettuce, spinach, kale), small vegetables (cherry tomatoes, strawberries, pole beans), and many flowers (petunias, nasturtiums). Avoid heavy fruiting plants or deep taproot vegetables that require a lot of space or support.
Are vertical gardens worth the effort compared to traditional gardening?
Absolutely! While they require specific maintenance like frequent watering and careful fertilization, the benefits are significant. Vertical gardens maximize space, reduce weed pressure, make harvesting easier, and add unique aesthetic appeal. For urban dwellers or anyone with limited yard space, the effort is well worth the fresh produce and beautiful greenery you gain.
How do I prevent my DIY vertical garden from tipping over or collapsing?
Structural stability is key. Always use heavy-duty hardware appropriate for your wall or fence type (e.g., stud finders, masonry anchors). Ensure the frame or pallet is securely mounted and can bear the significant weight of wet soil and plants. Regularly inspect your system for any signs of wear or instability, and never overload it beyond its capacity.
Building your own DIY vertical garden systems is an incredibly rewarding journey. It’s a creative way to reclaim unused space, grow your own fresh produce, and add a touch of green beauty to your home. With the right materials, a smart watering strategy, and a little ongoing care, you’ll be enjoying the bounty of your space-saving planters in no time. So, gather your tools, choose your design, and start building your vertical oasis today!